

Call or Text:
(704) 266-1706
Quail Hollow Master Bathroom with Heated Porcelain Tile Flooring
Project Overview
After successfully completing their pavilion and secondary bathroom, these homeowners invited us back to transform their master bath into a very relaxing room. The existing space lacked the spa-like atmosphere they envisioned and felt really cramped, especially in the previous shower and toilet room.
We started from scratch, carefully considering the homeowners' lifestyle and preferences. They expressed a clear vision for their new space:
- Eliminate the cramped shower
- The previous shower was enclosed in a small corner, and felt claustrophobic every time you went in with no windows or doors other than the small shower glass door.
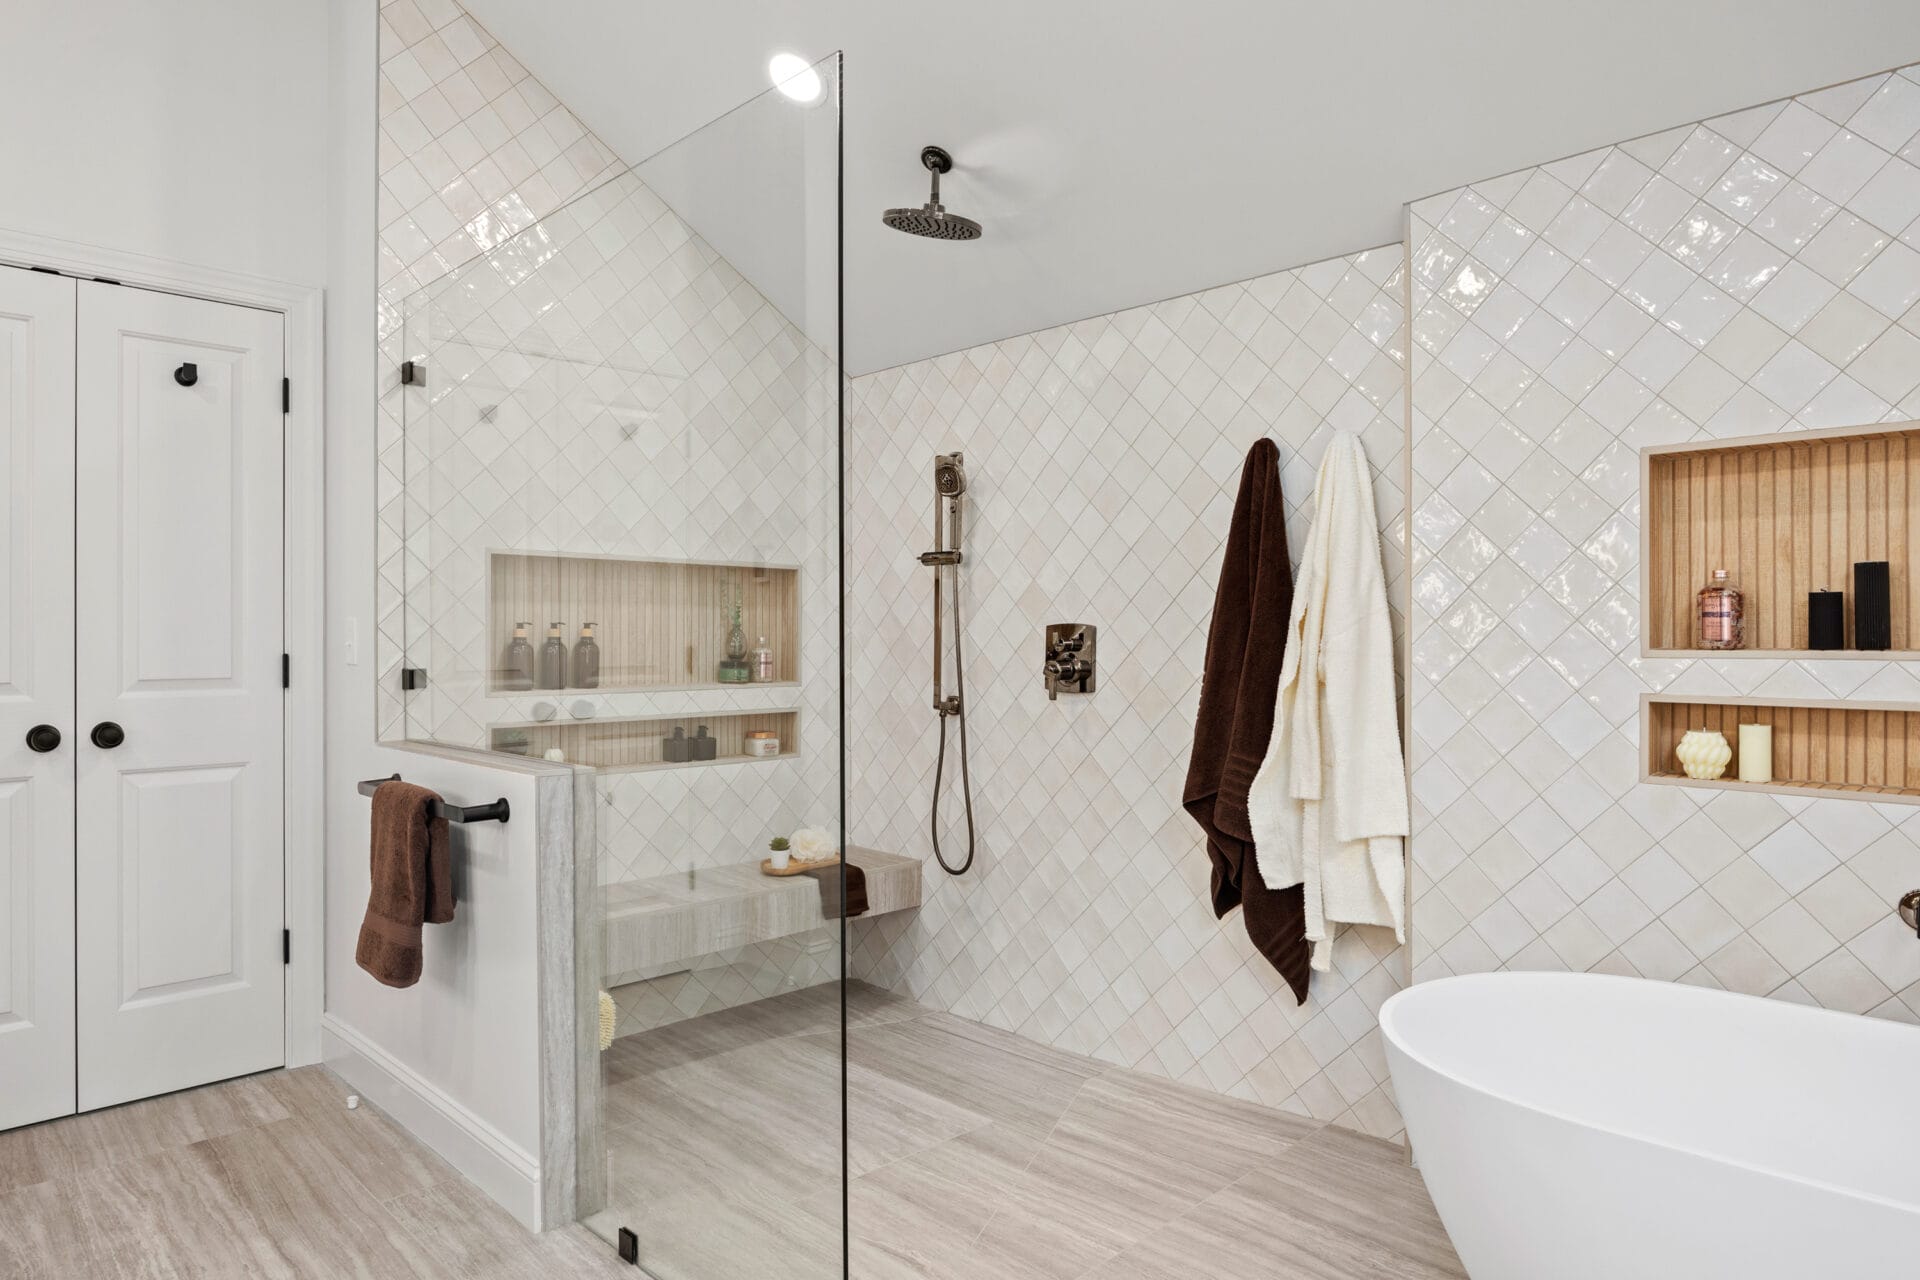
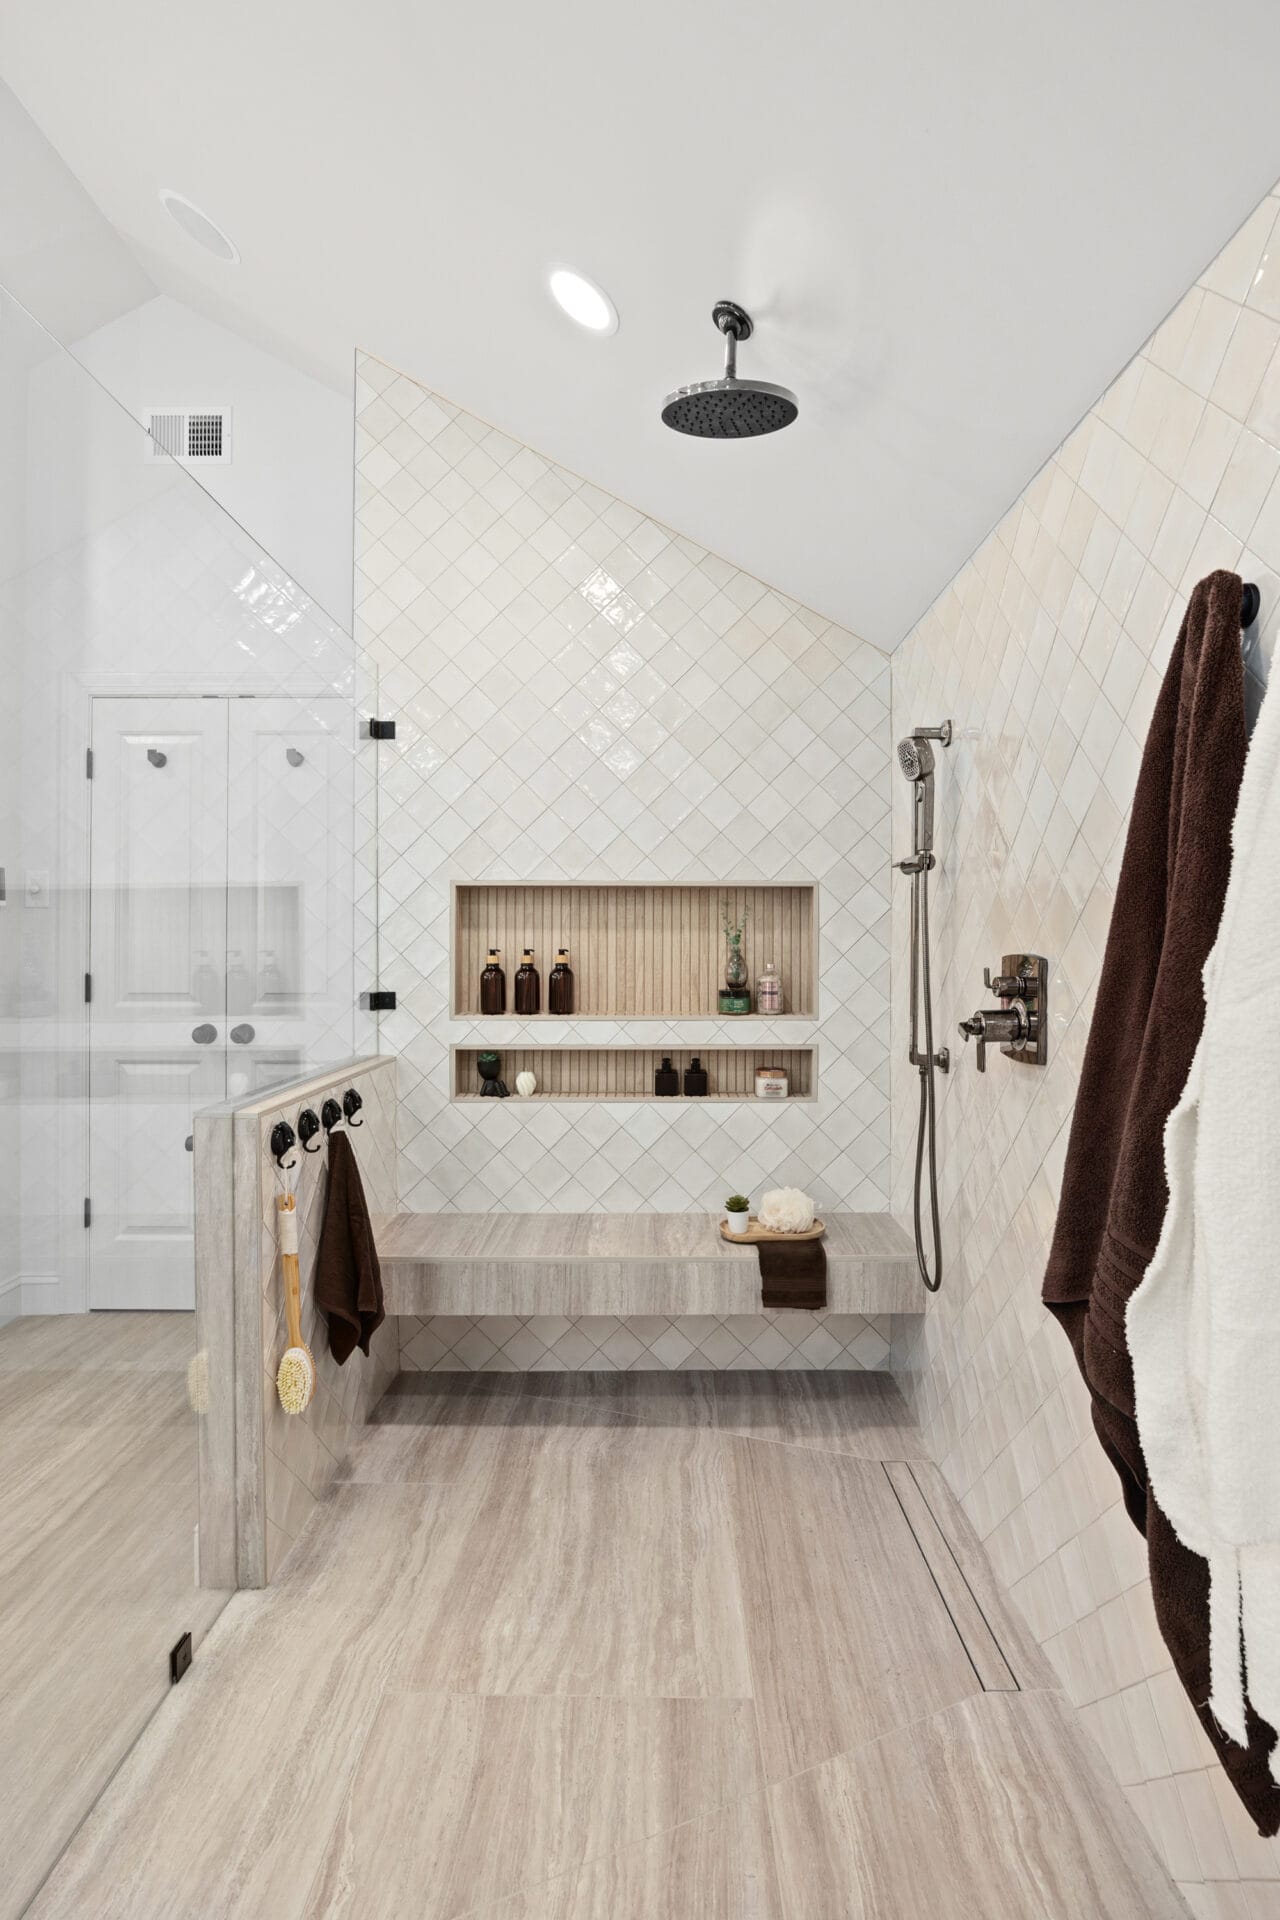
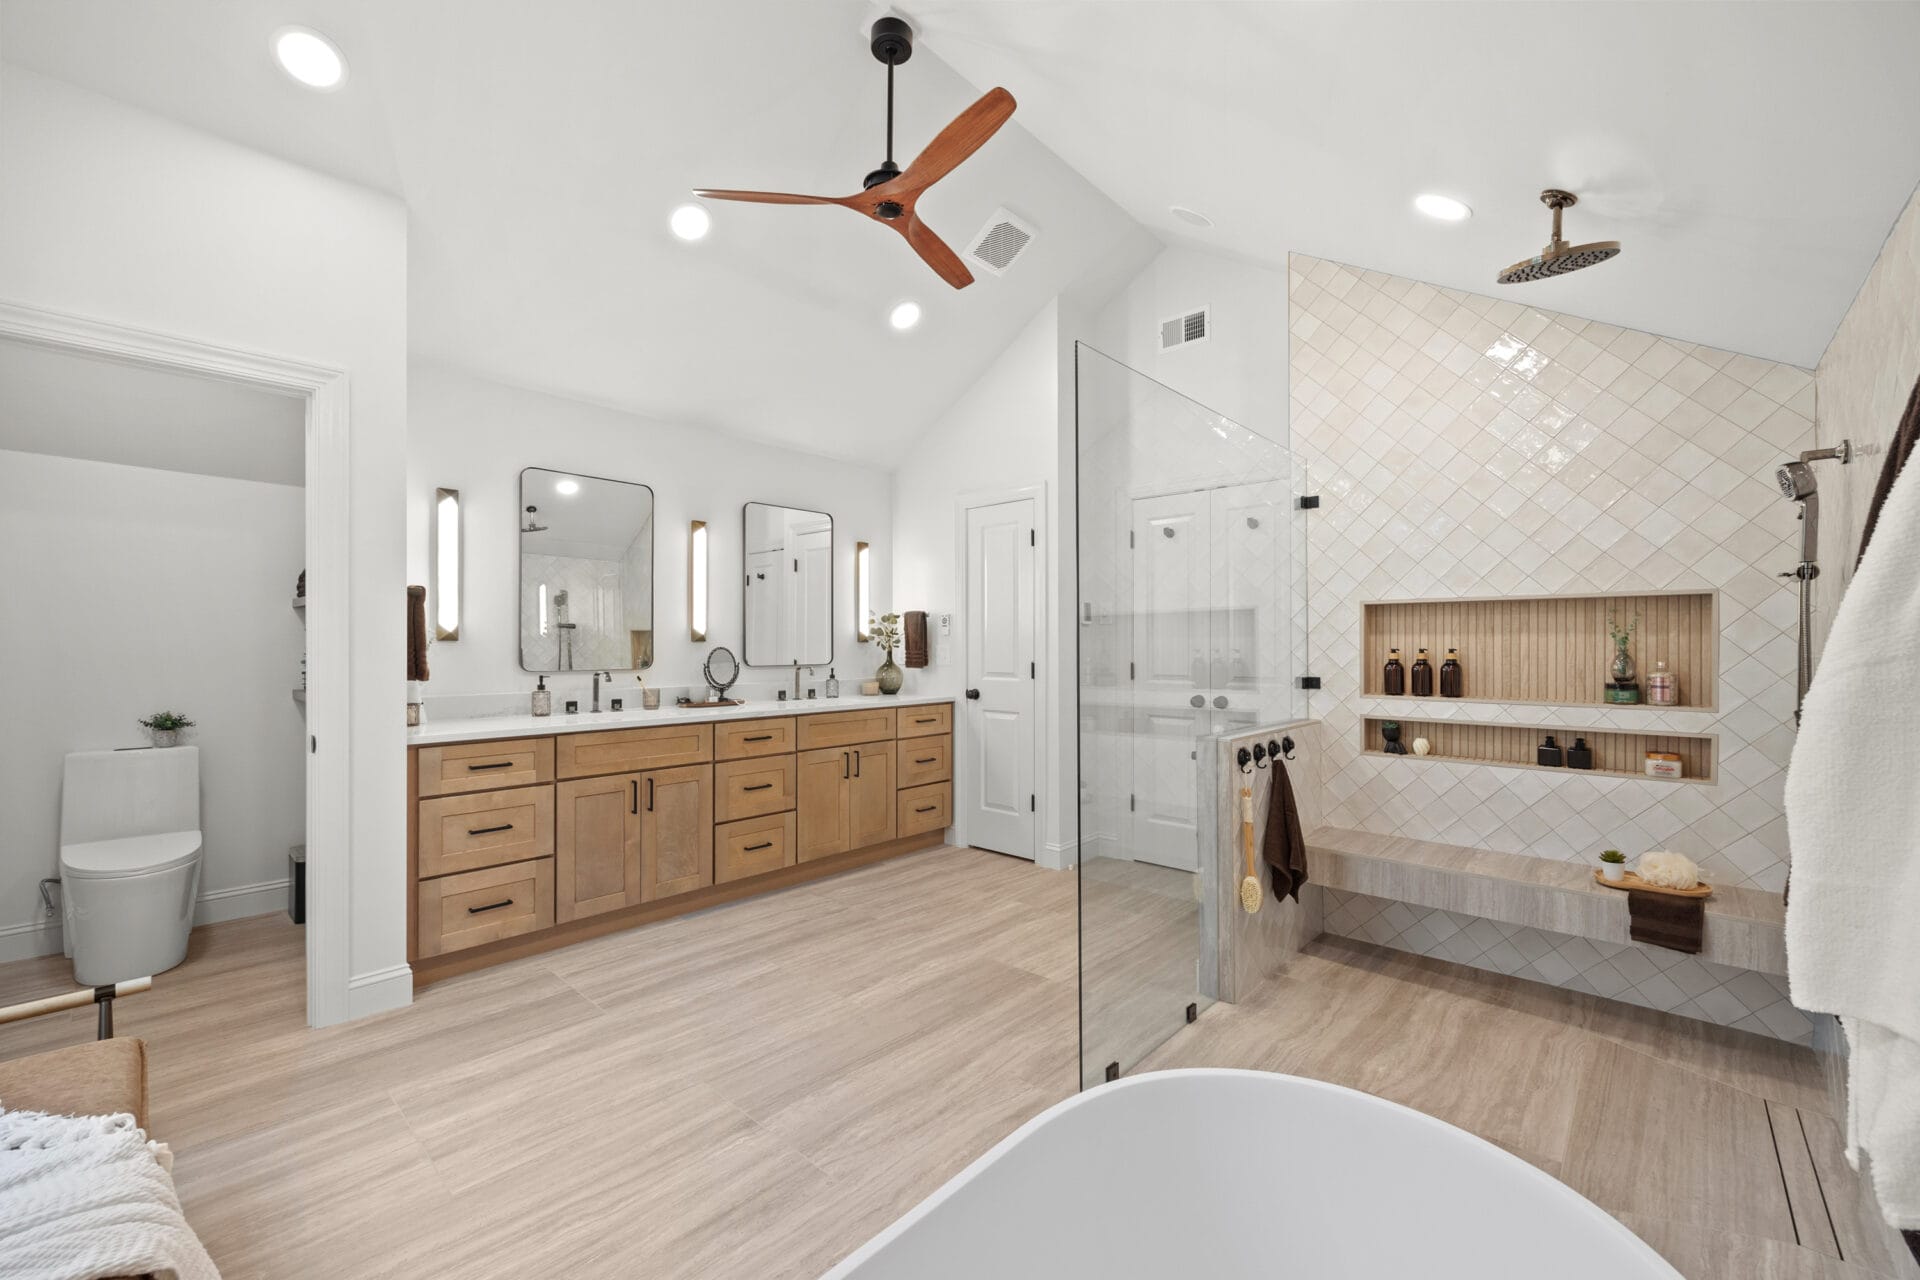
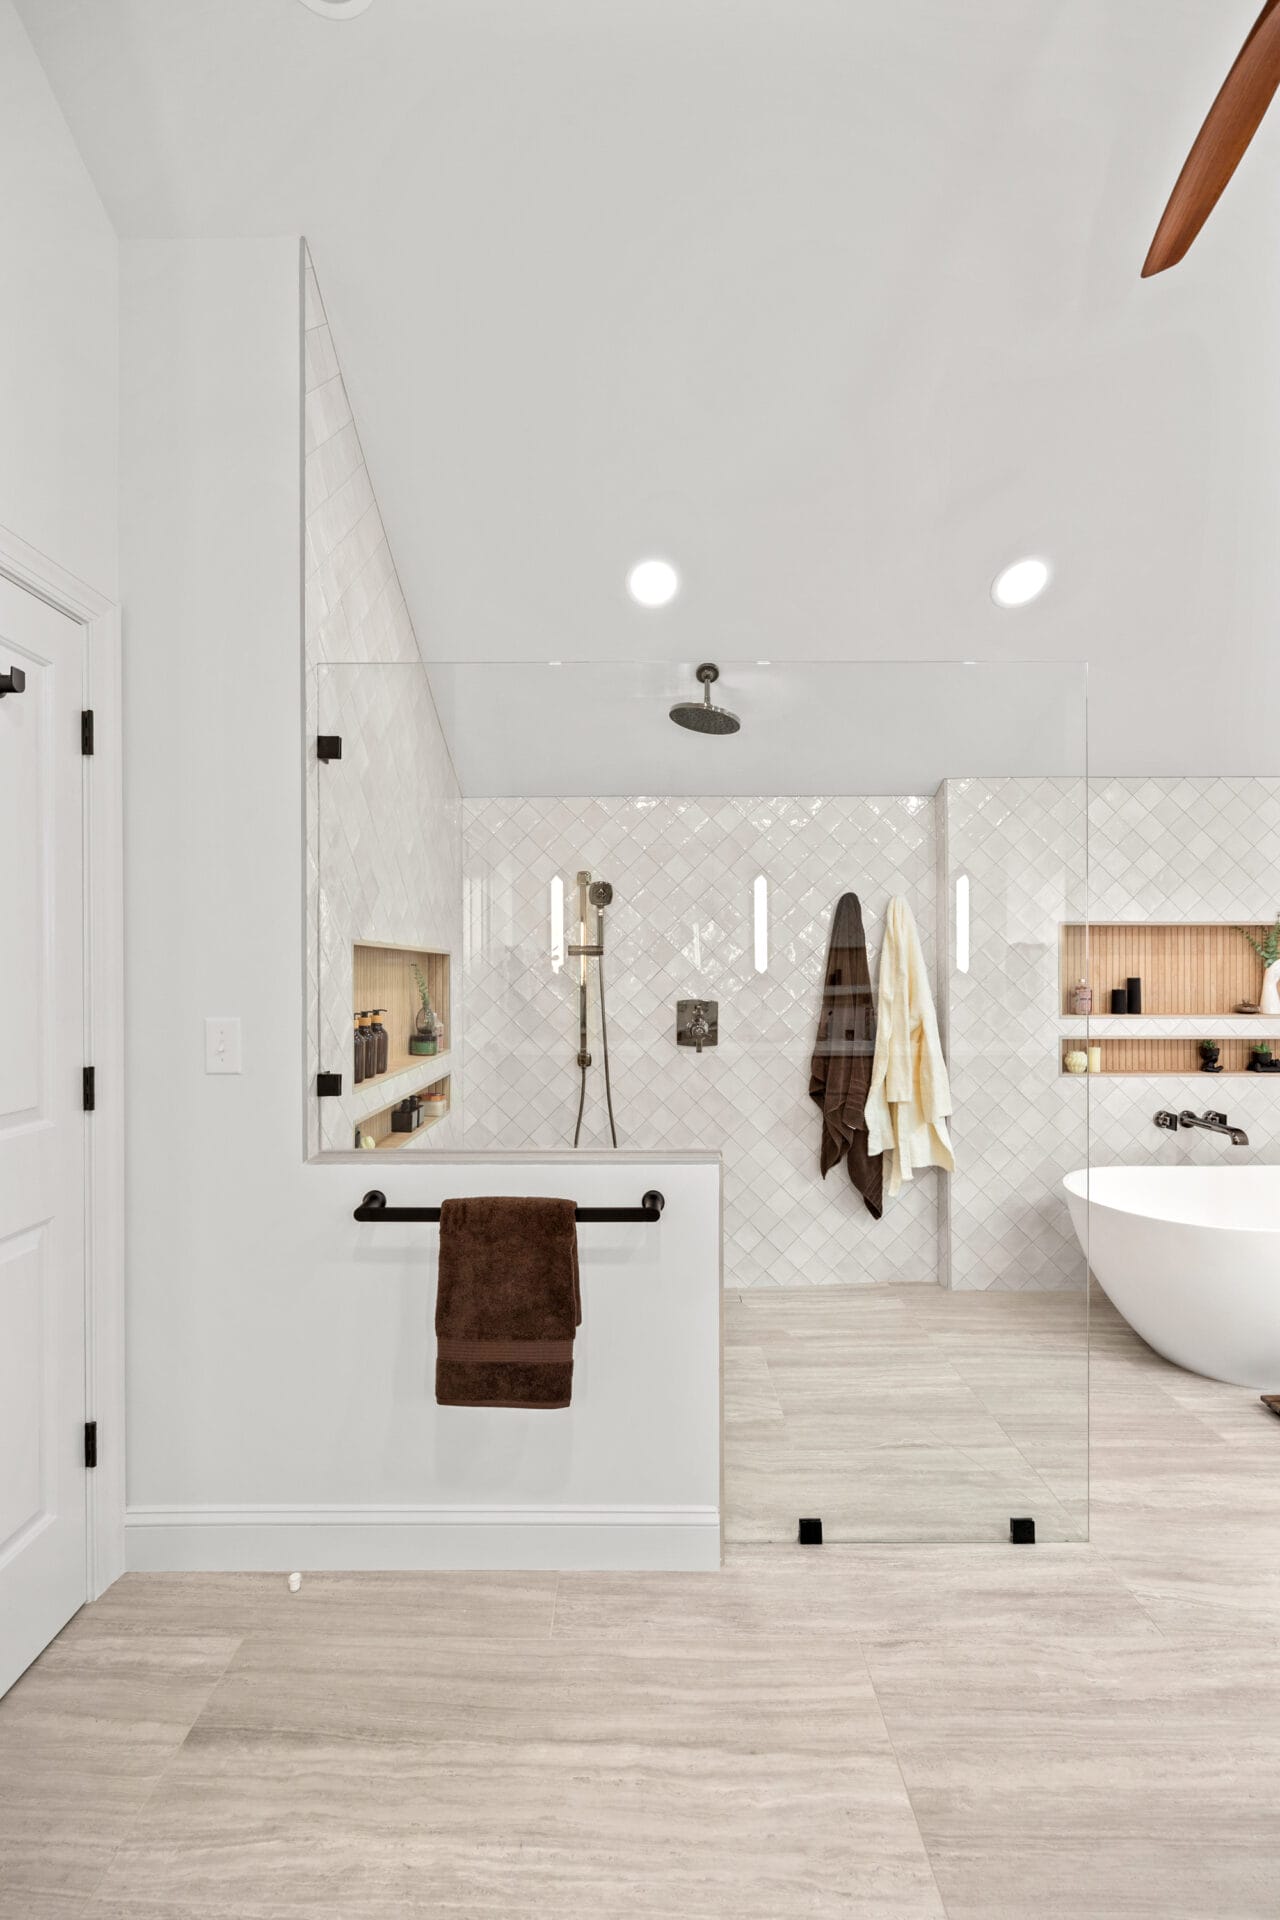
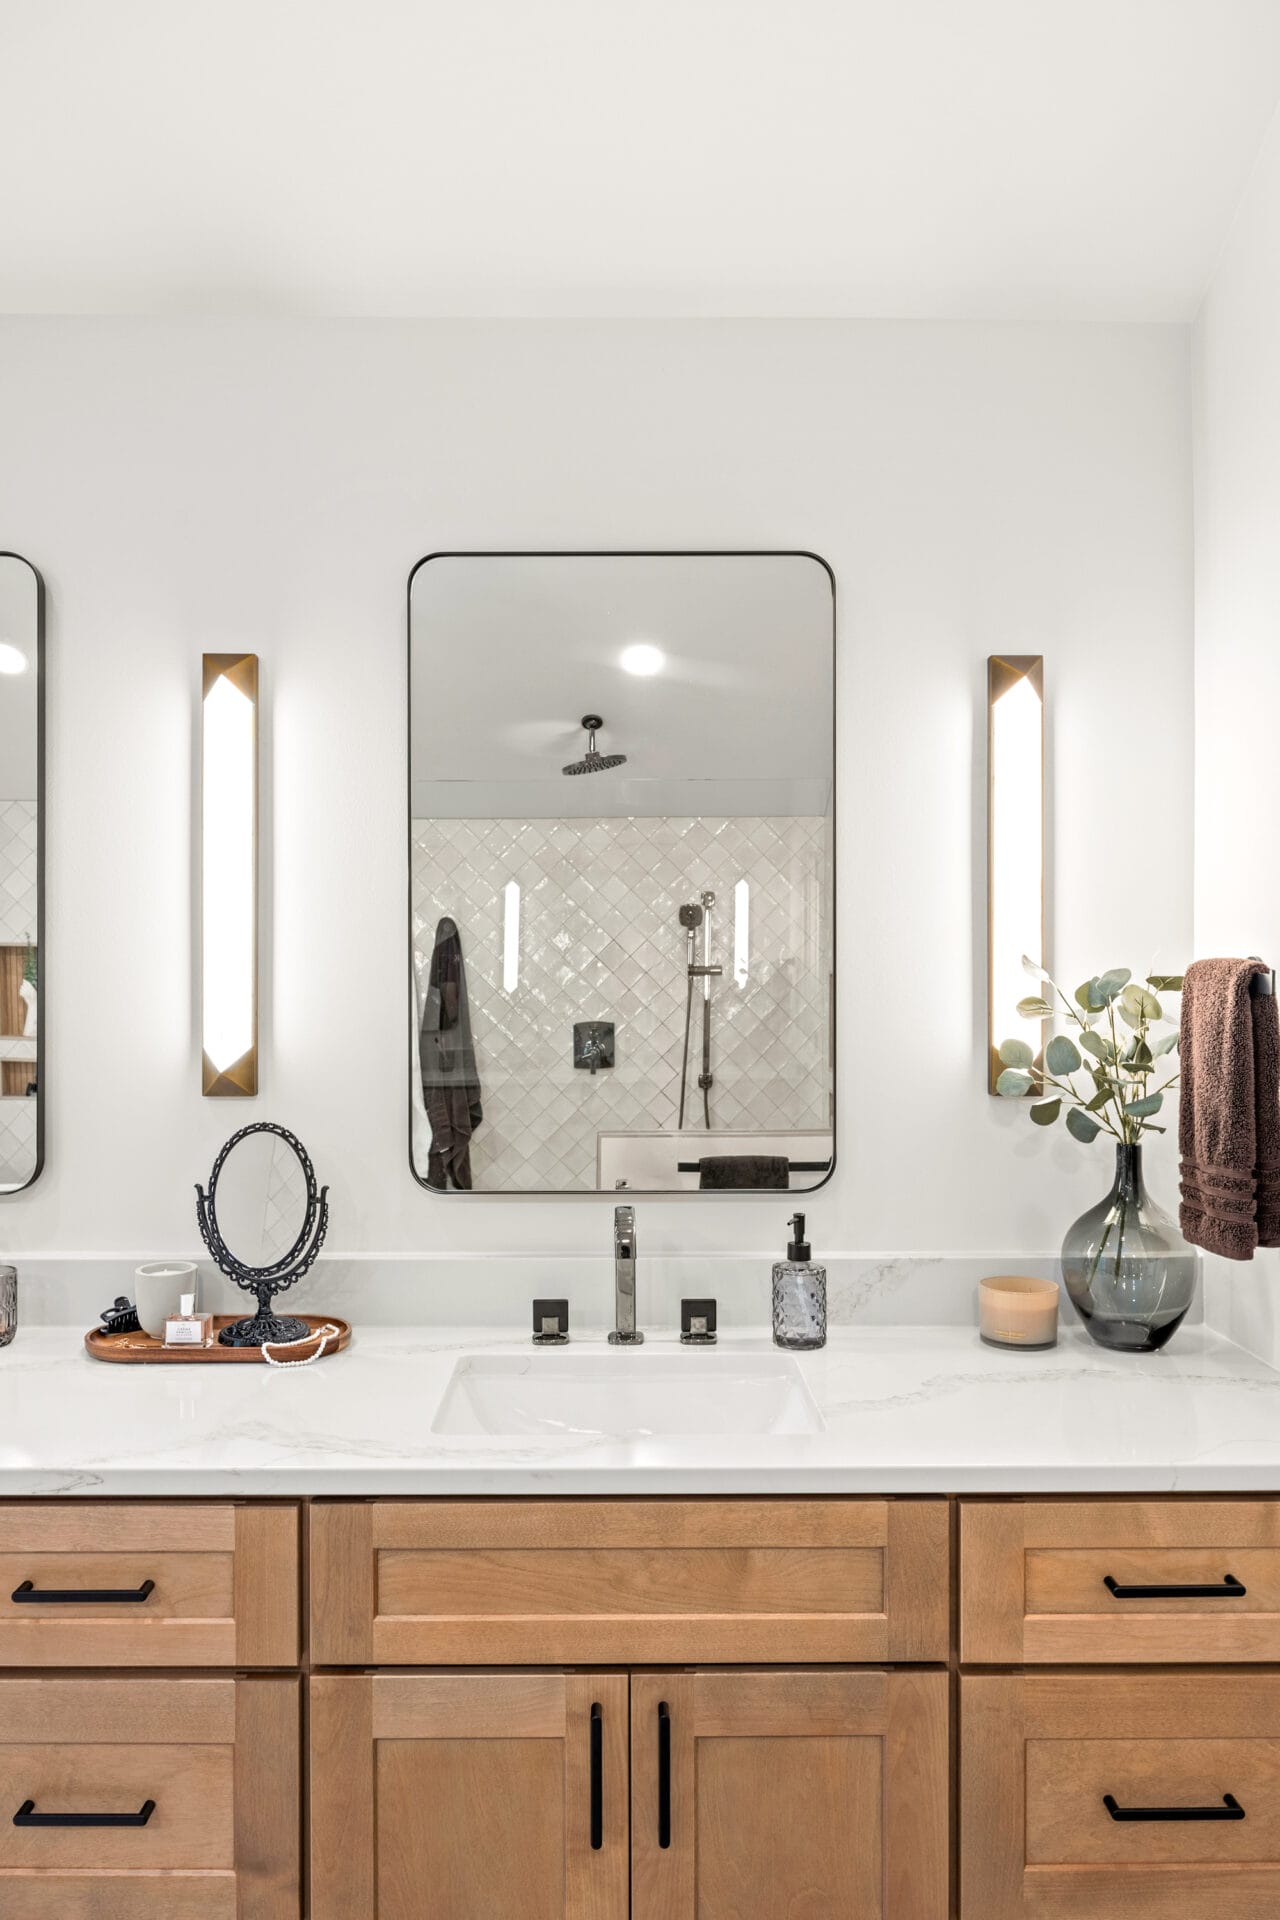
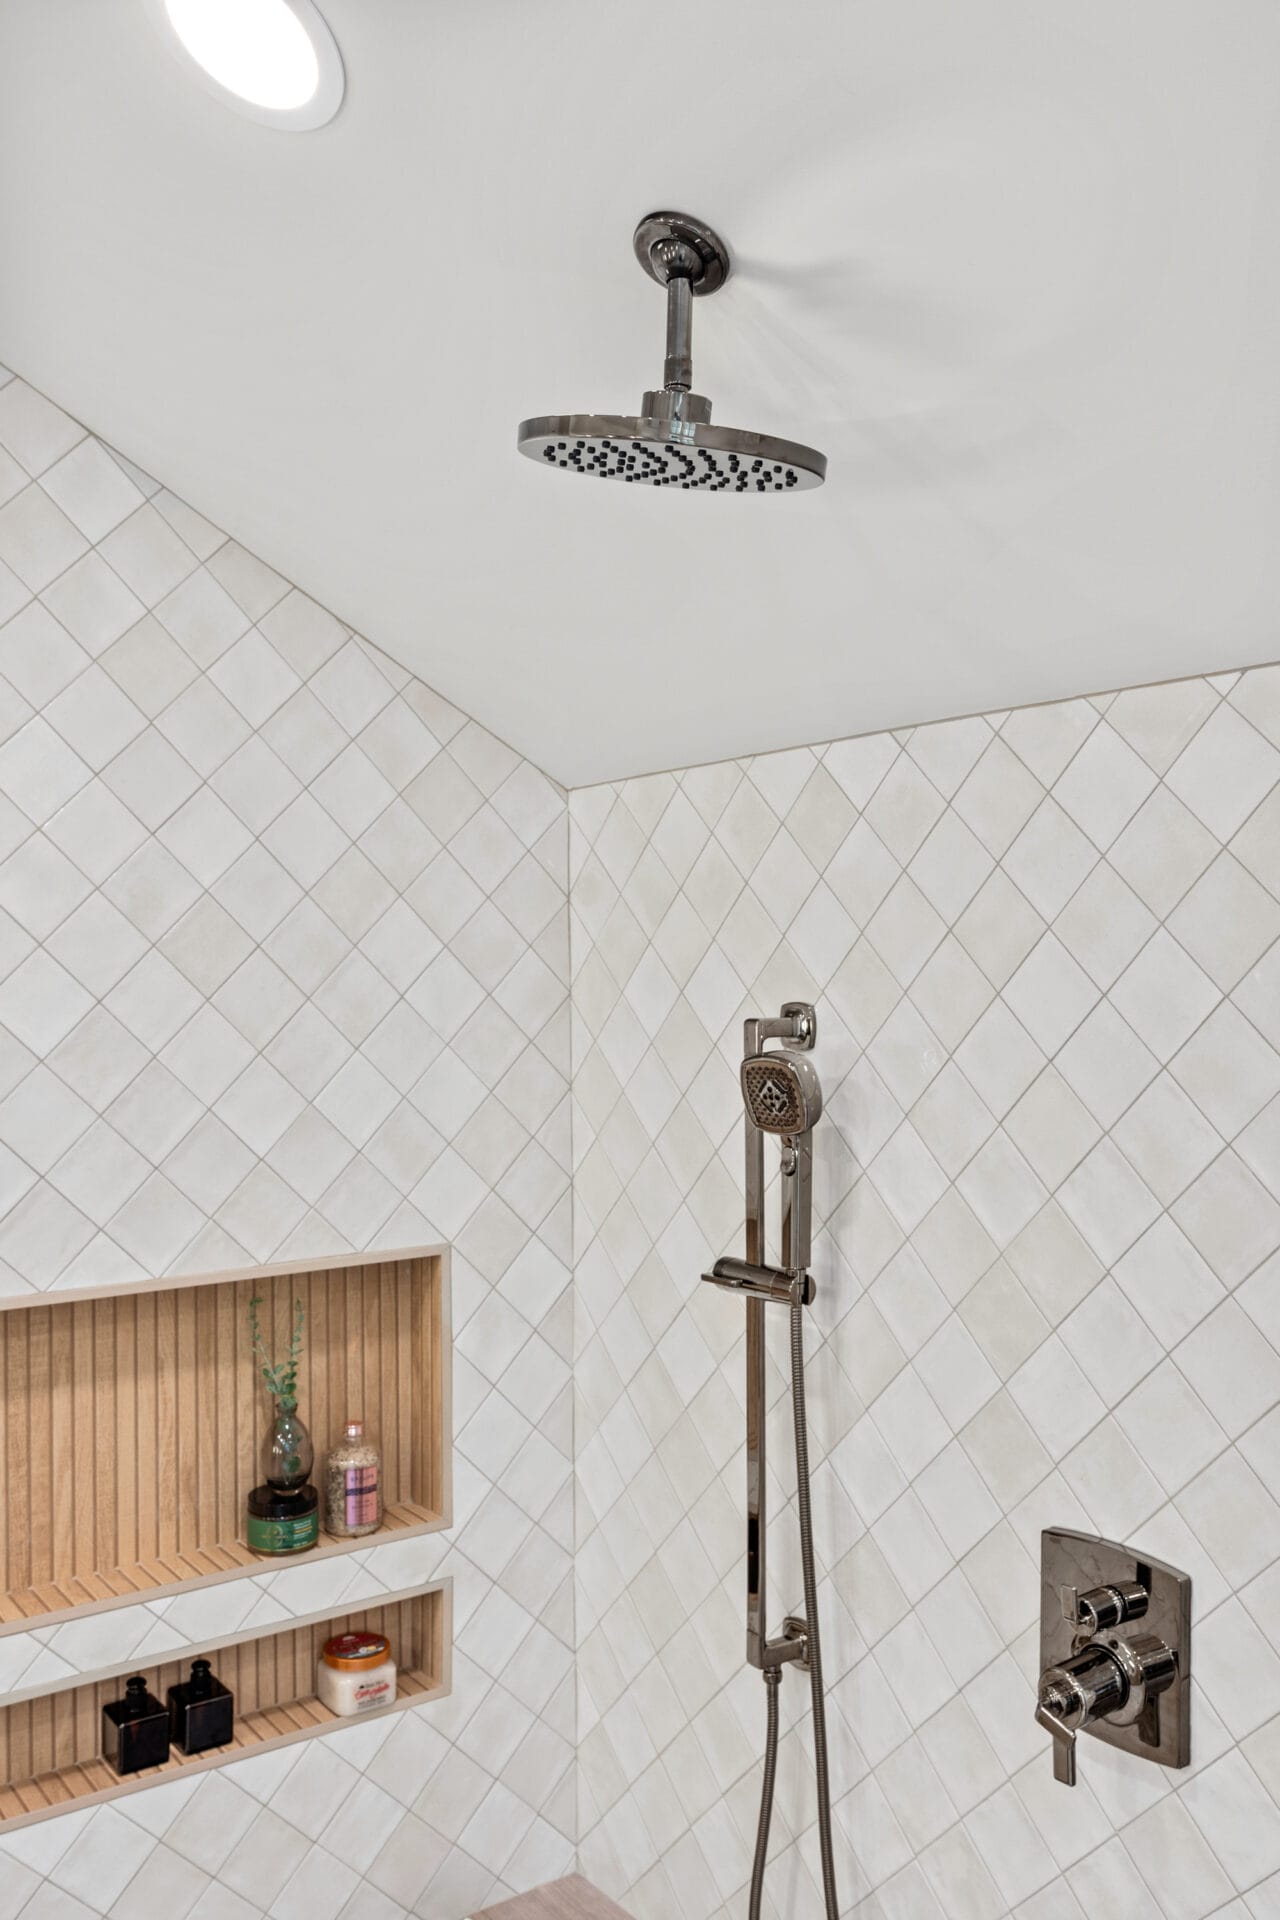
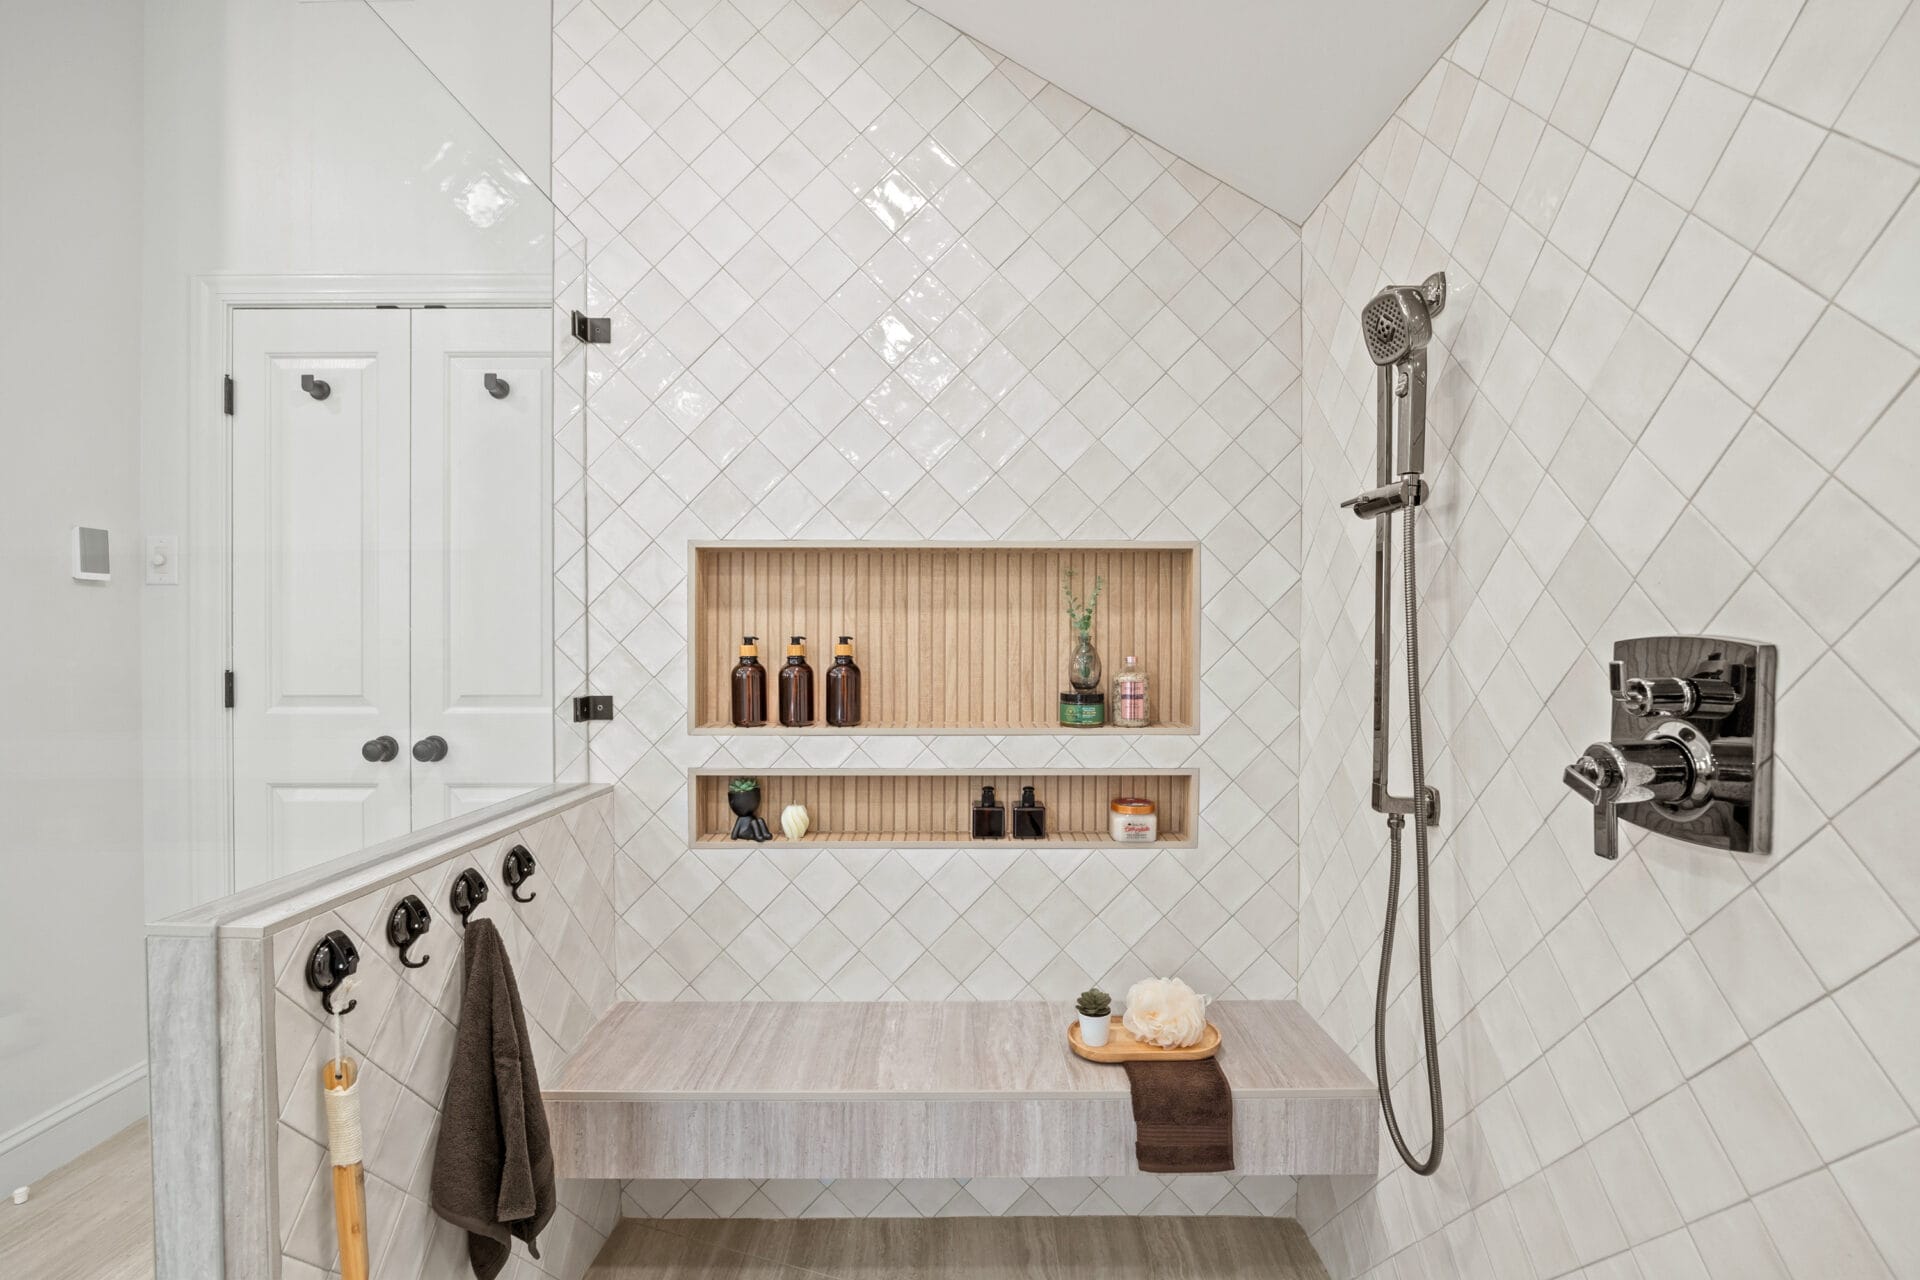
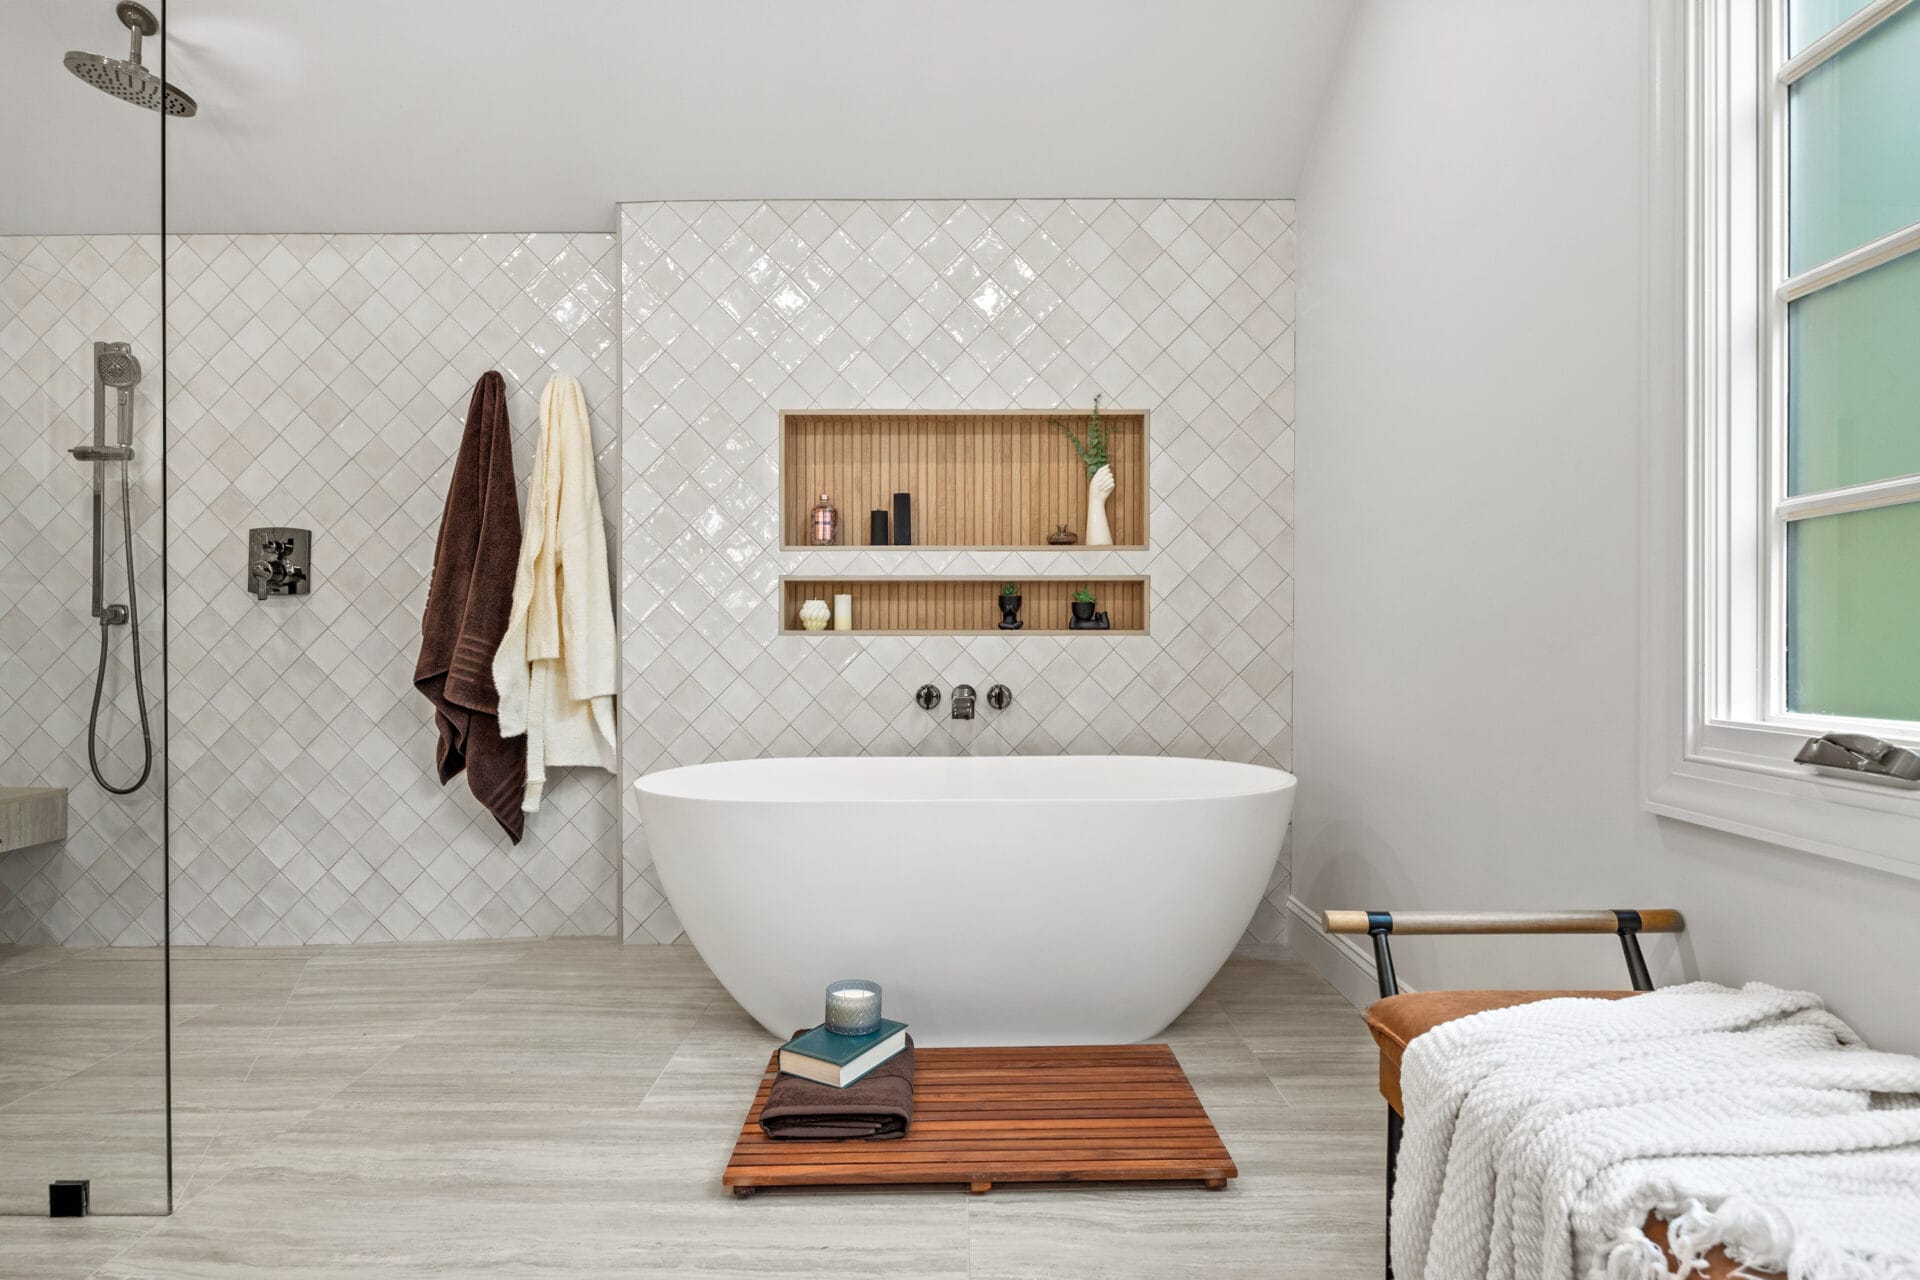
- Create a larger, more luxurious shower
- With the previous claustrophobic shower, it was important for the homeowners to have a new shower that was larger, more open and created the feeling of relaxation every time they stepped into their shower.
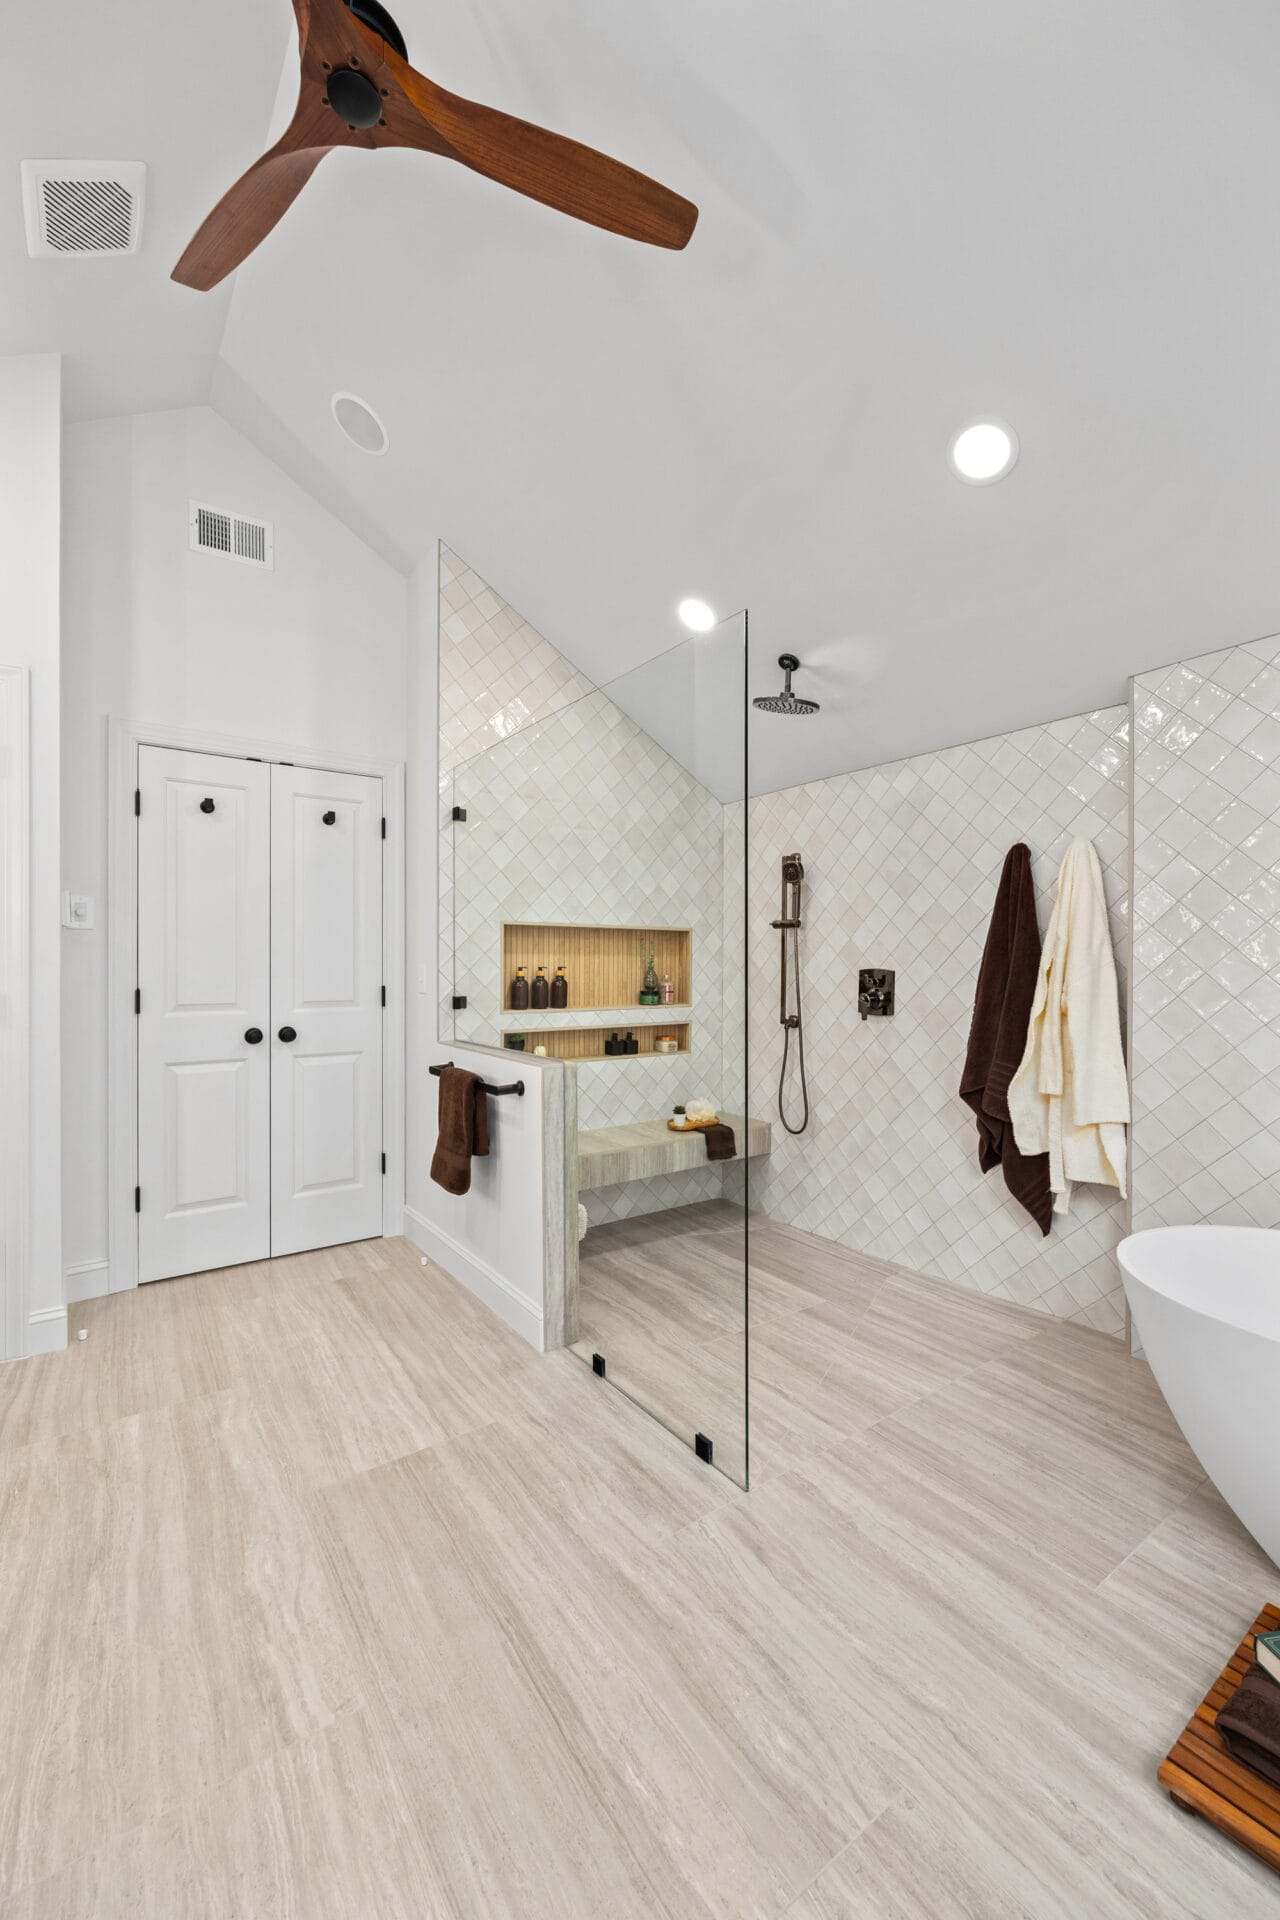
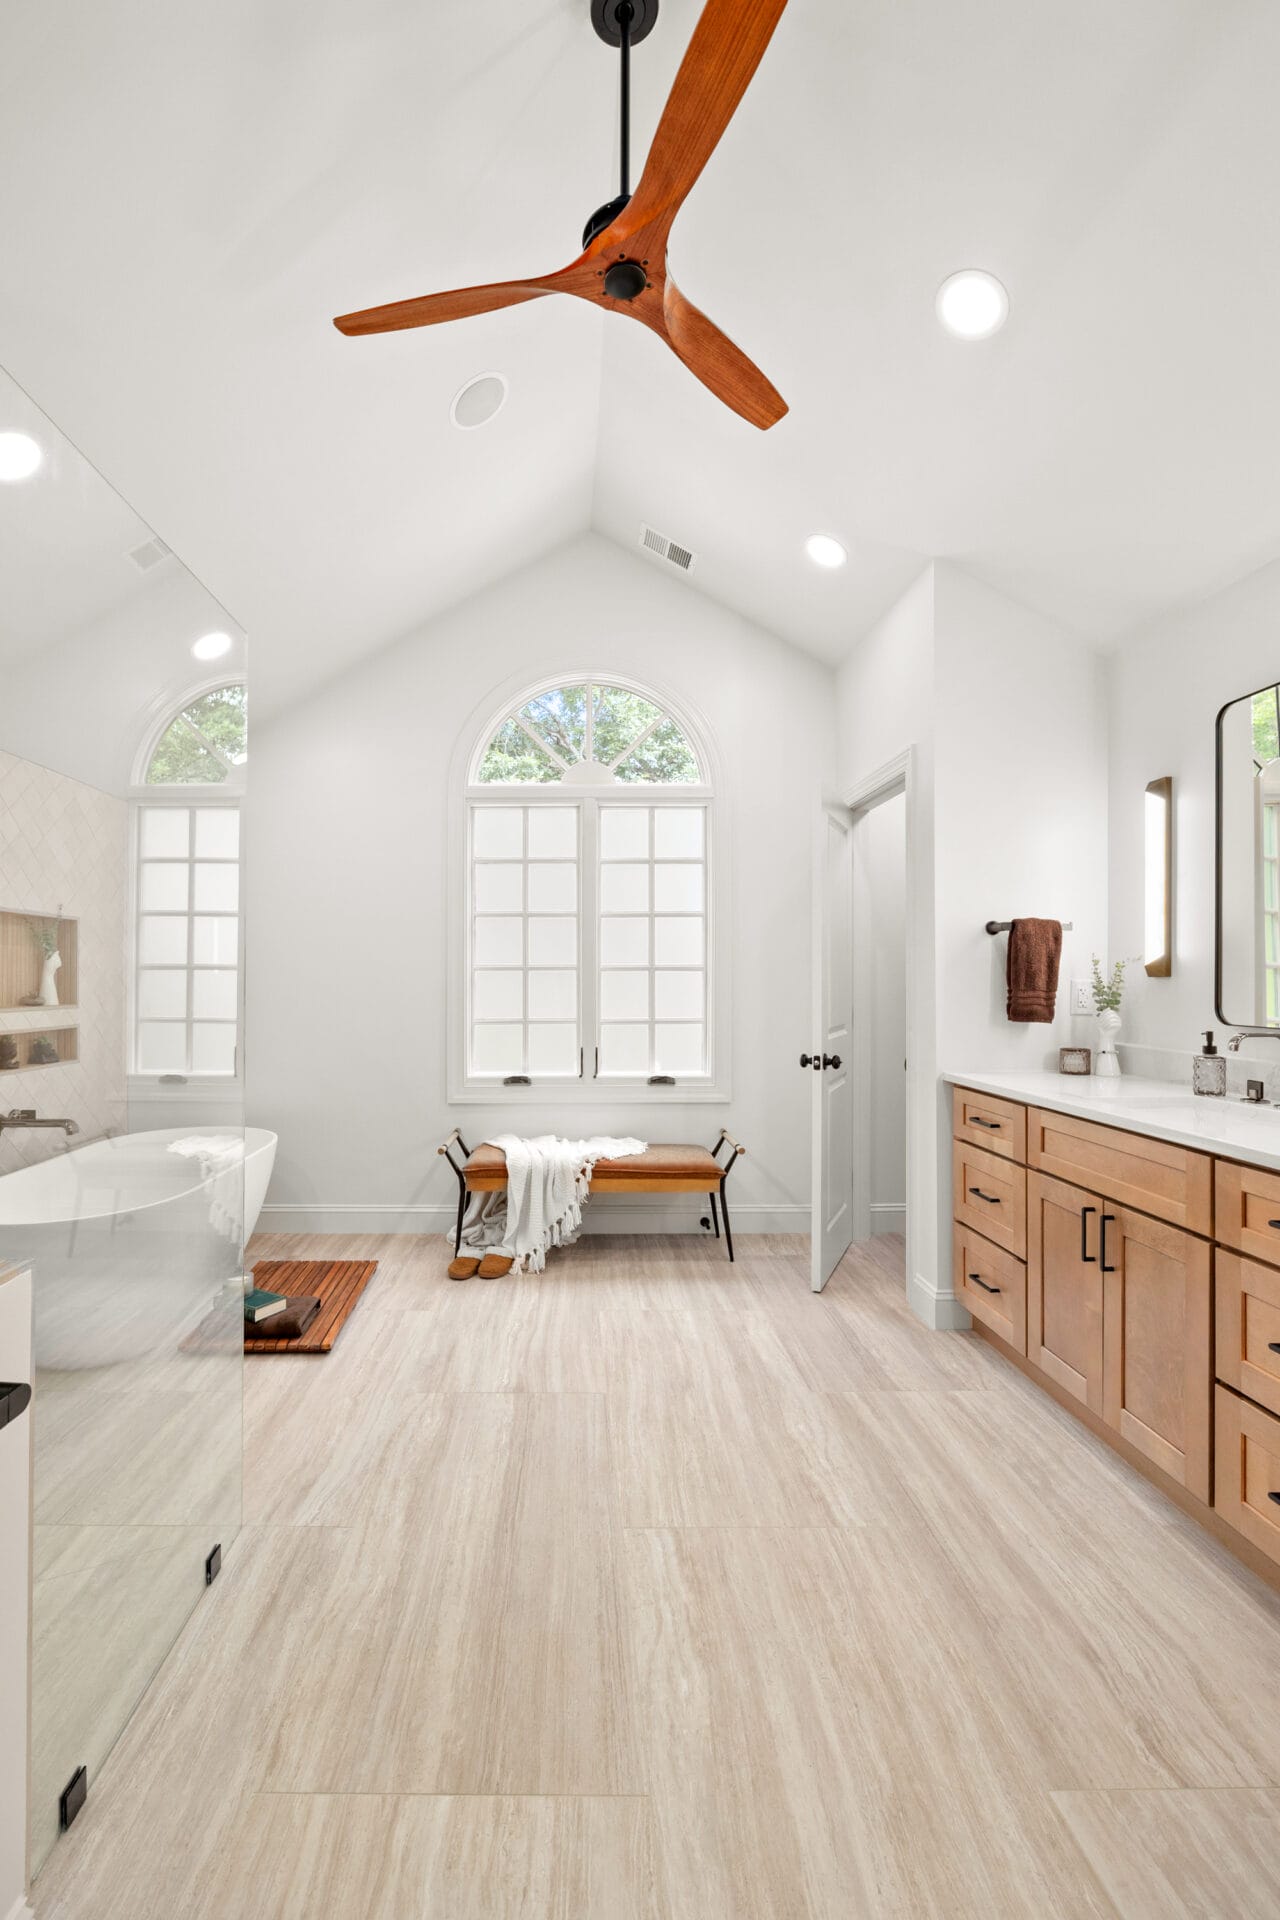
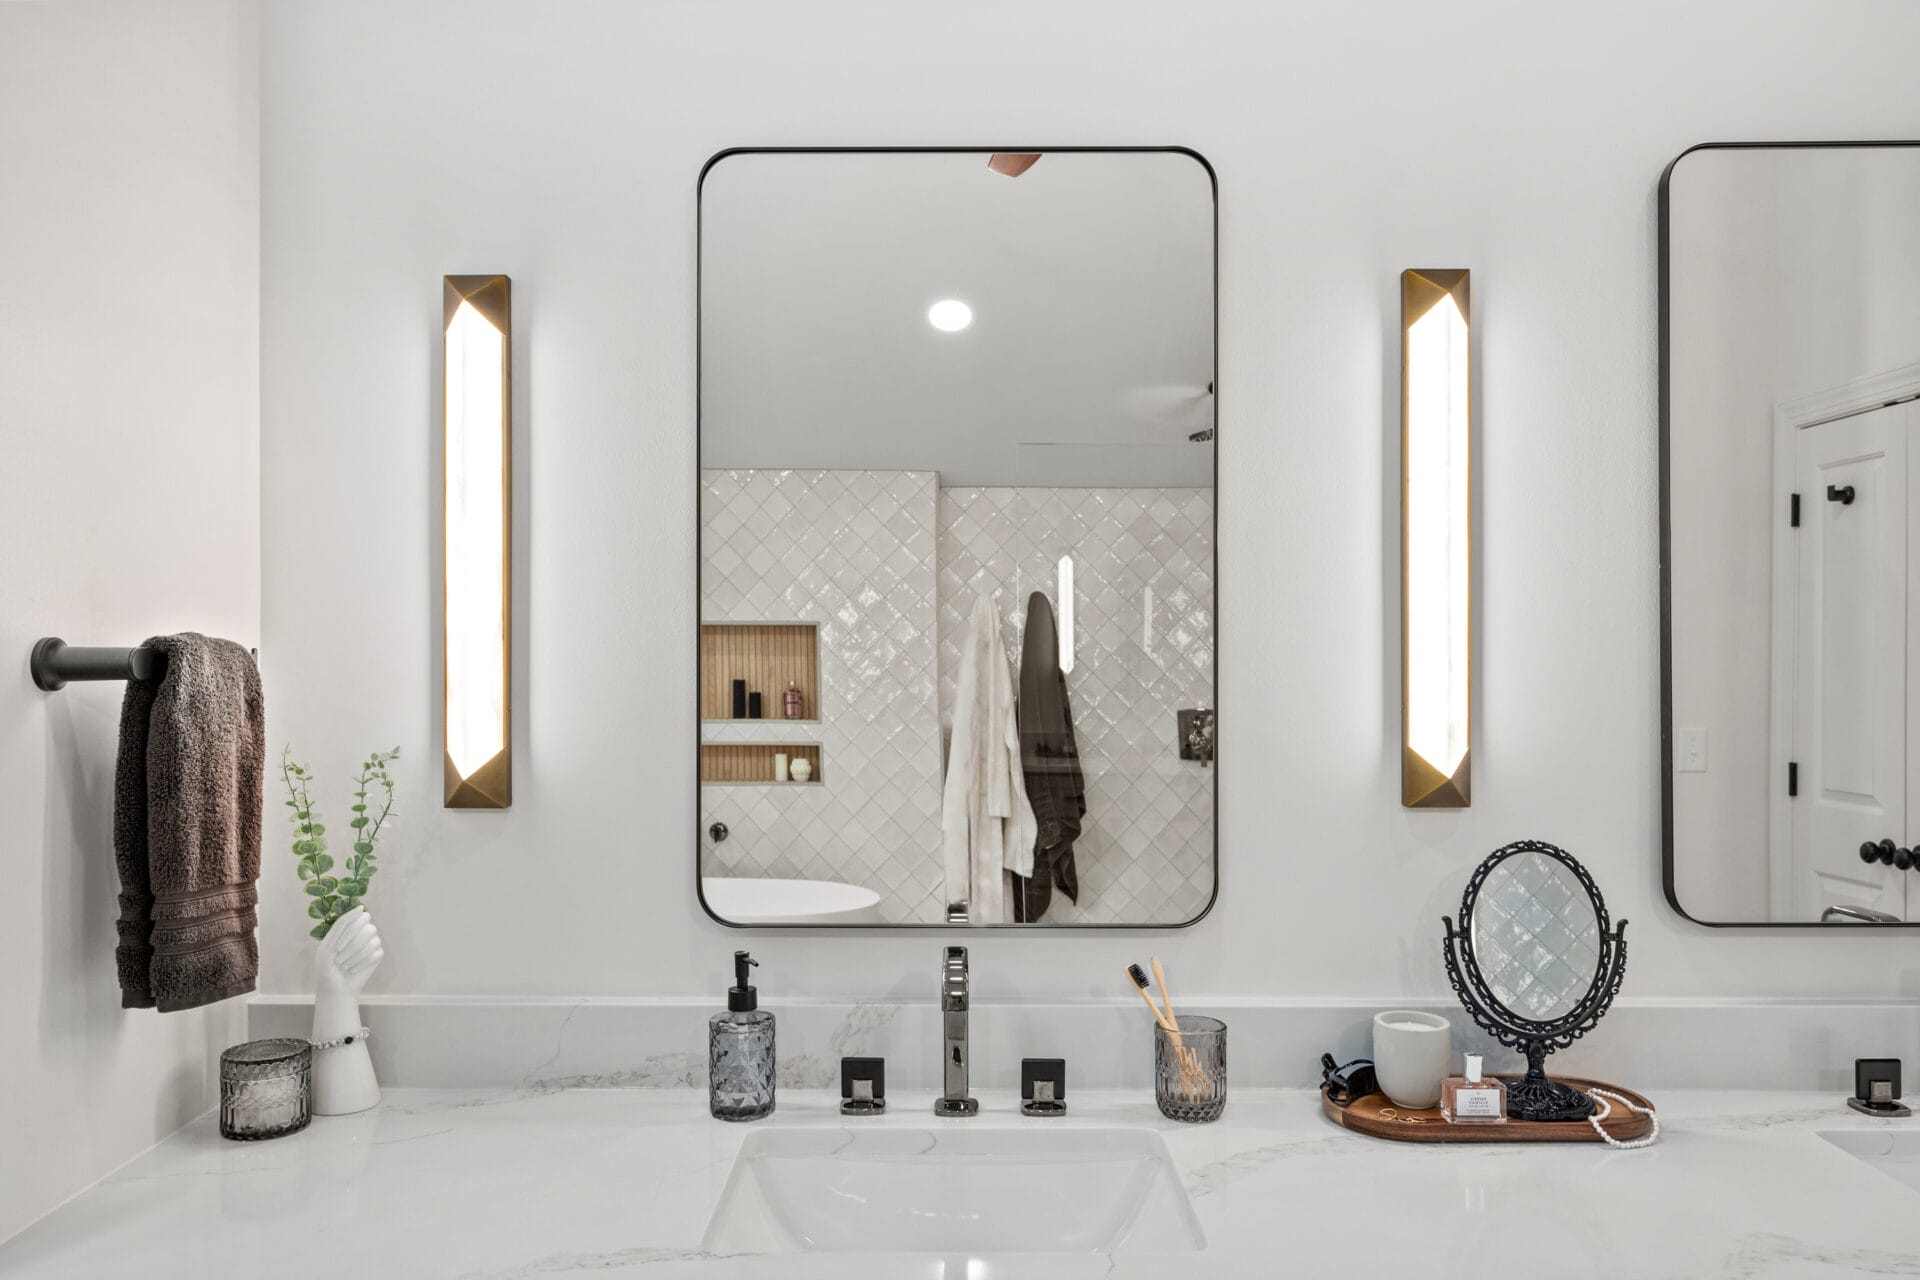
- Enhance openness and flow within the bathroom
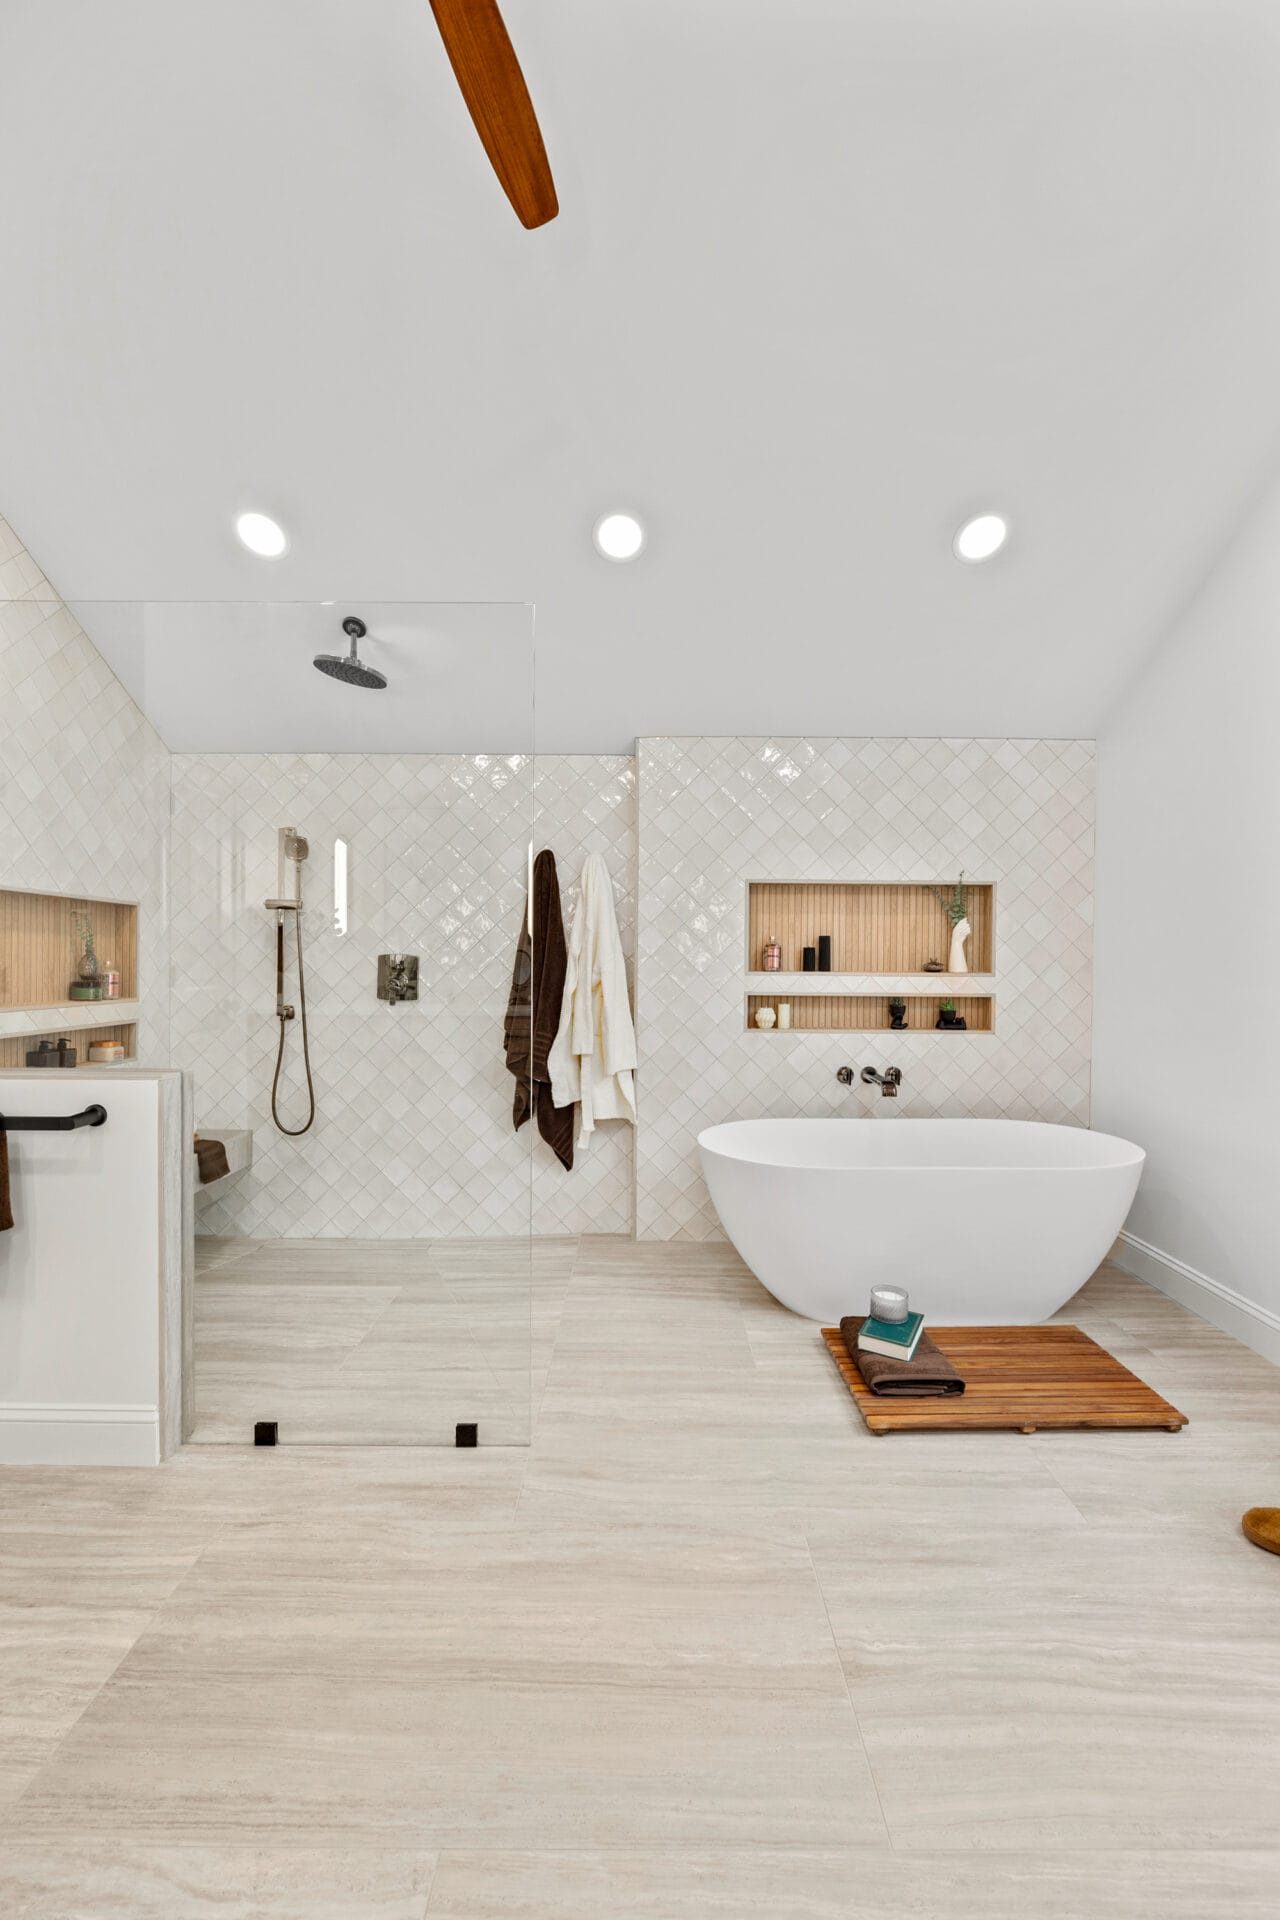
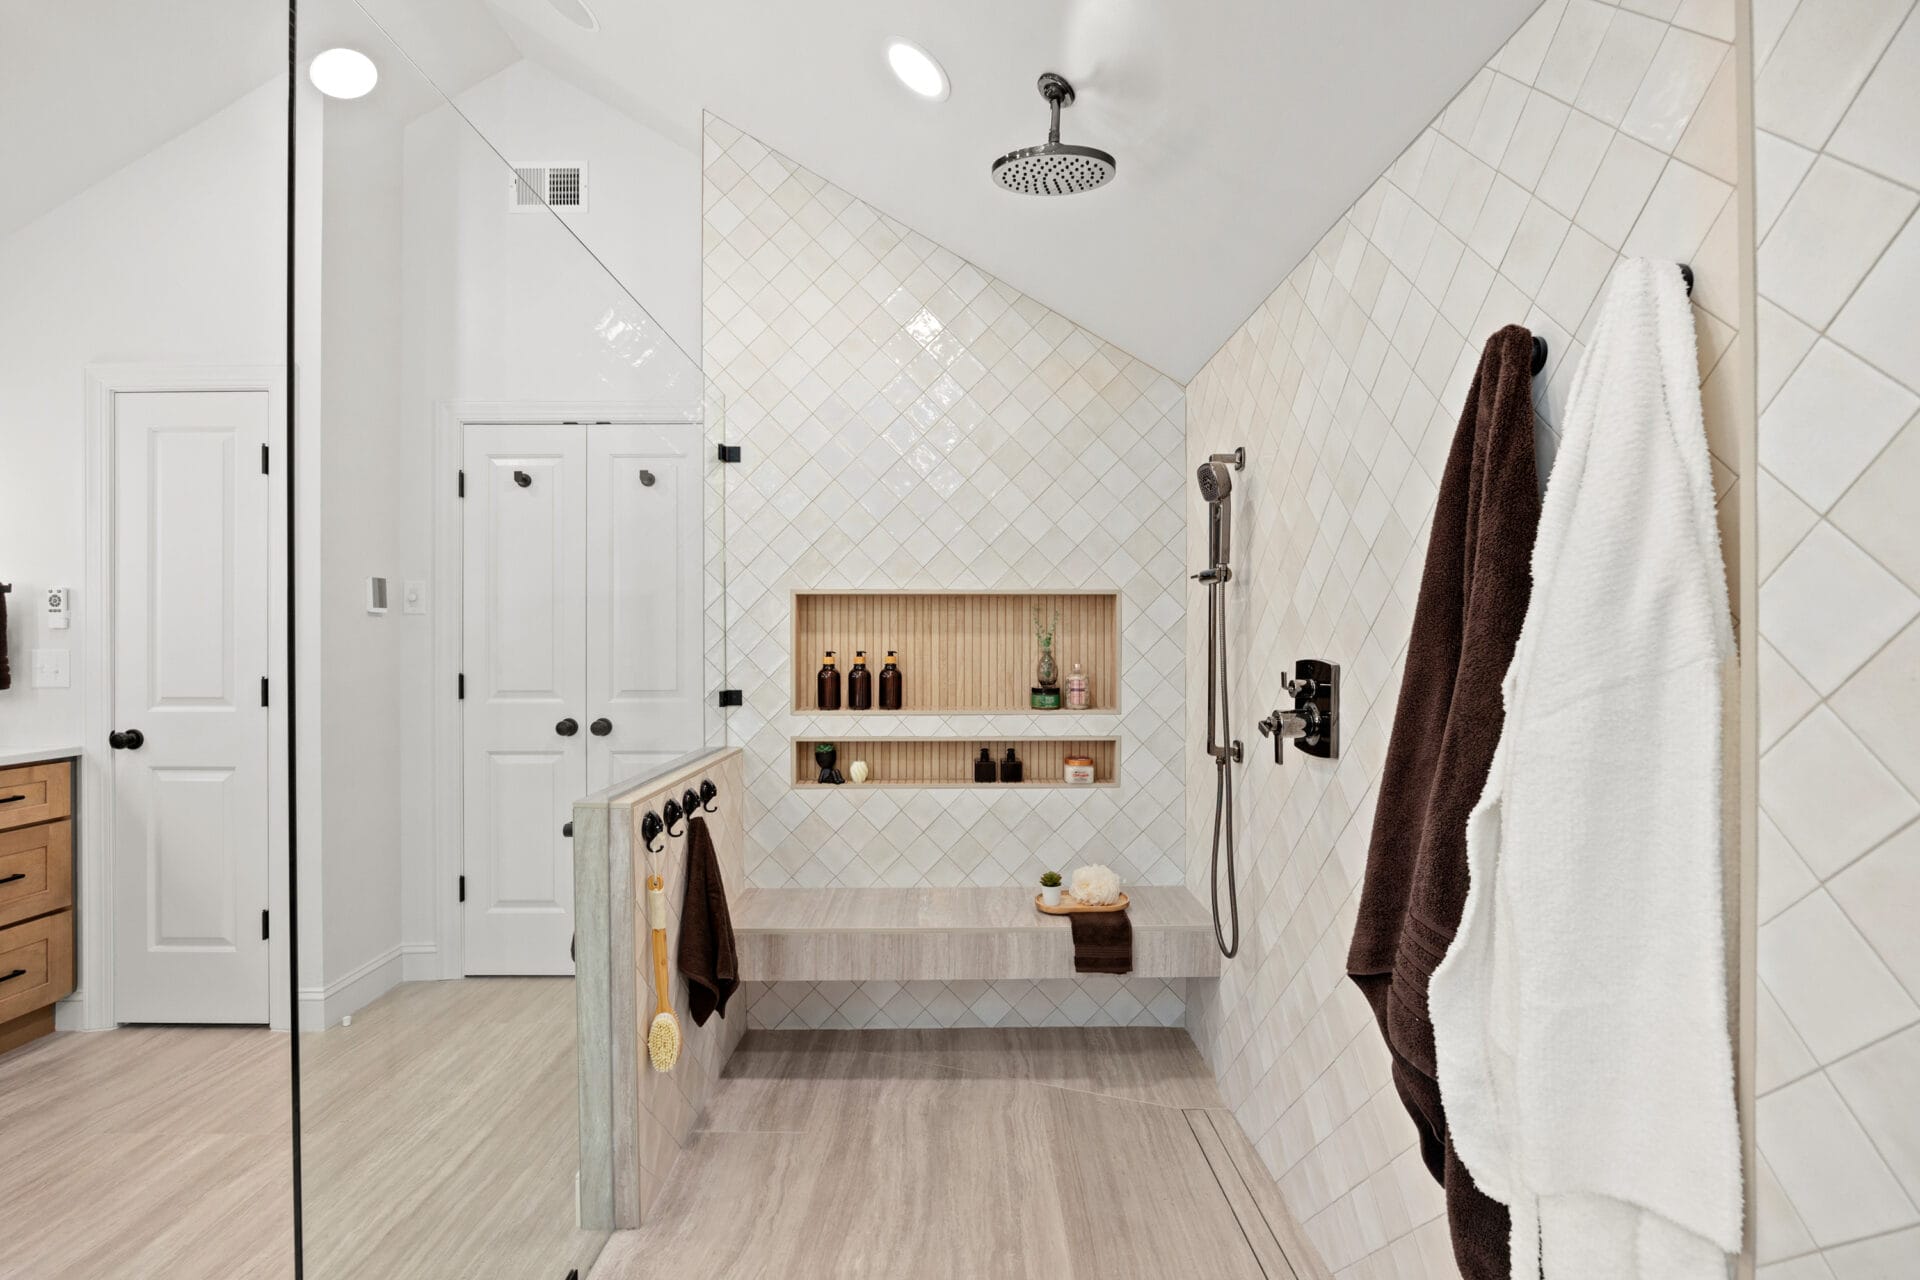
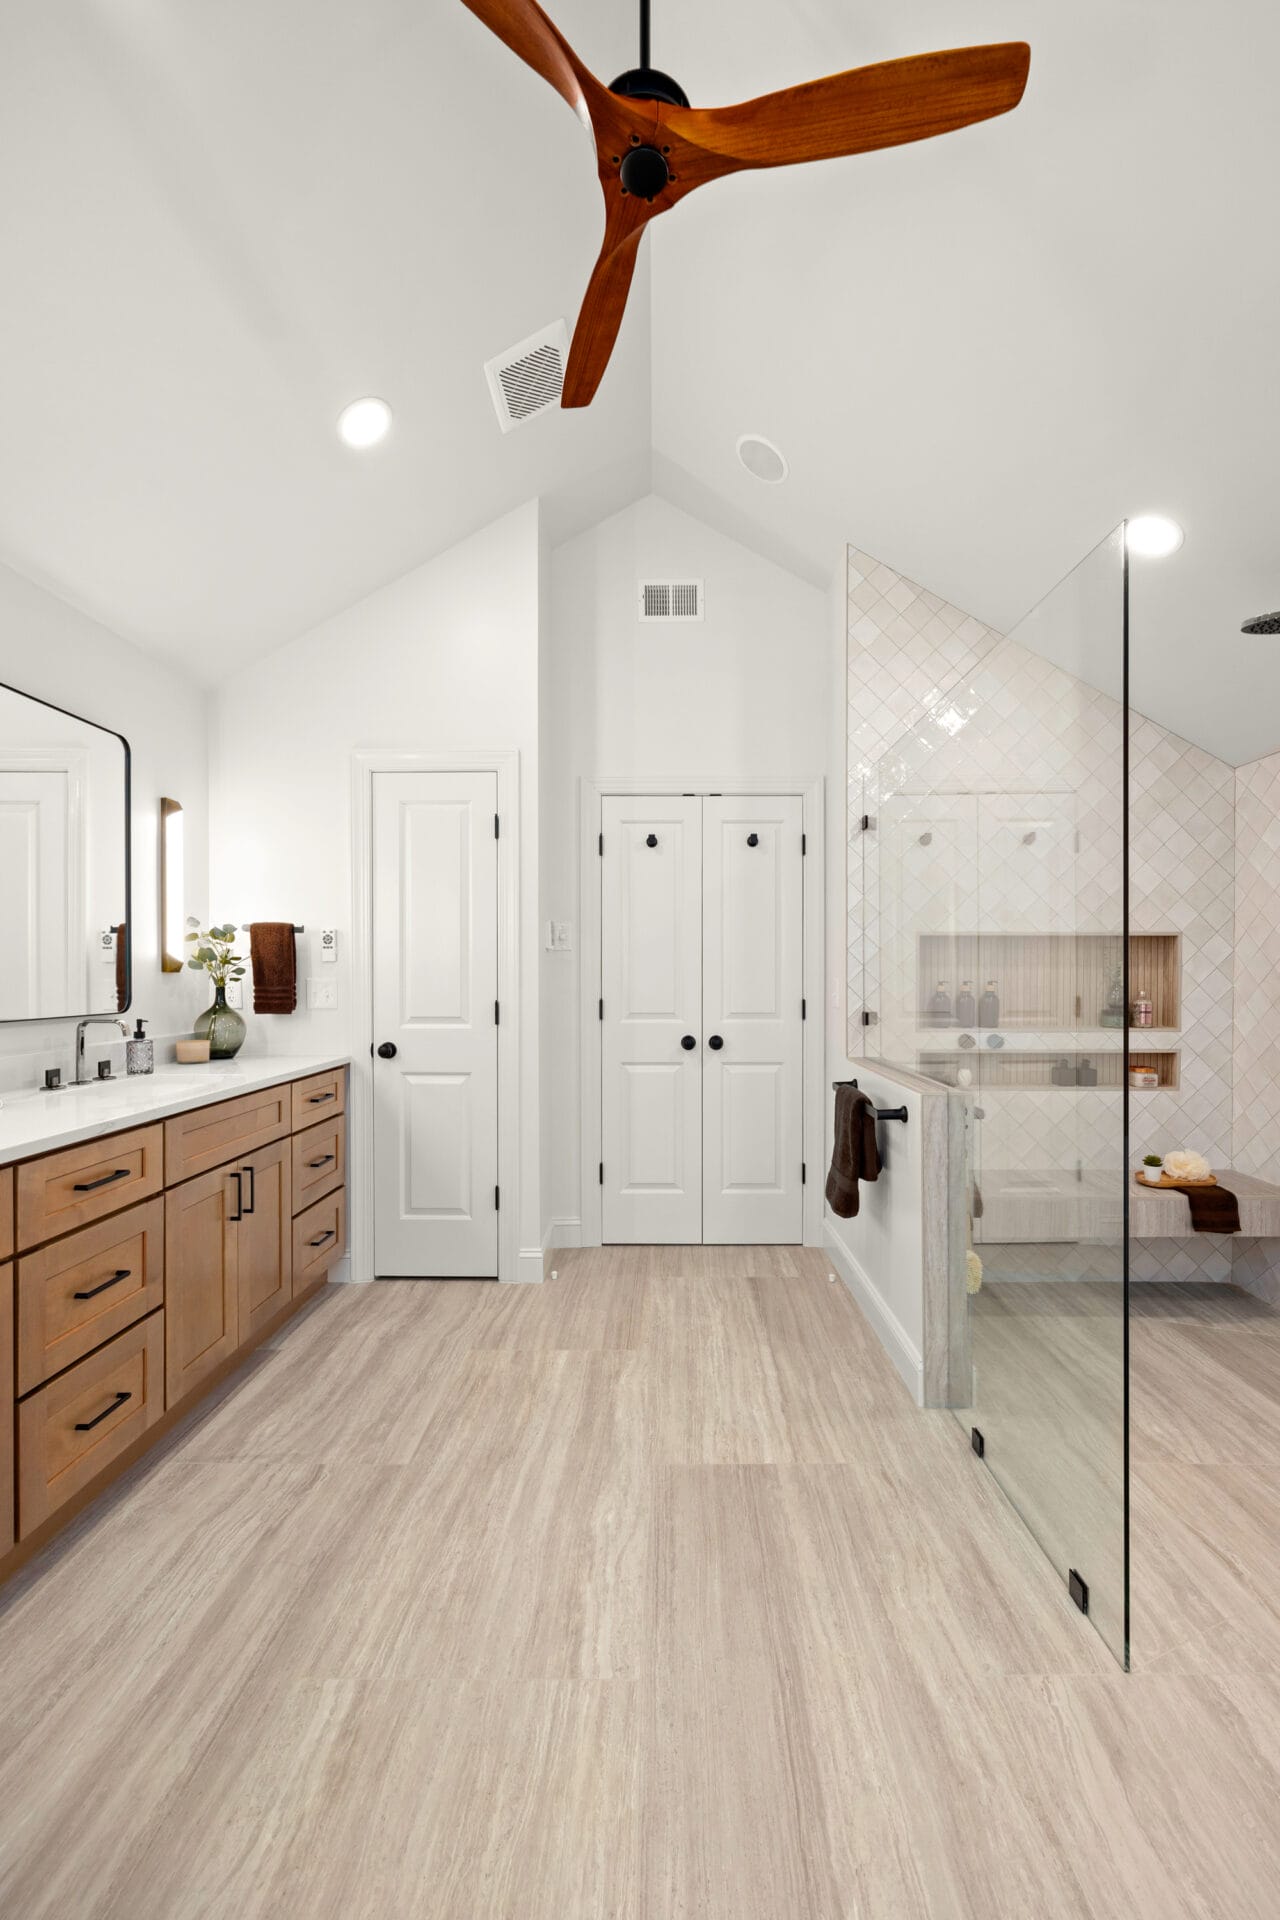
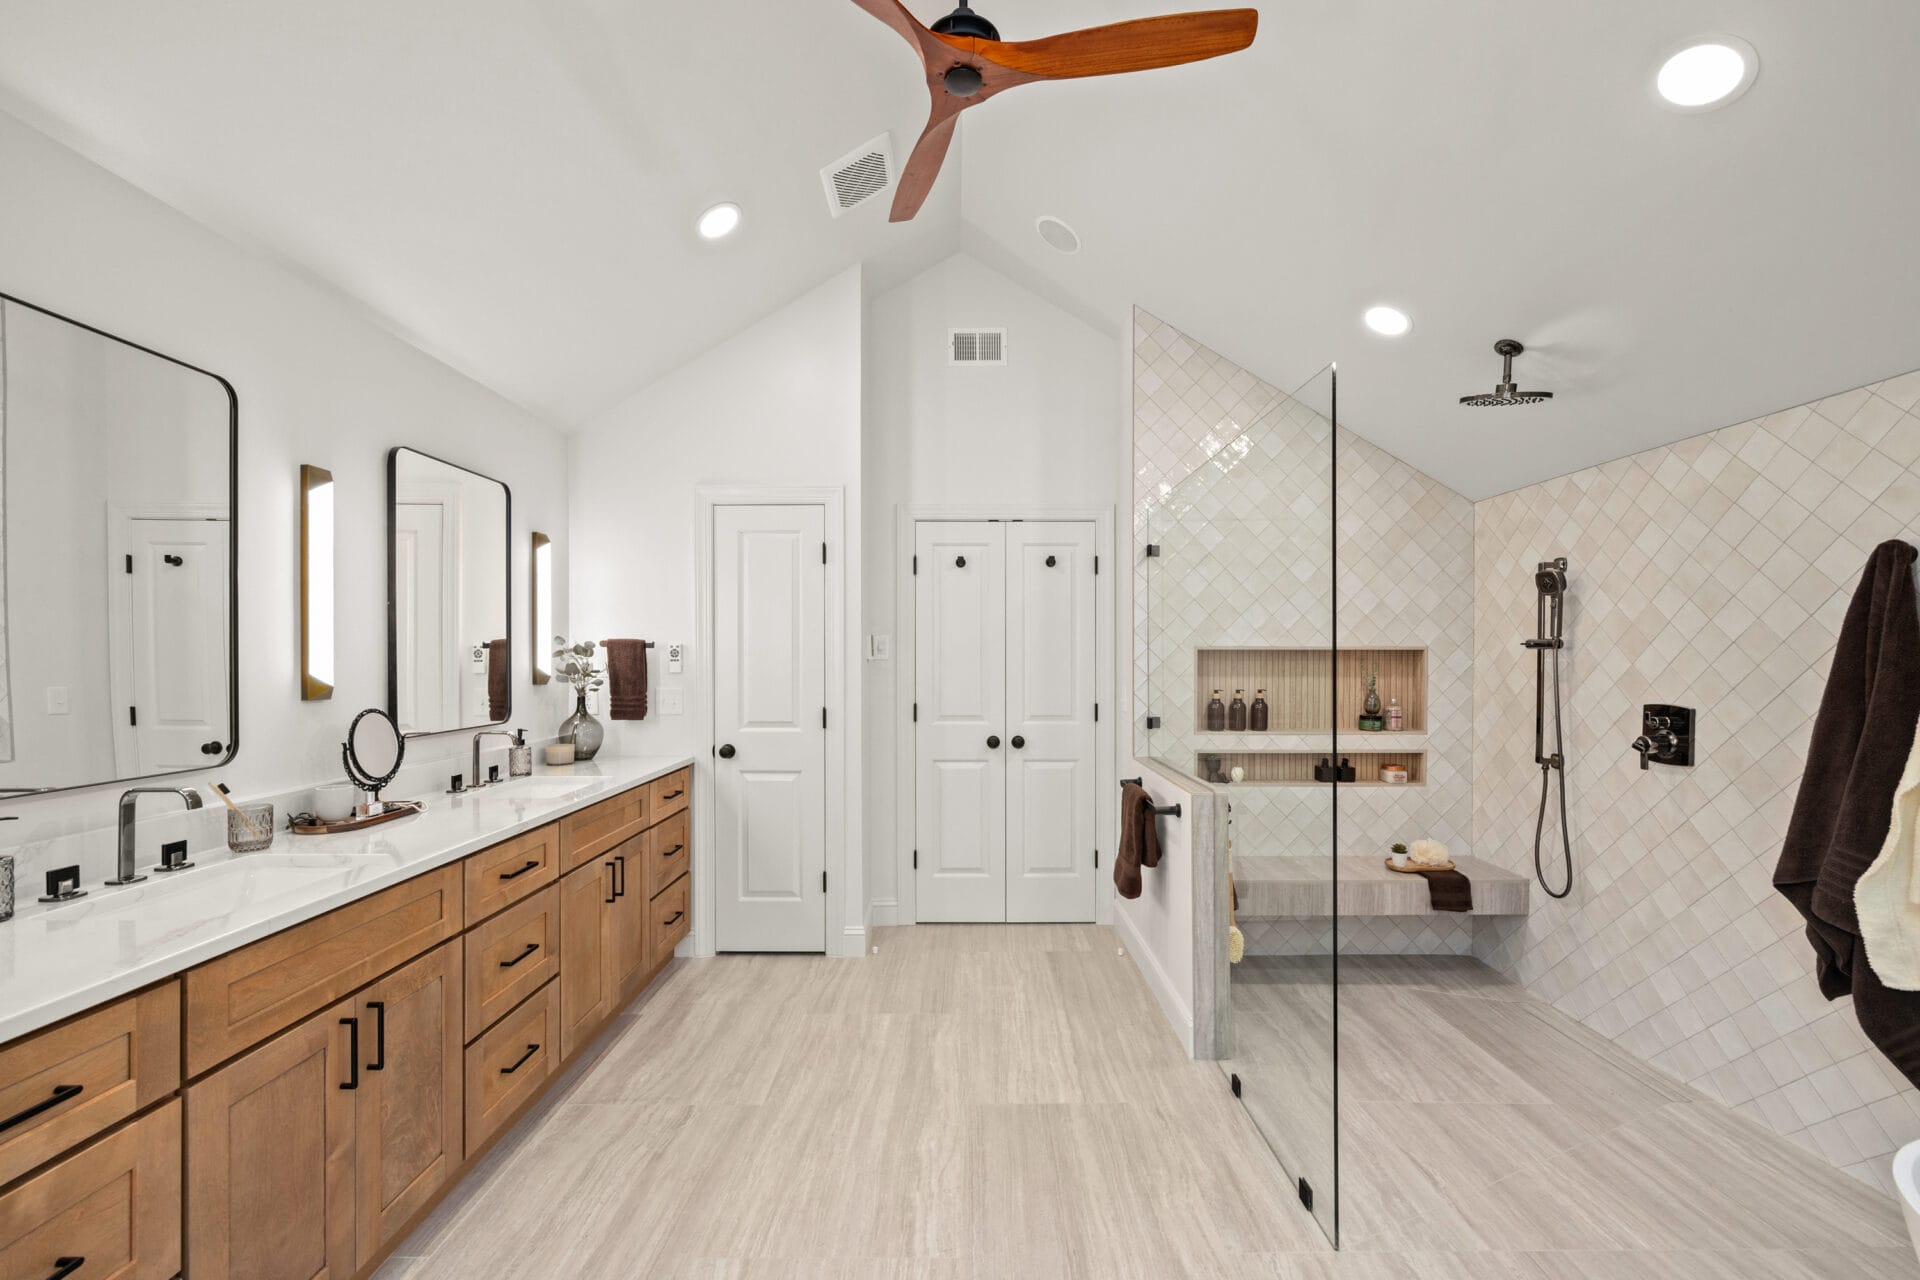
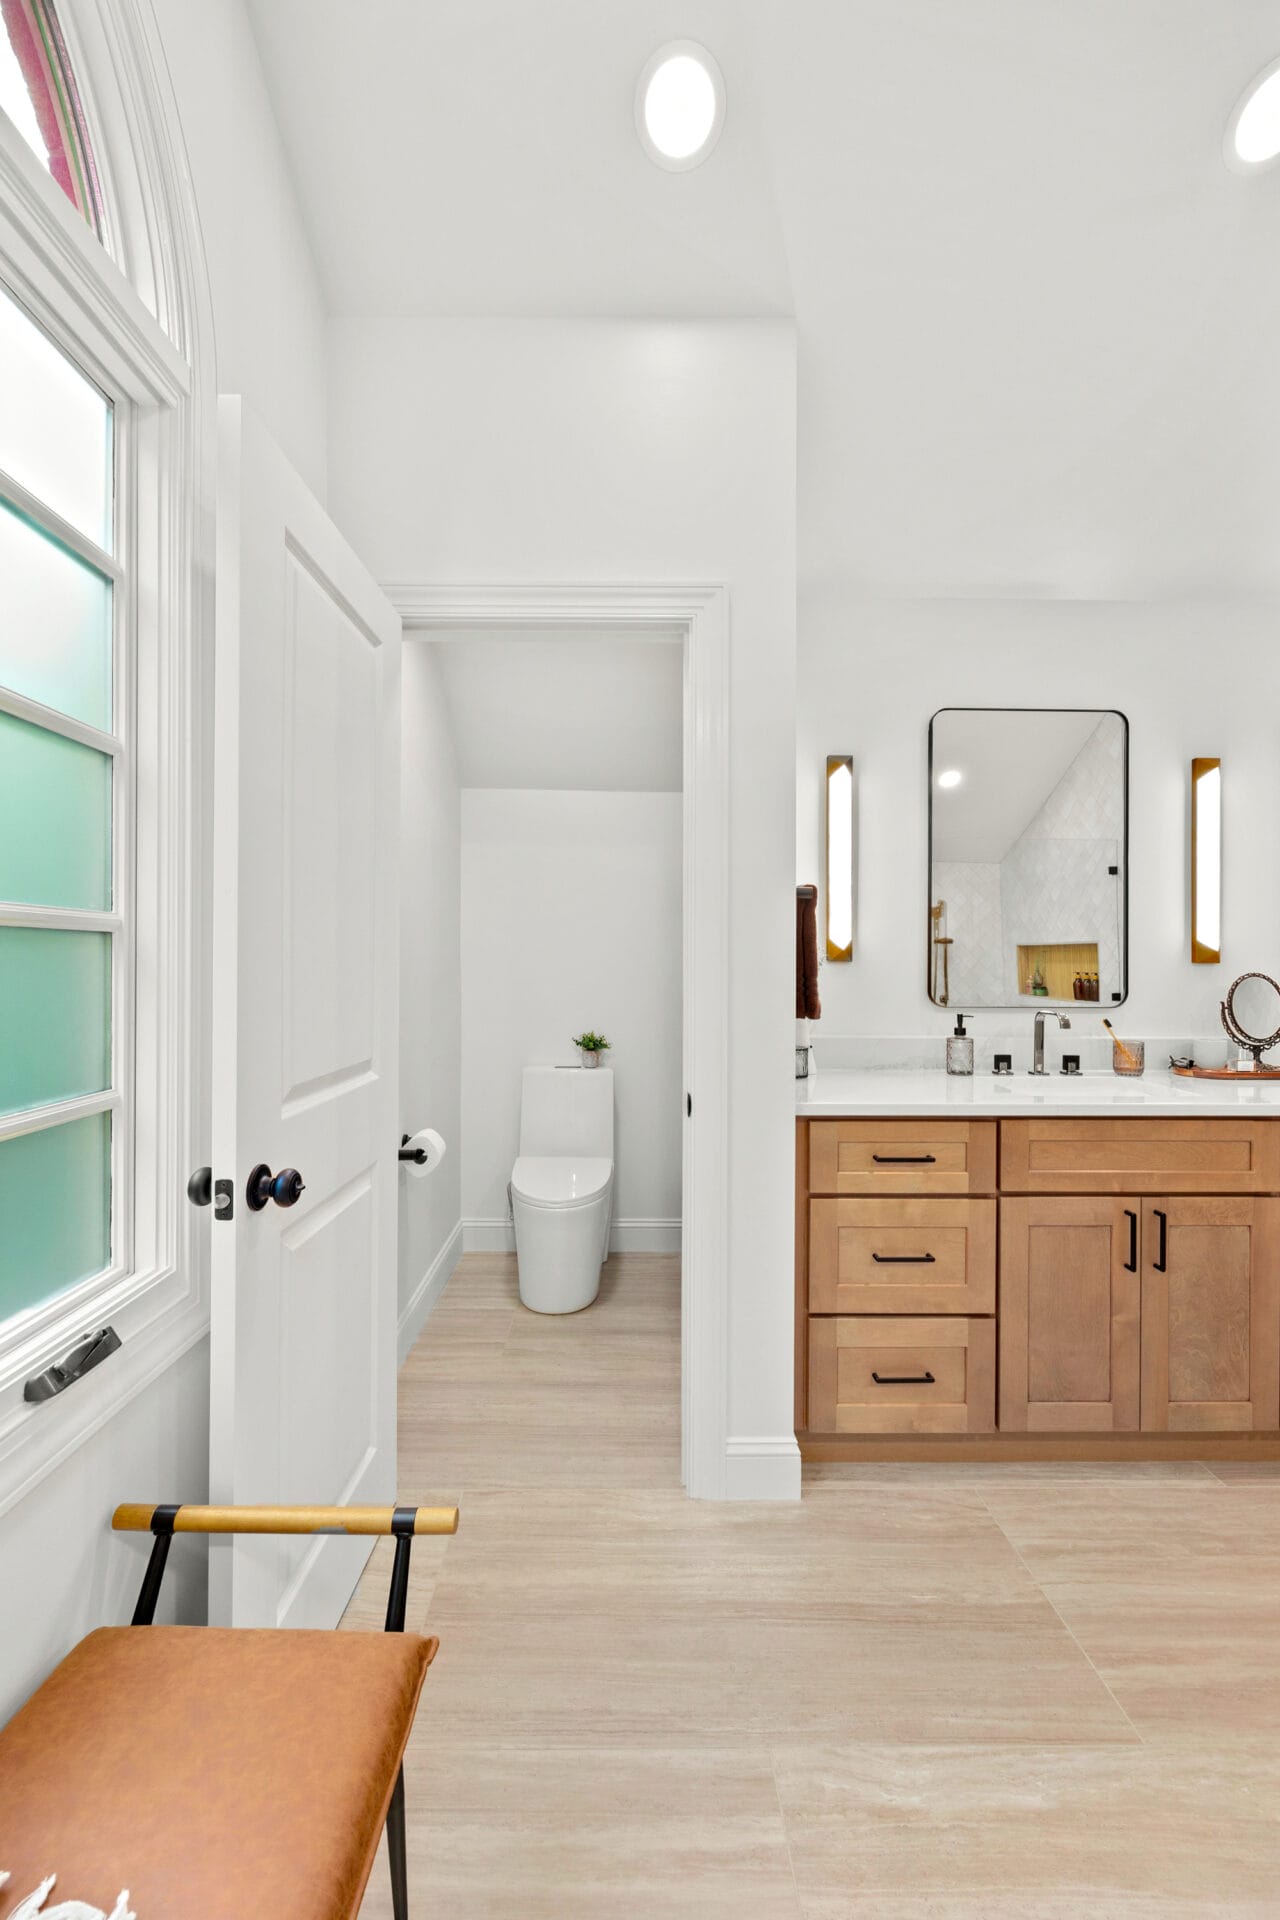
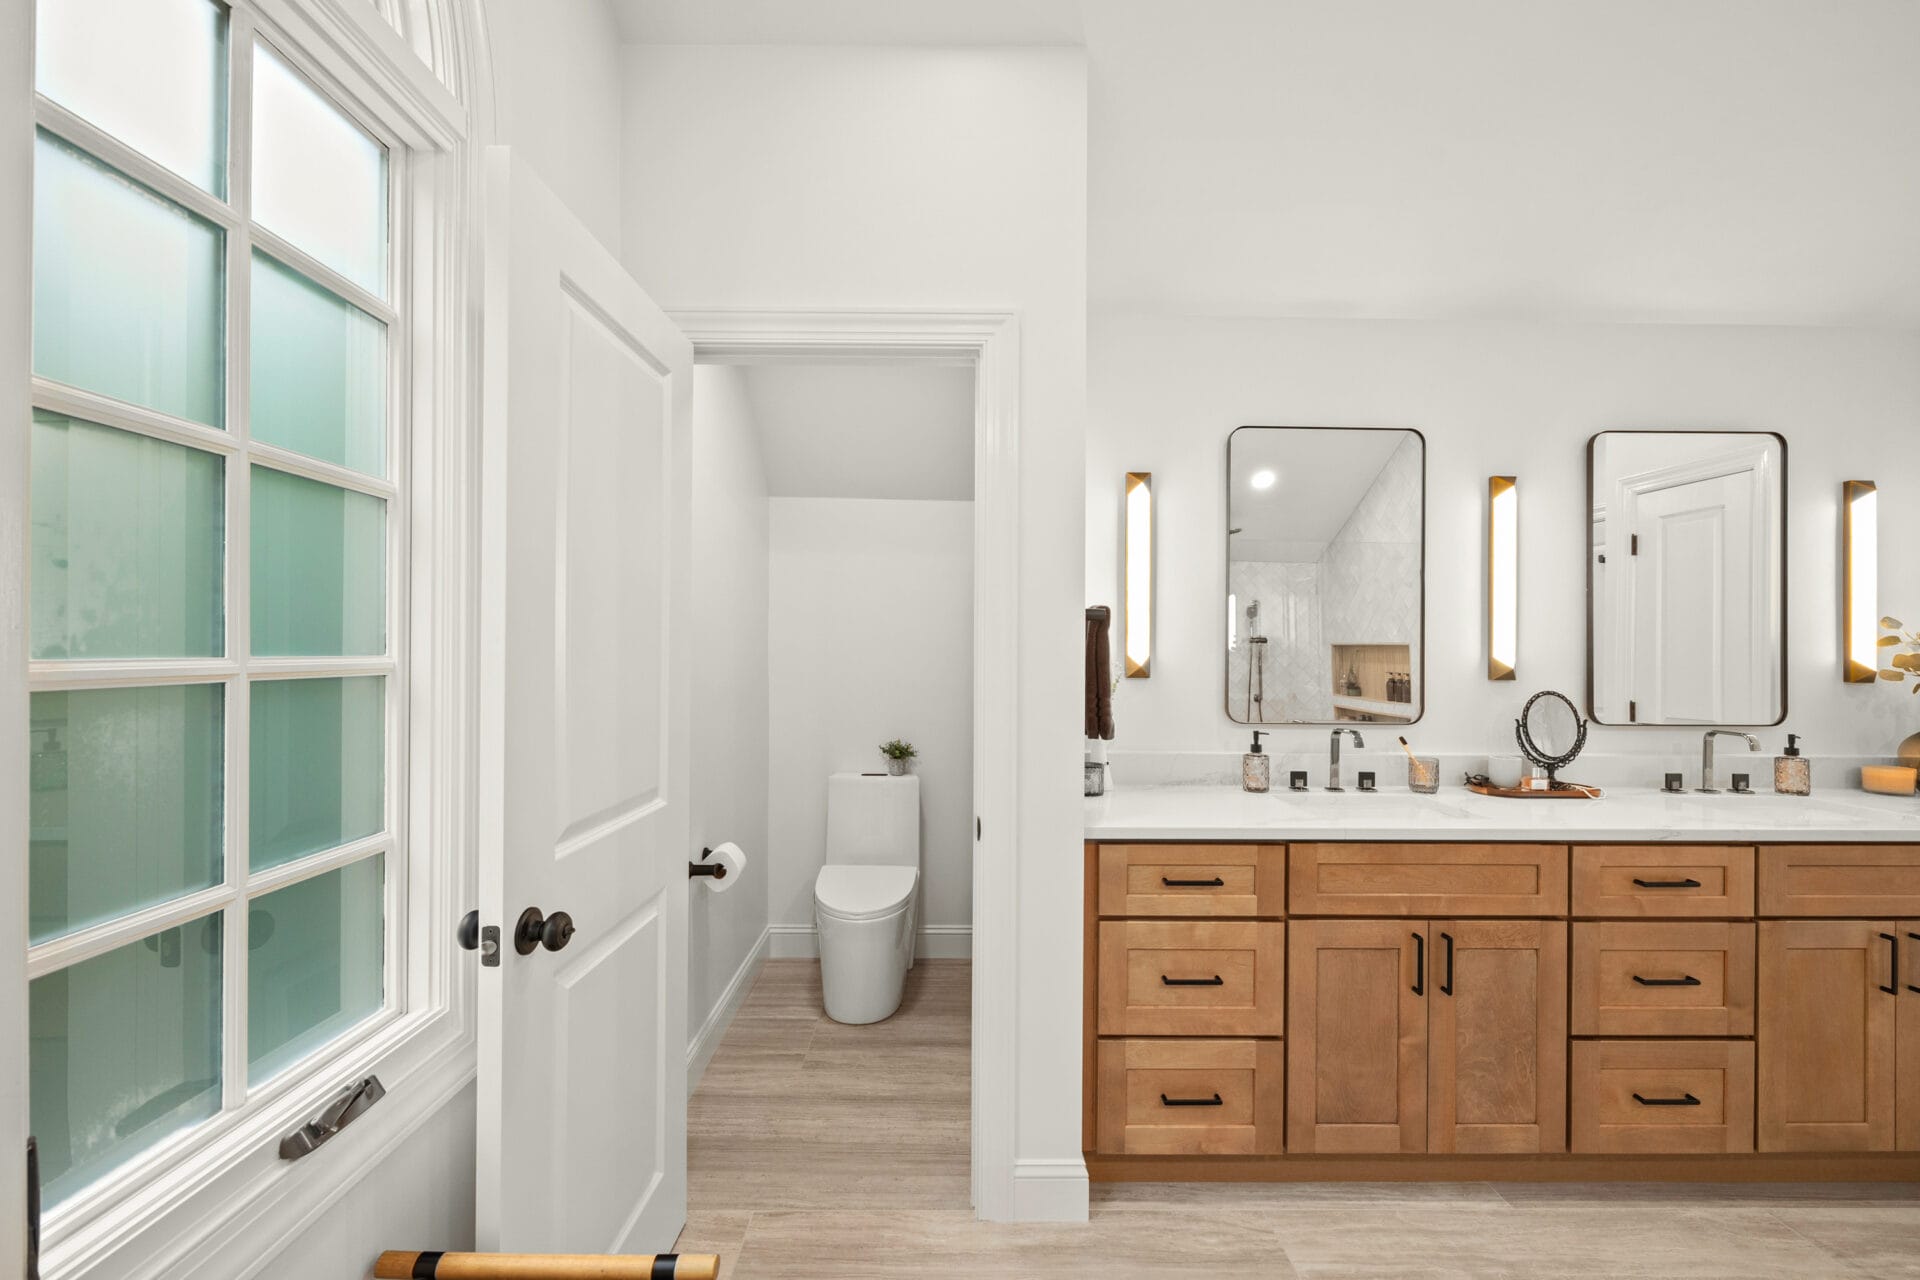
- We relocated the shower, which was previously located in this corner, as the original layout felt cramped and didn't optimize the space. By swapping the locations of the shower and toilet room, we significantly opened up the bathroom, creating a much more spacious and airy feel. The use of clear glass for the new shower further enhances the openness and light throughout the space.
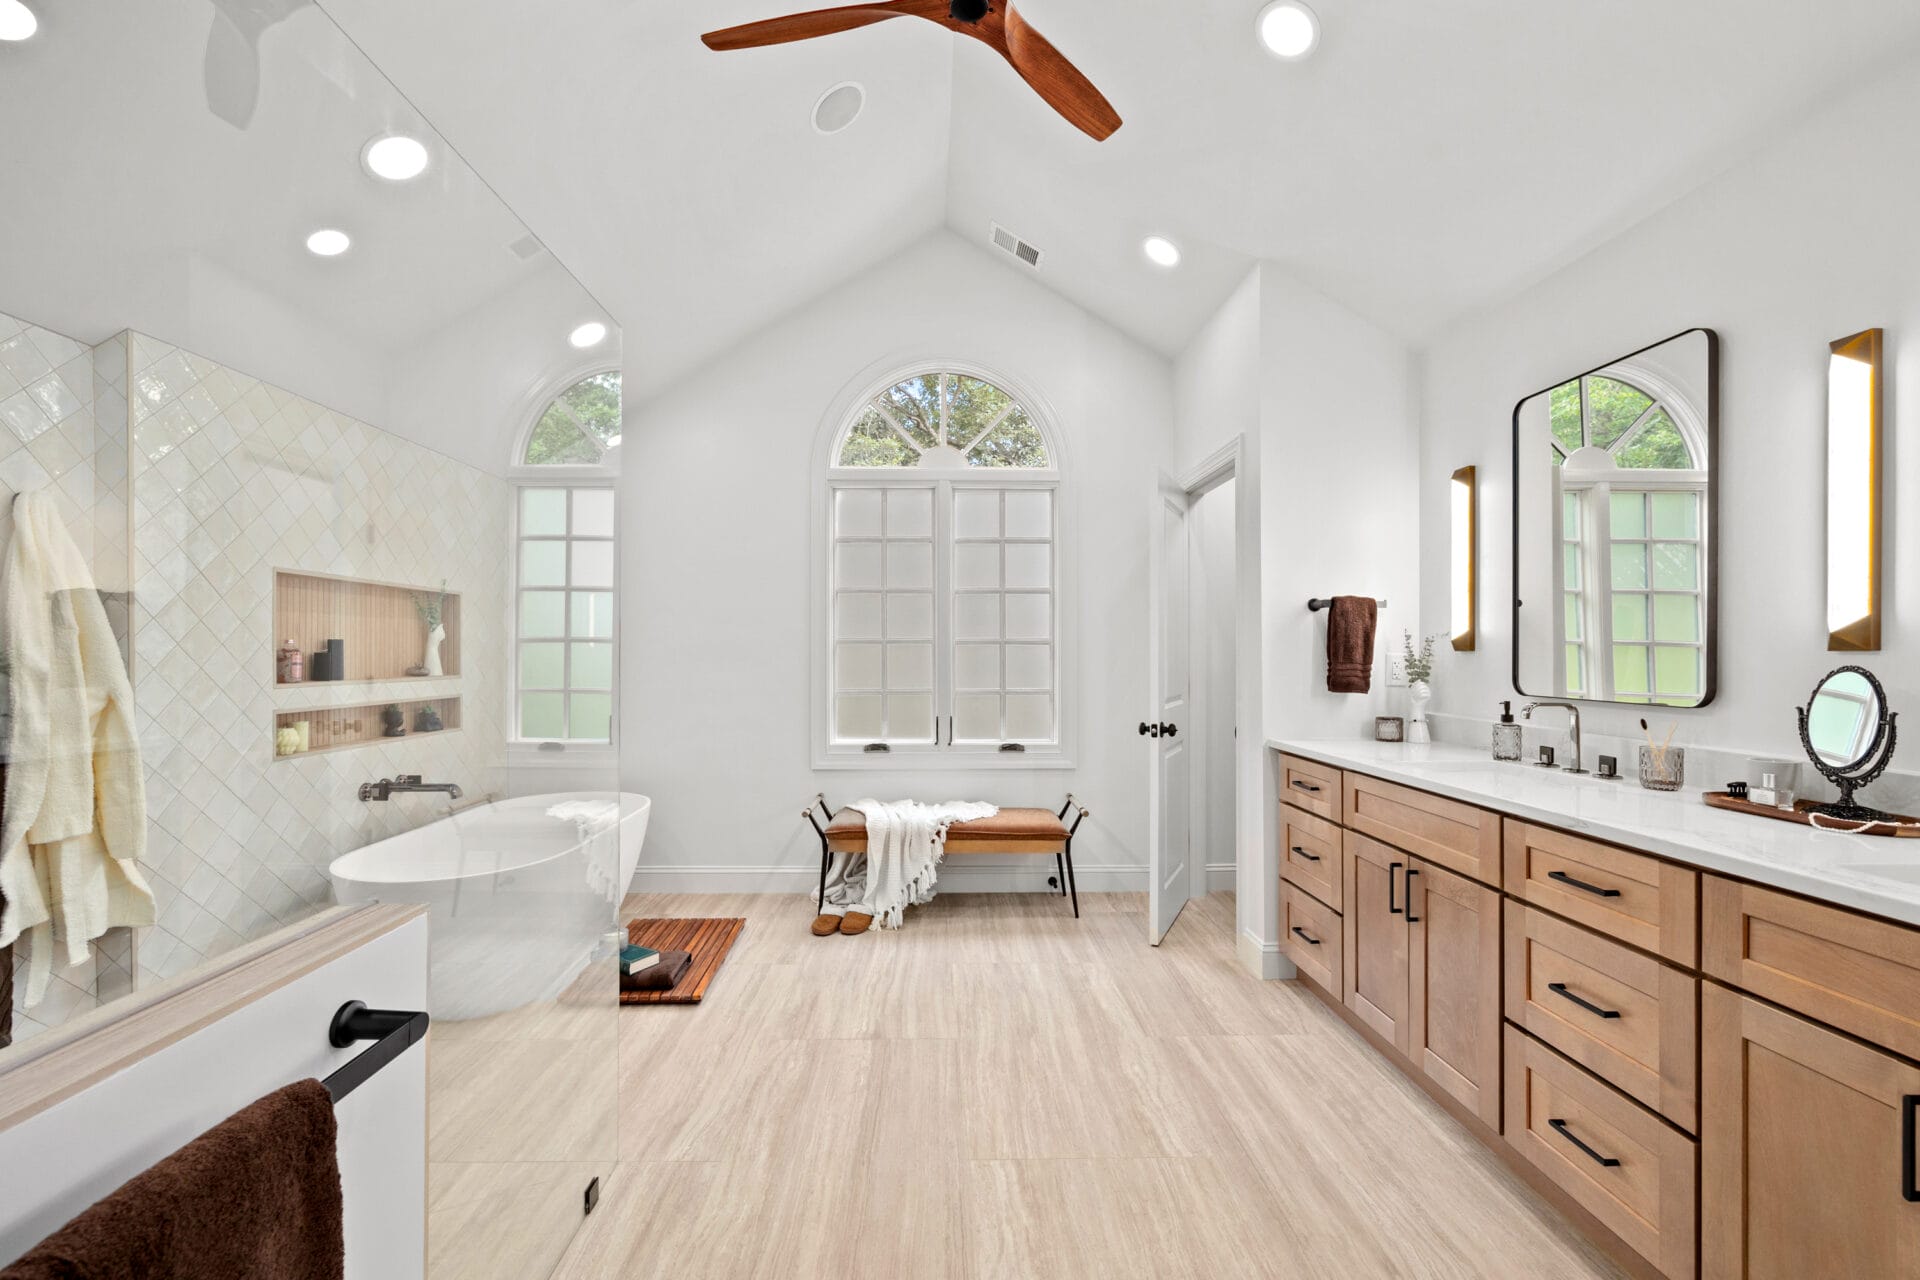
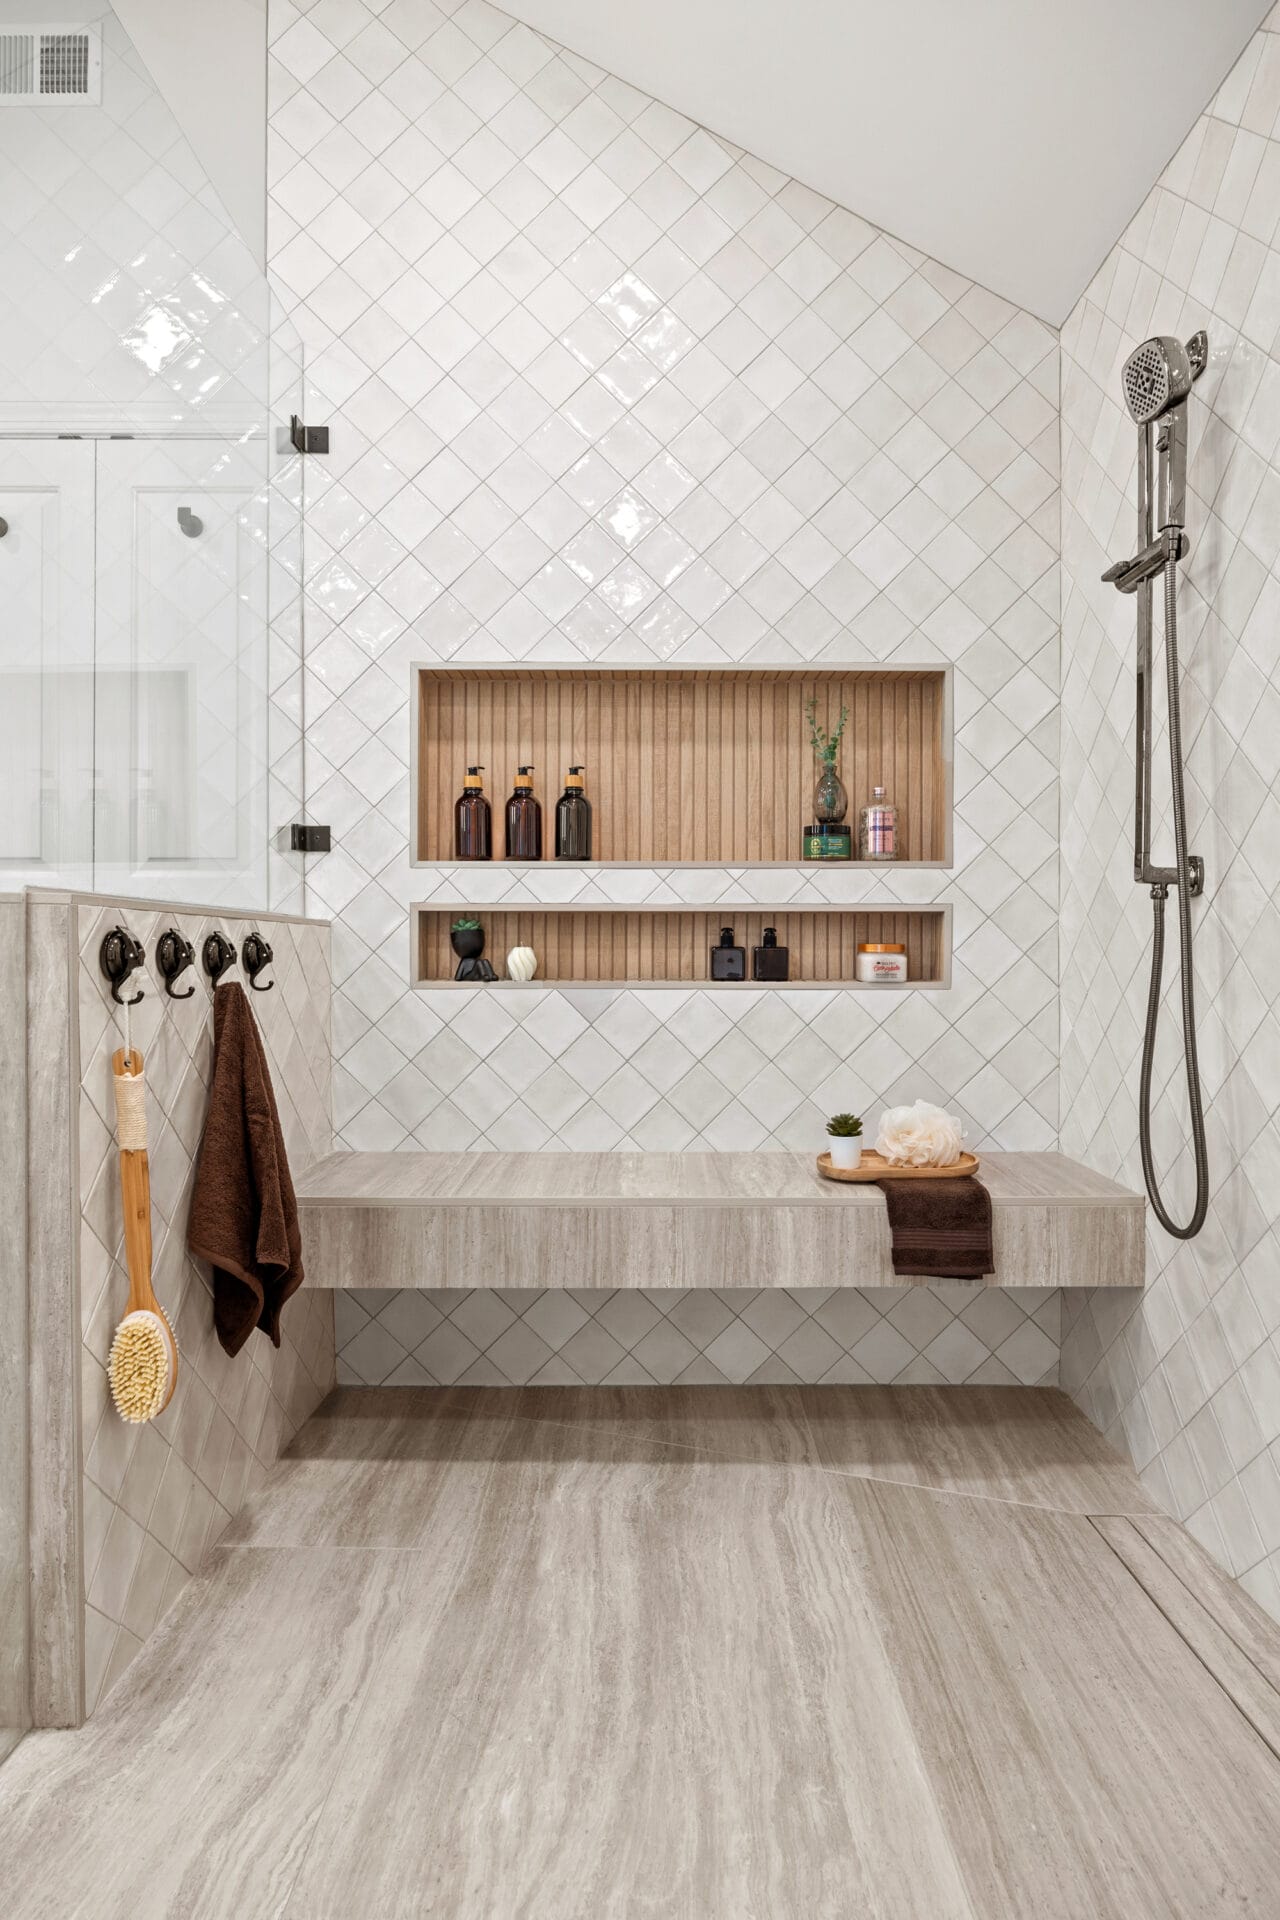
- Incorporate heated flooring for added comfort
- Having heated flooring throughout the entire bathroom was something that both the homeowners desired in their master haven. To make it happen, our team carefully prepped the floors and installed a Schluter membrane. We then embedded heating wires into the membrane, applied mortar to cover them, and installed the tiles.
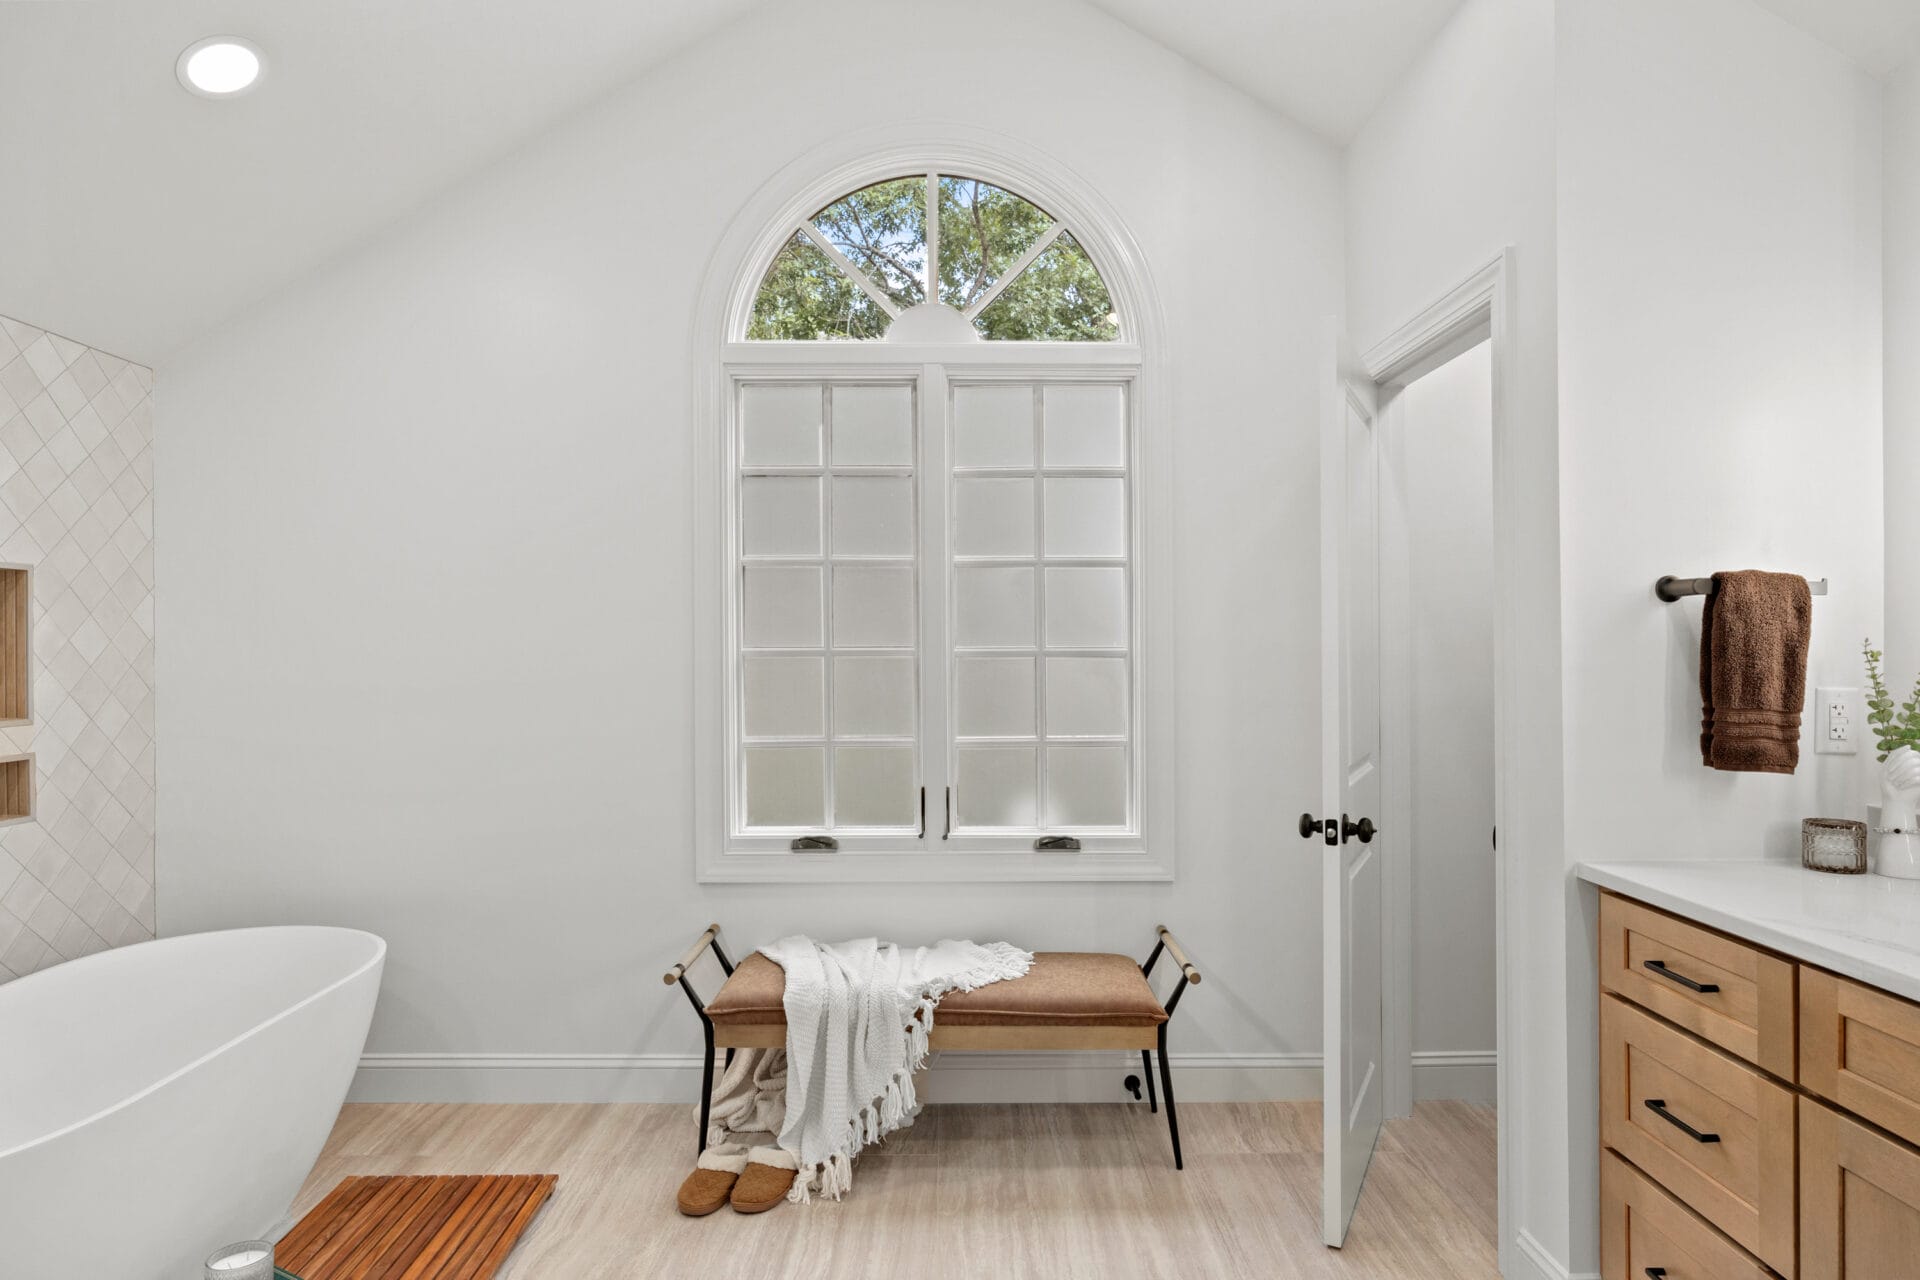
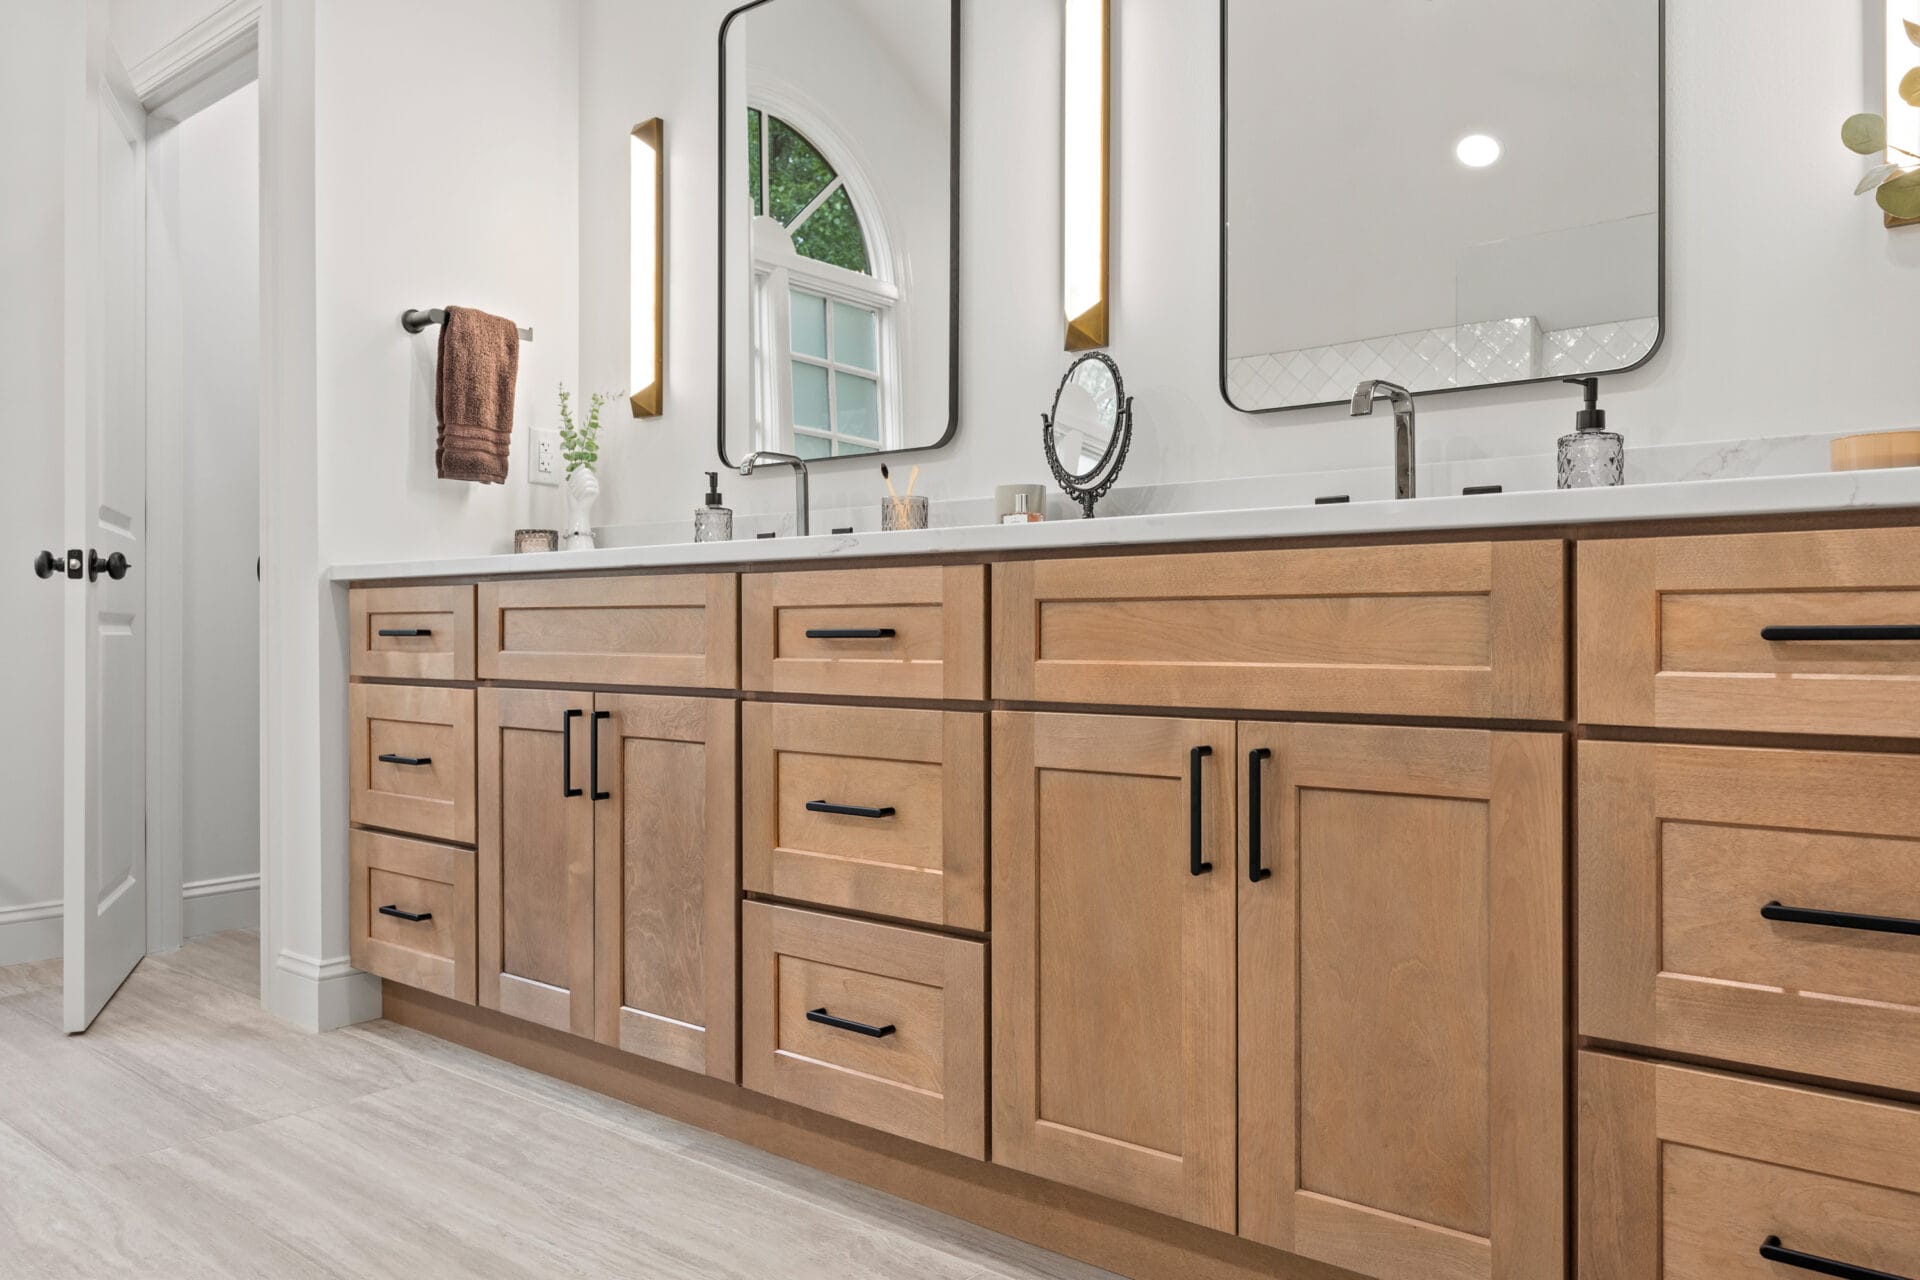
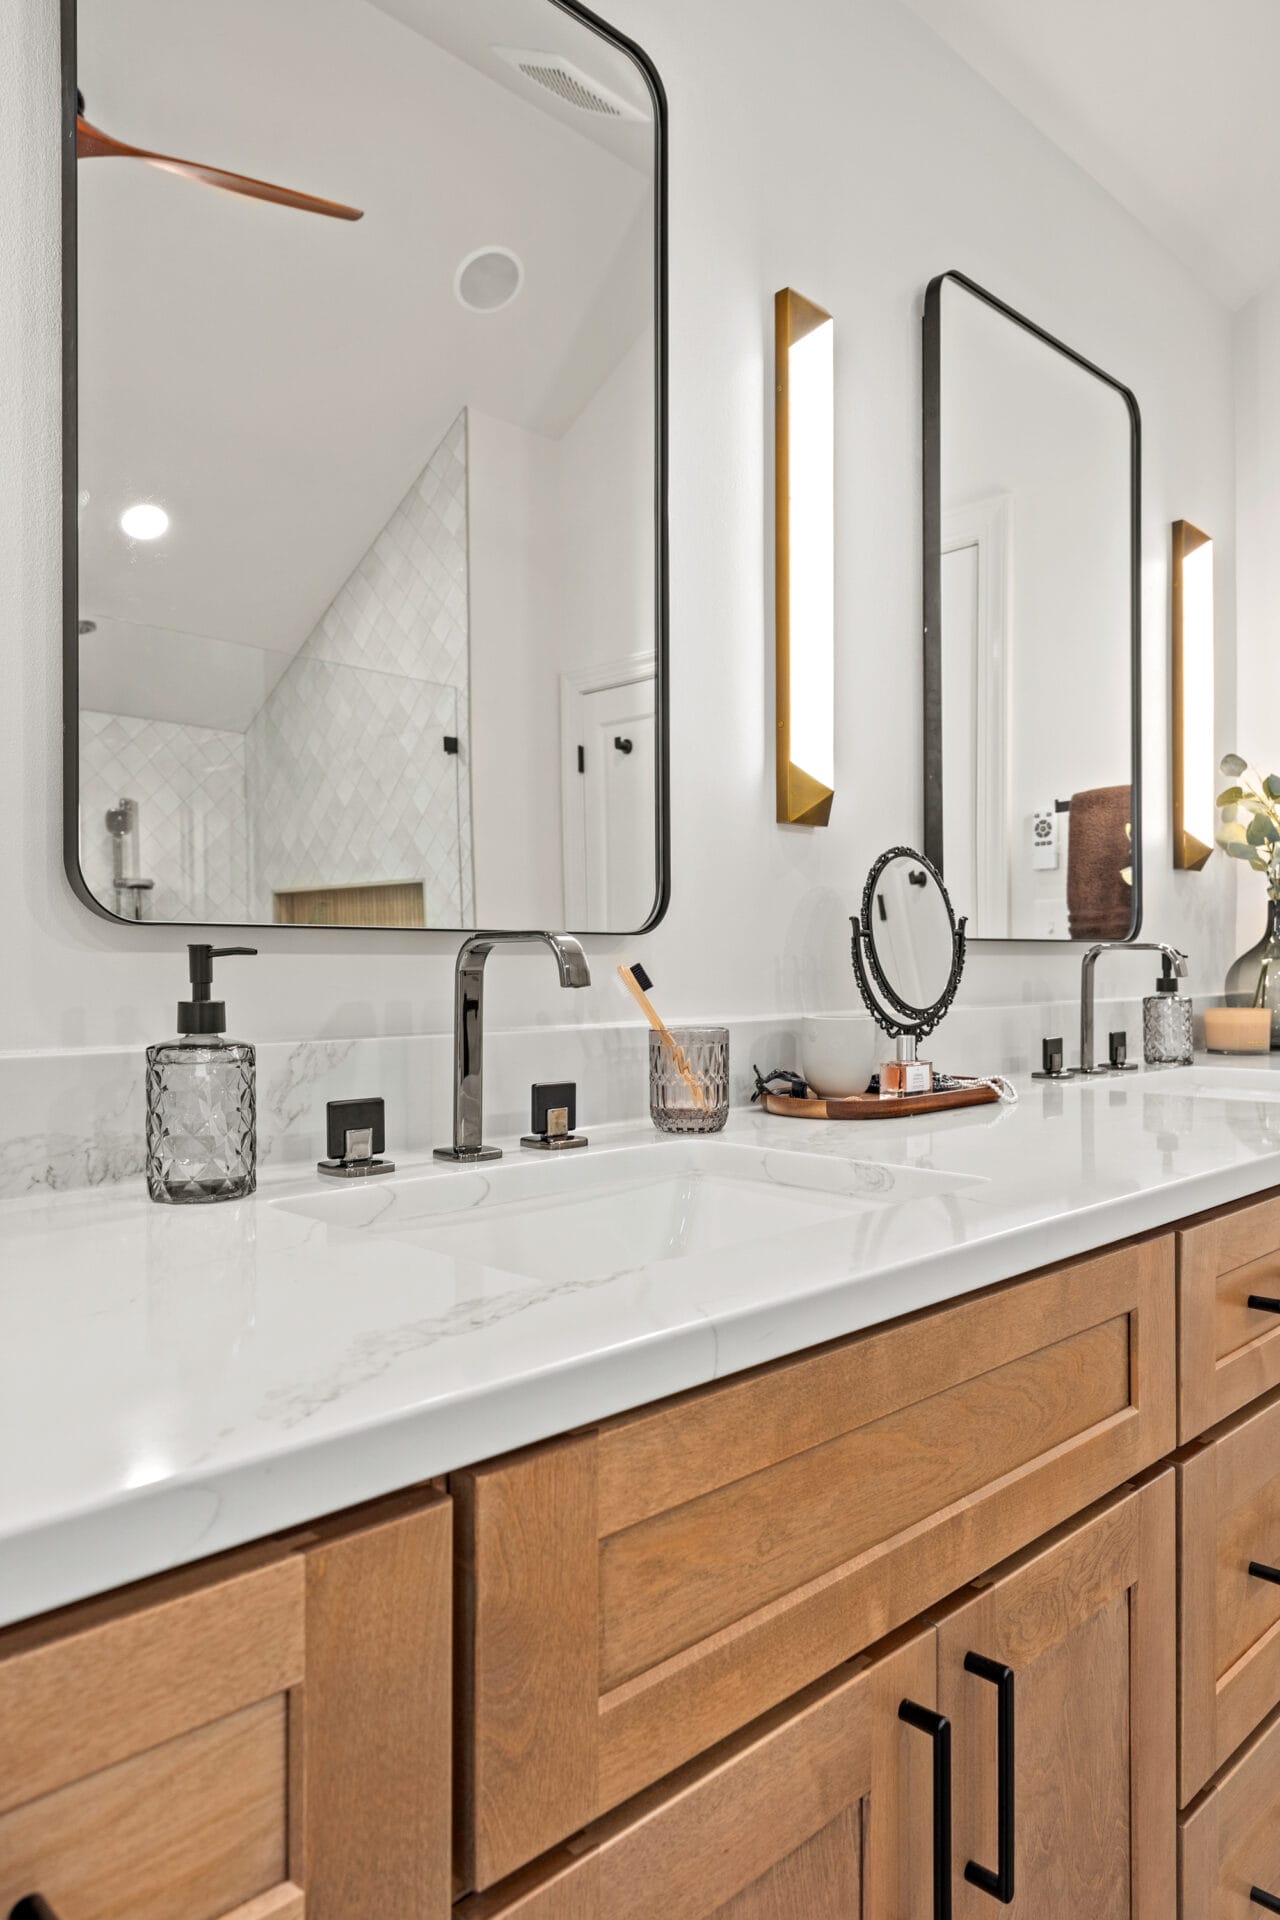
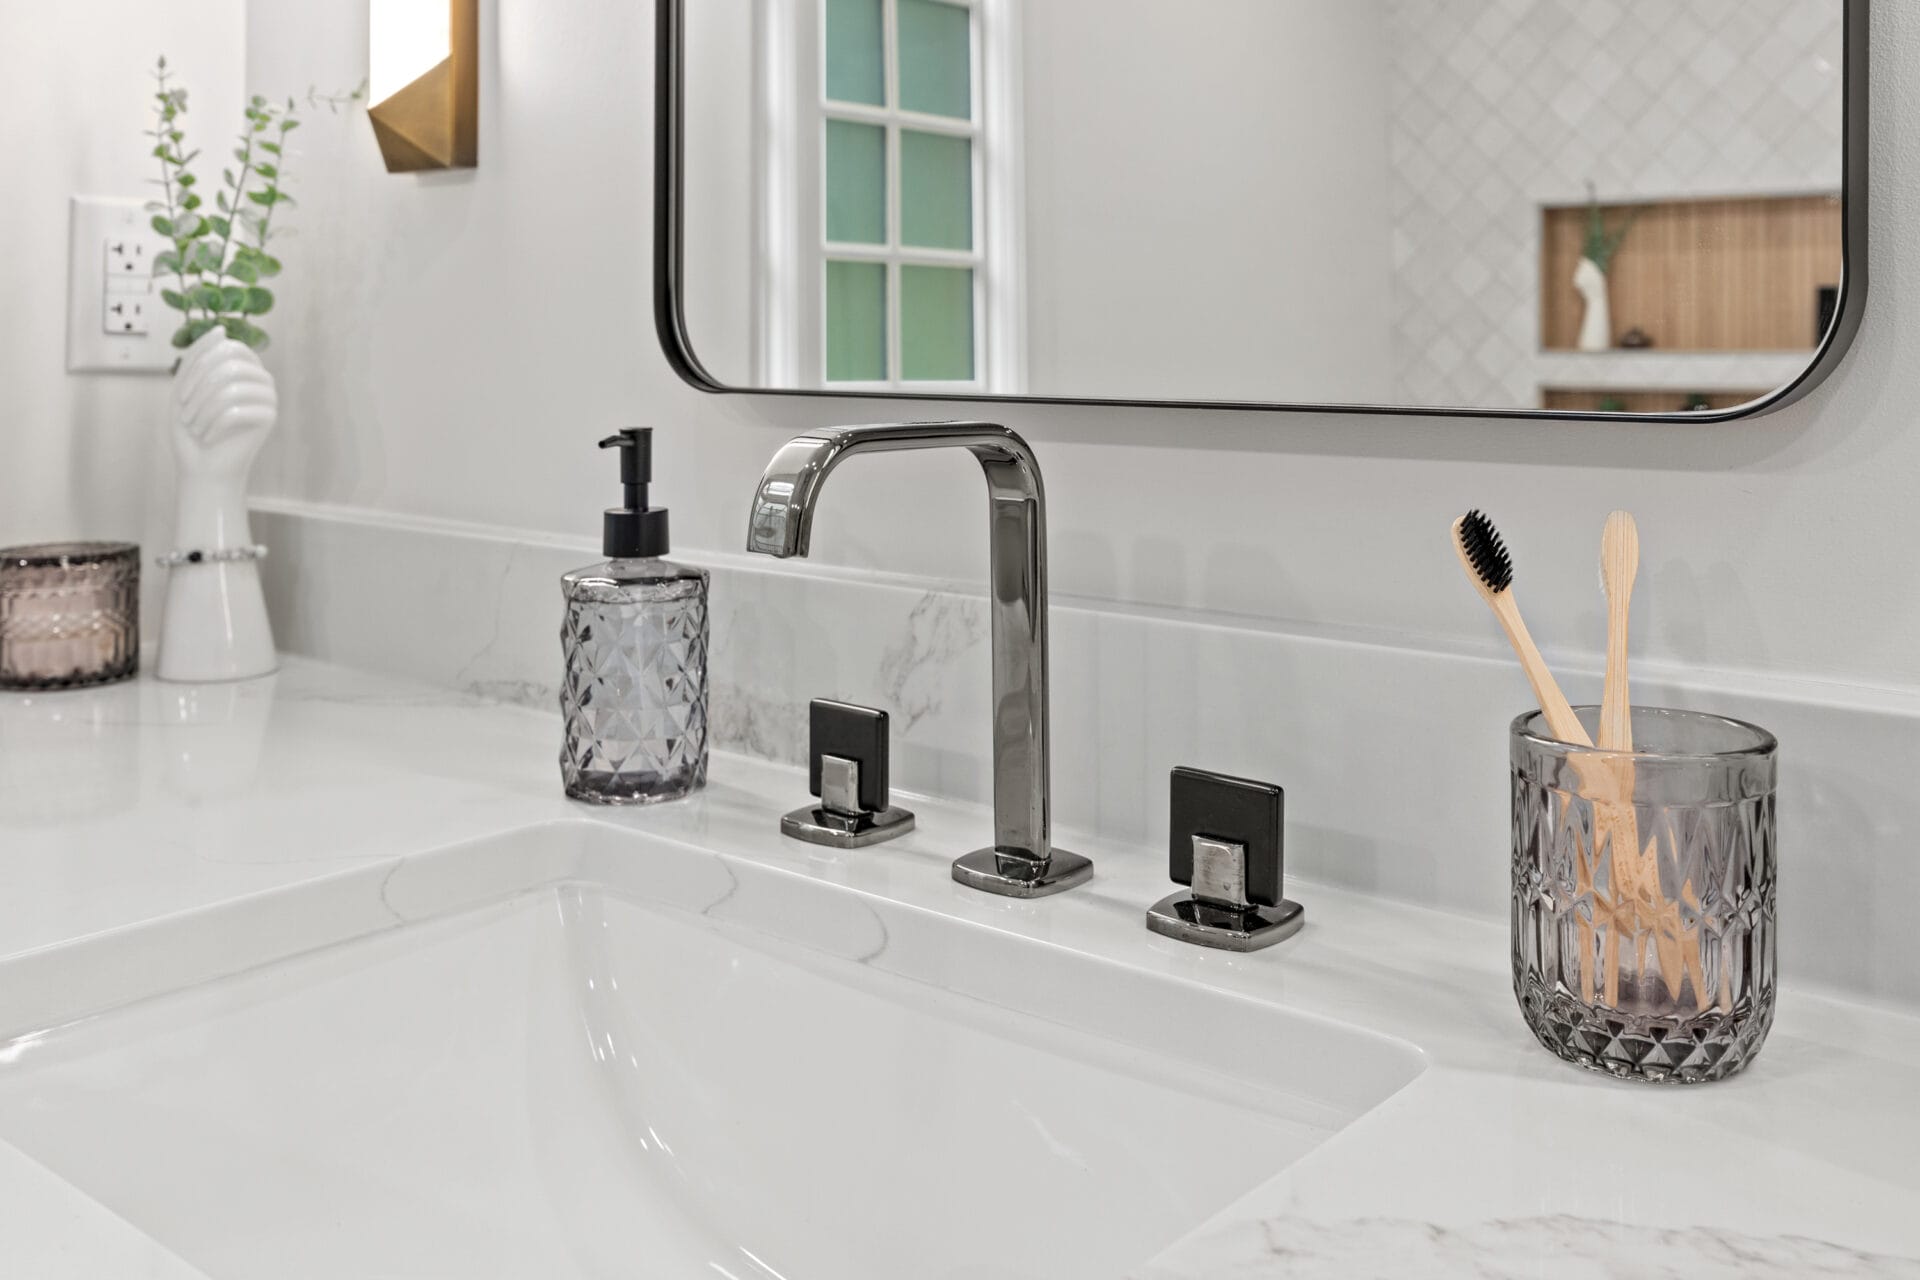
- Establish a calming vibe that feels relaxing, Zen-like, timeless, and clean
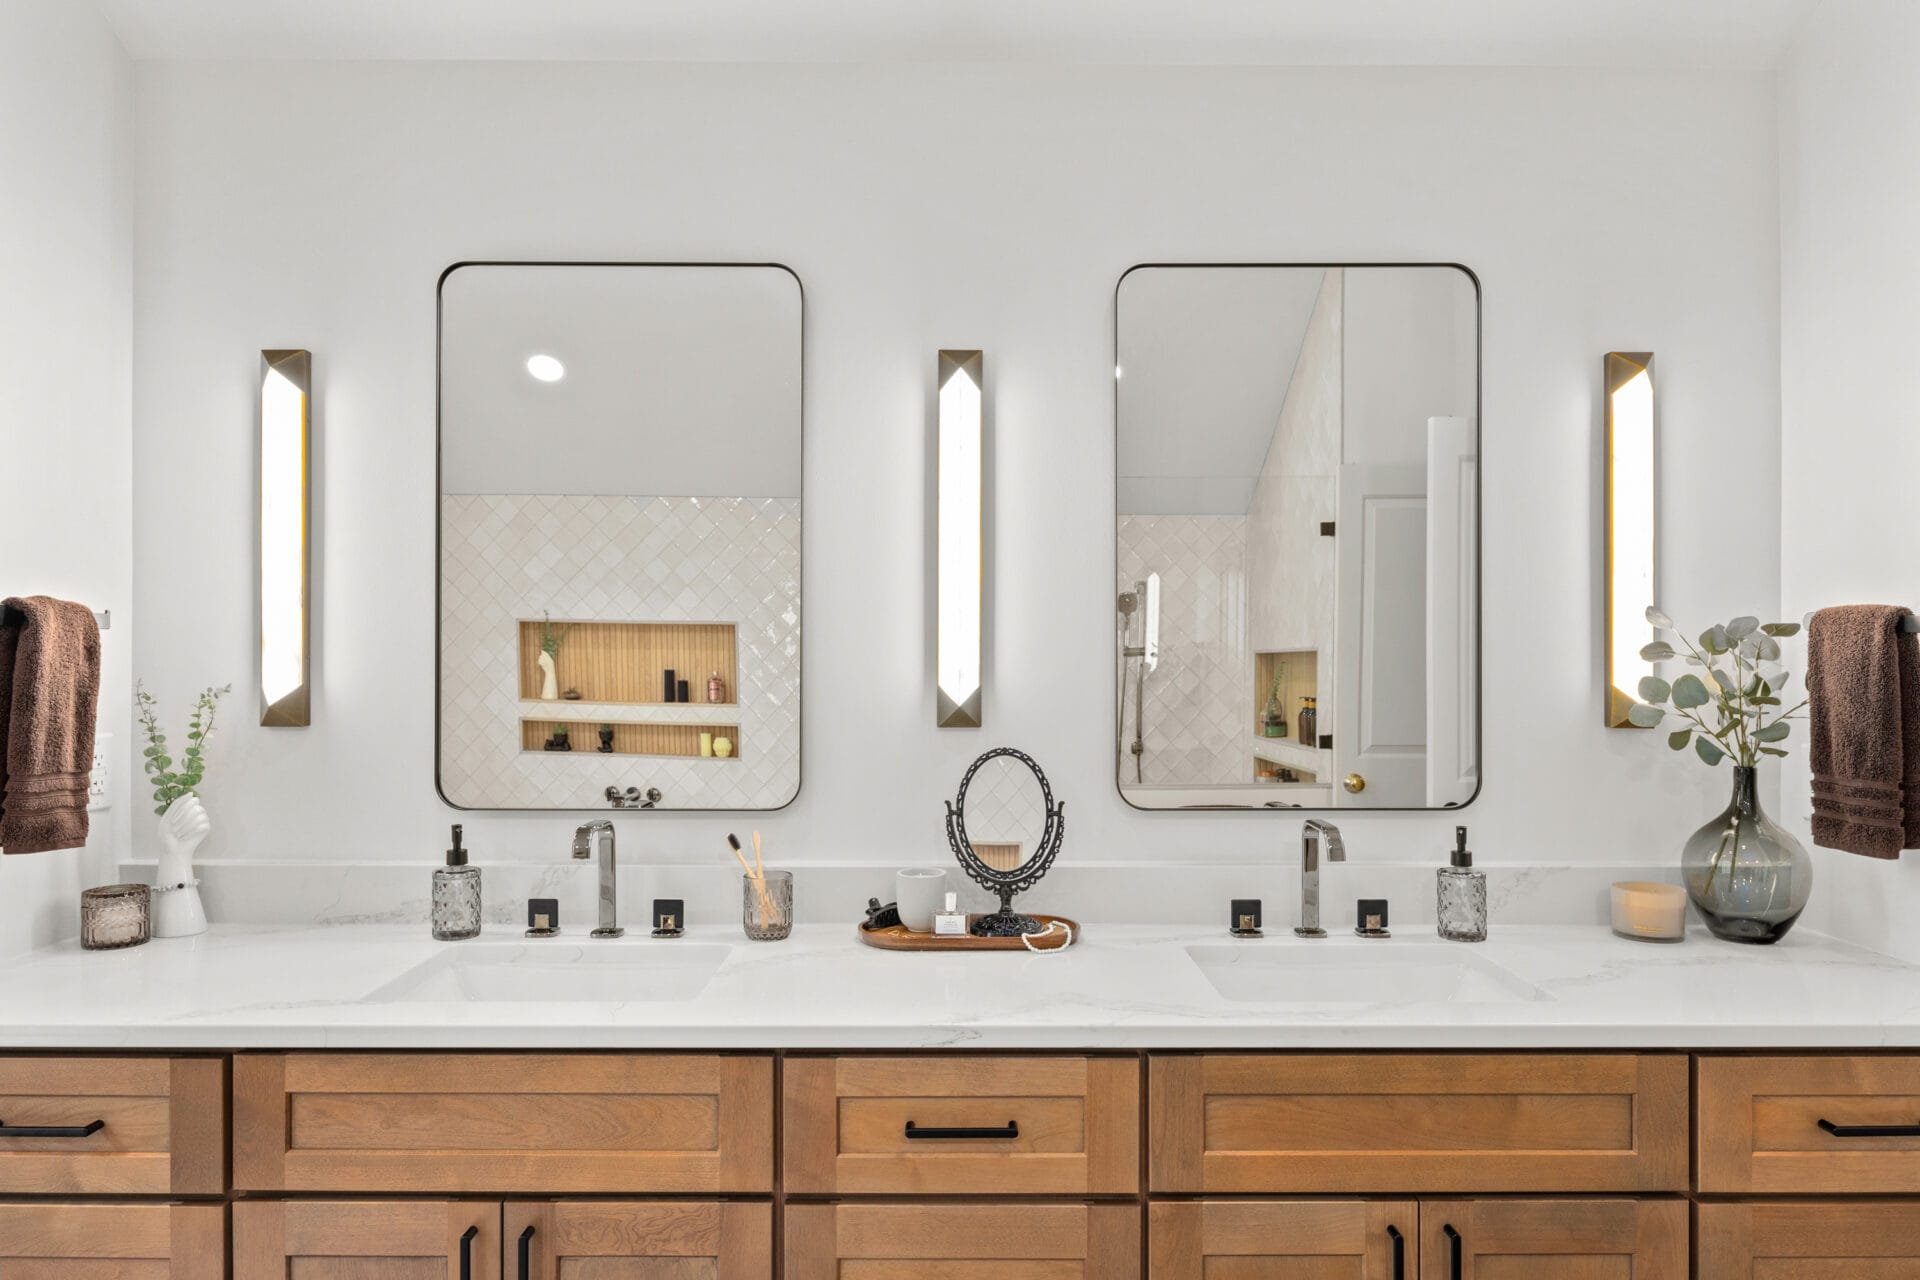
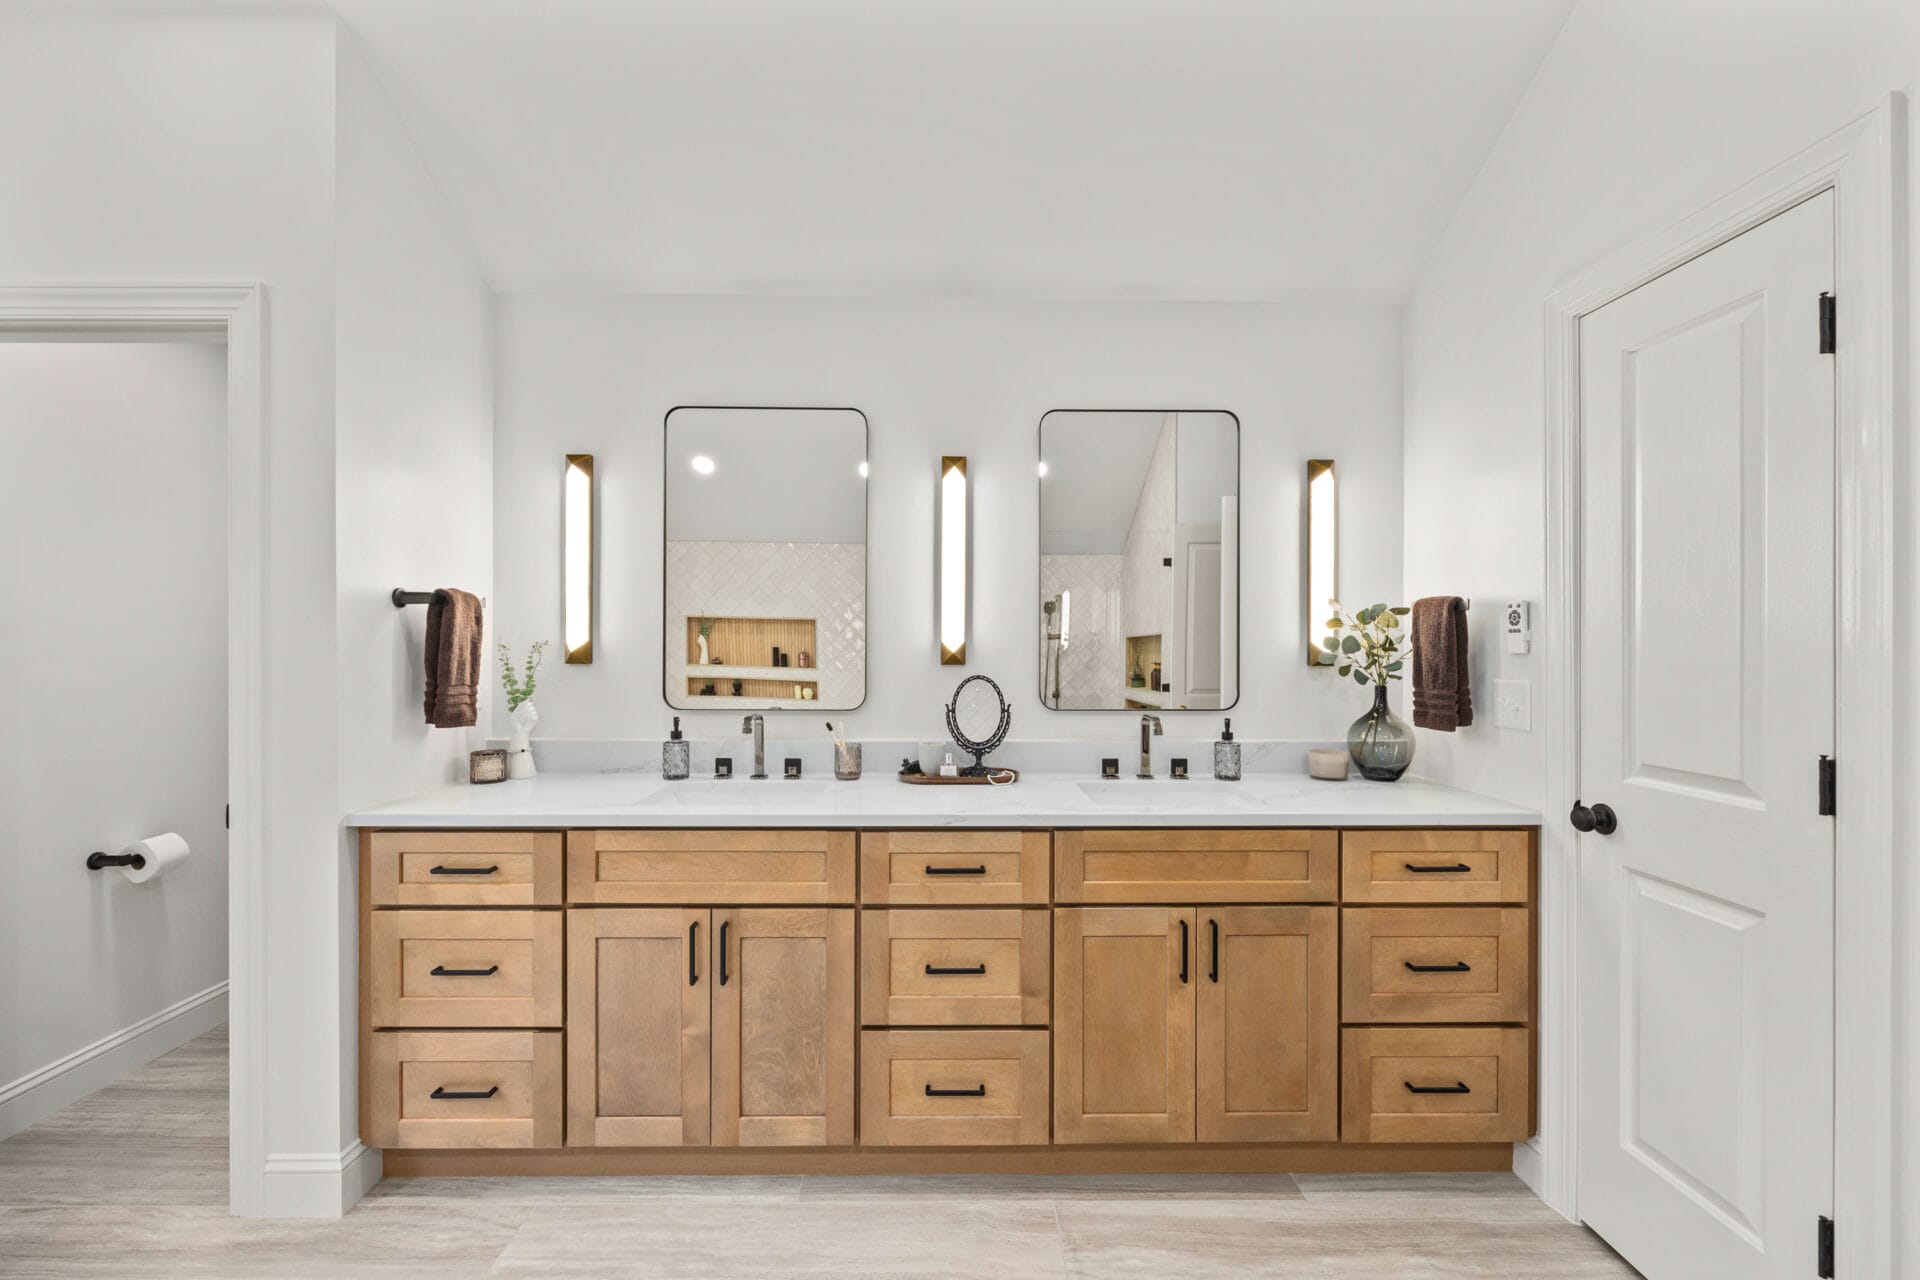
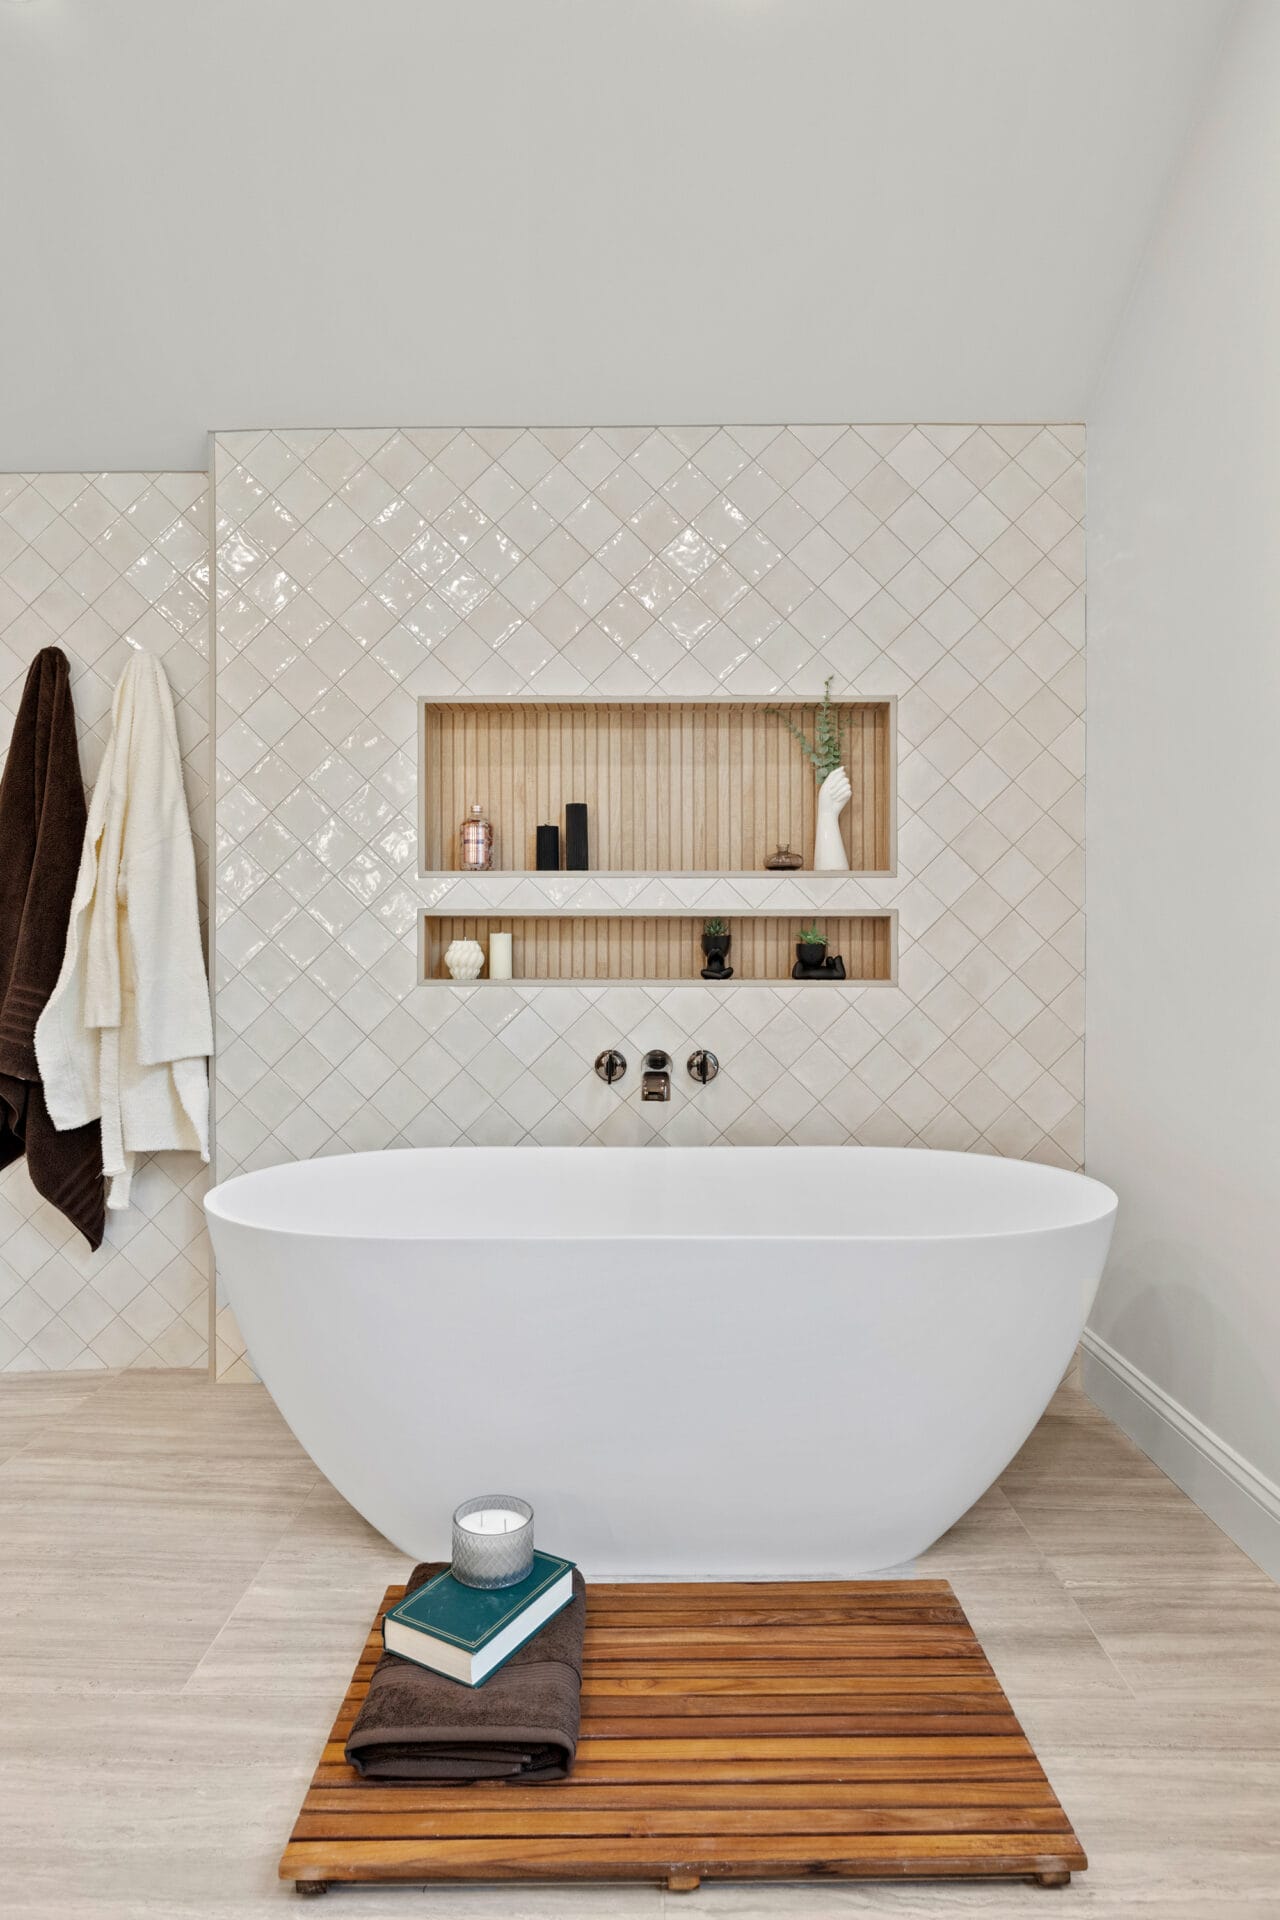
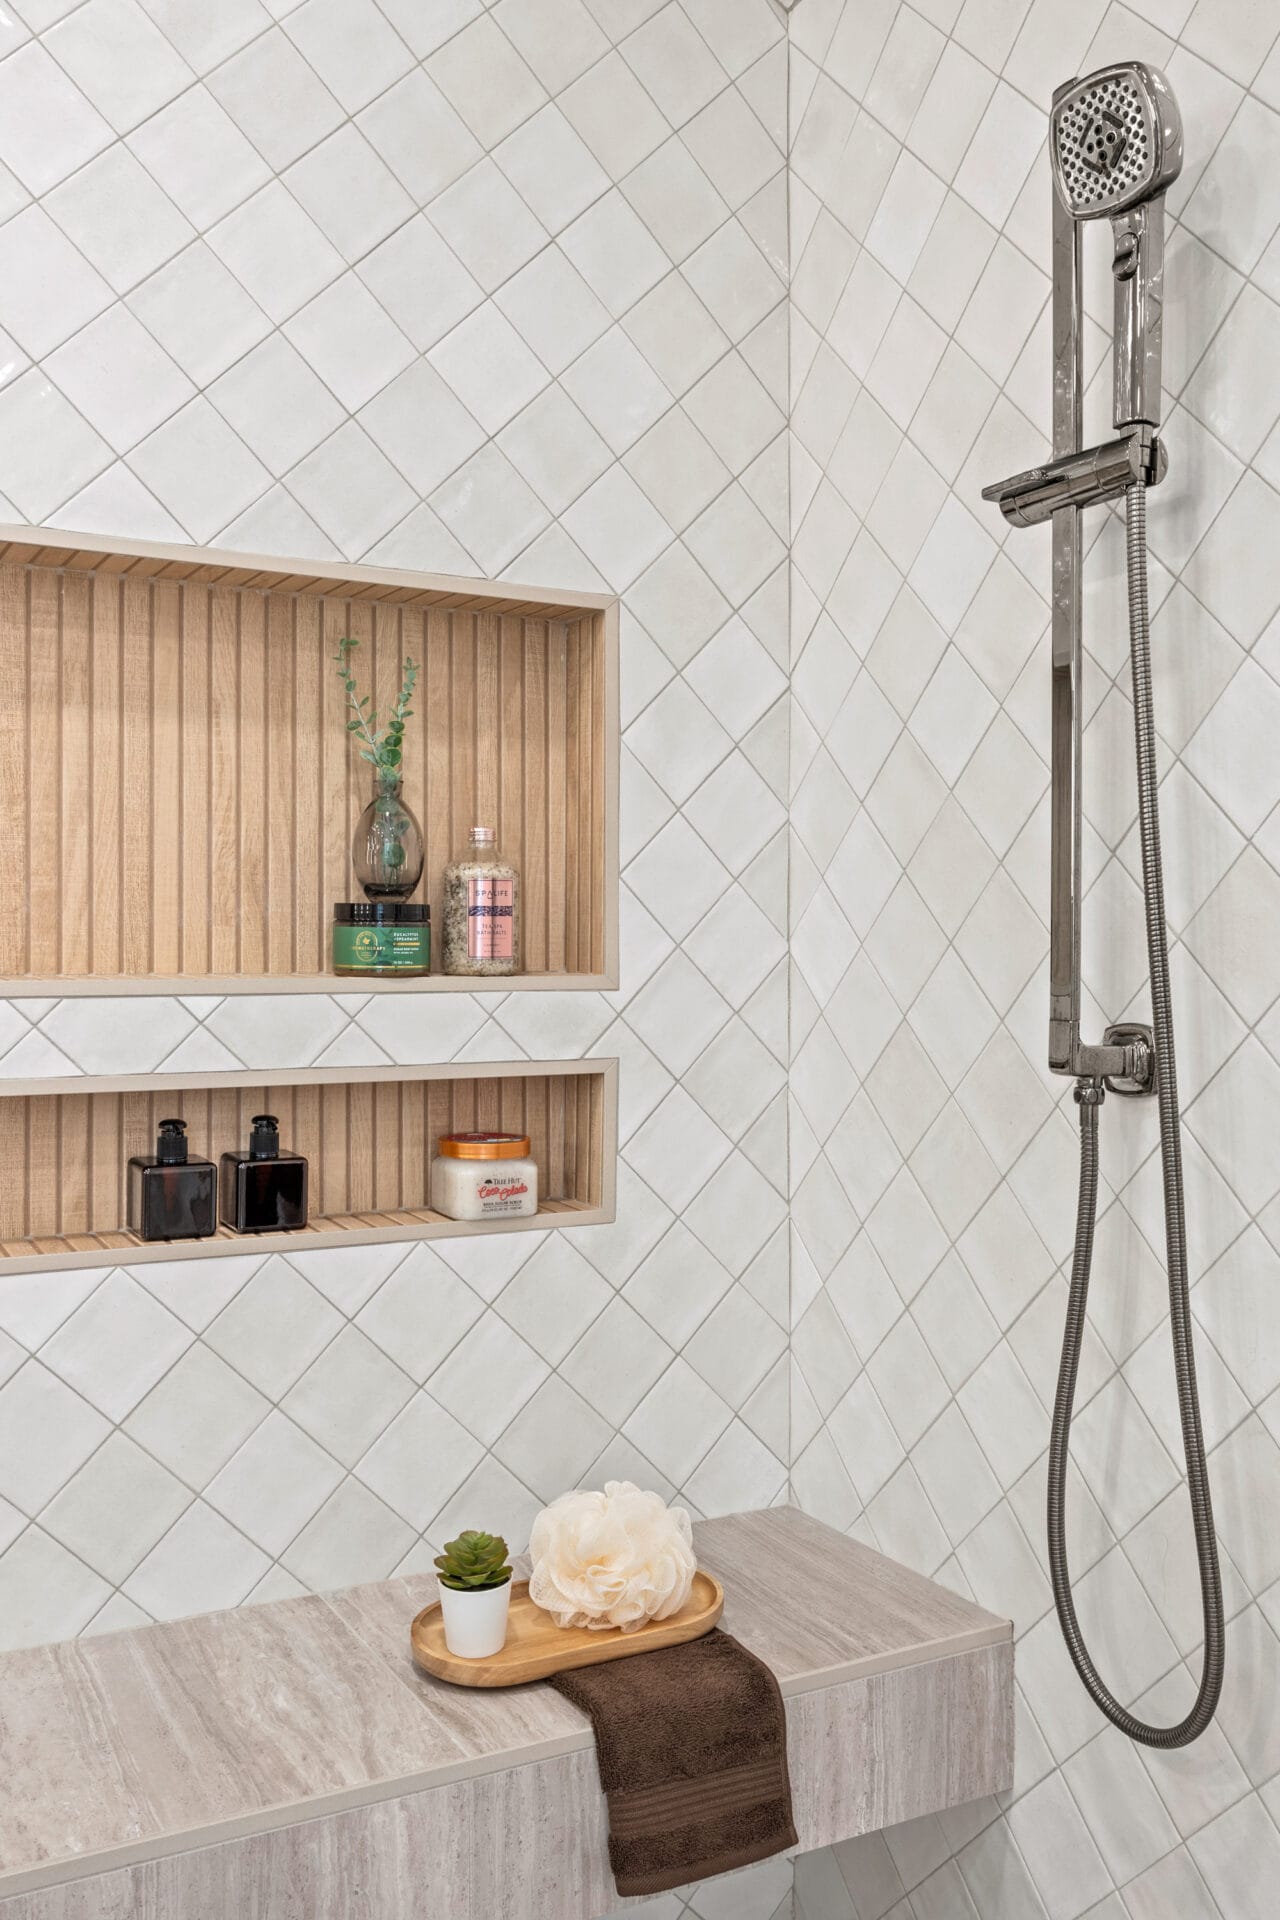
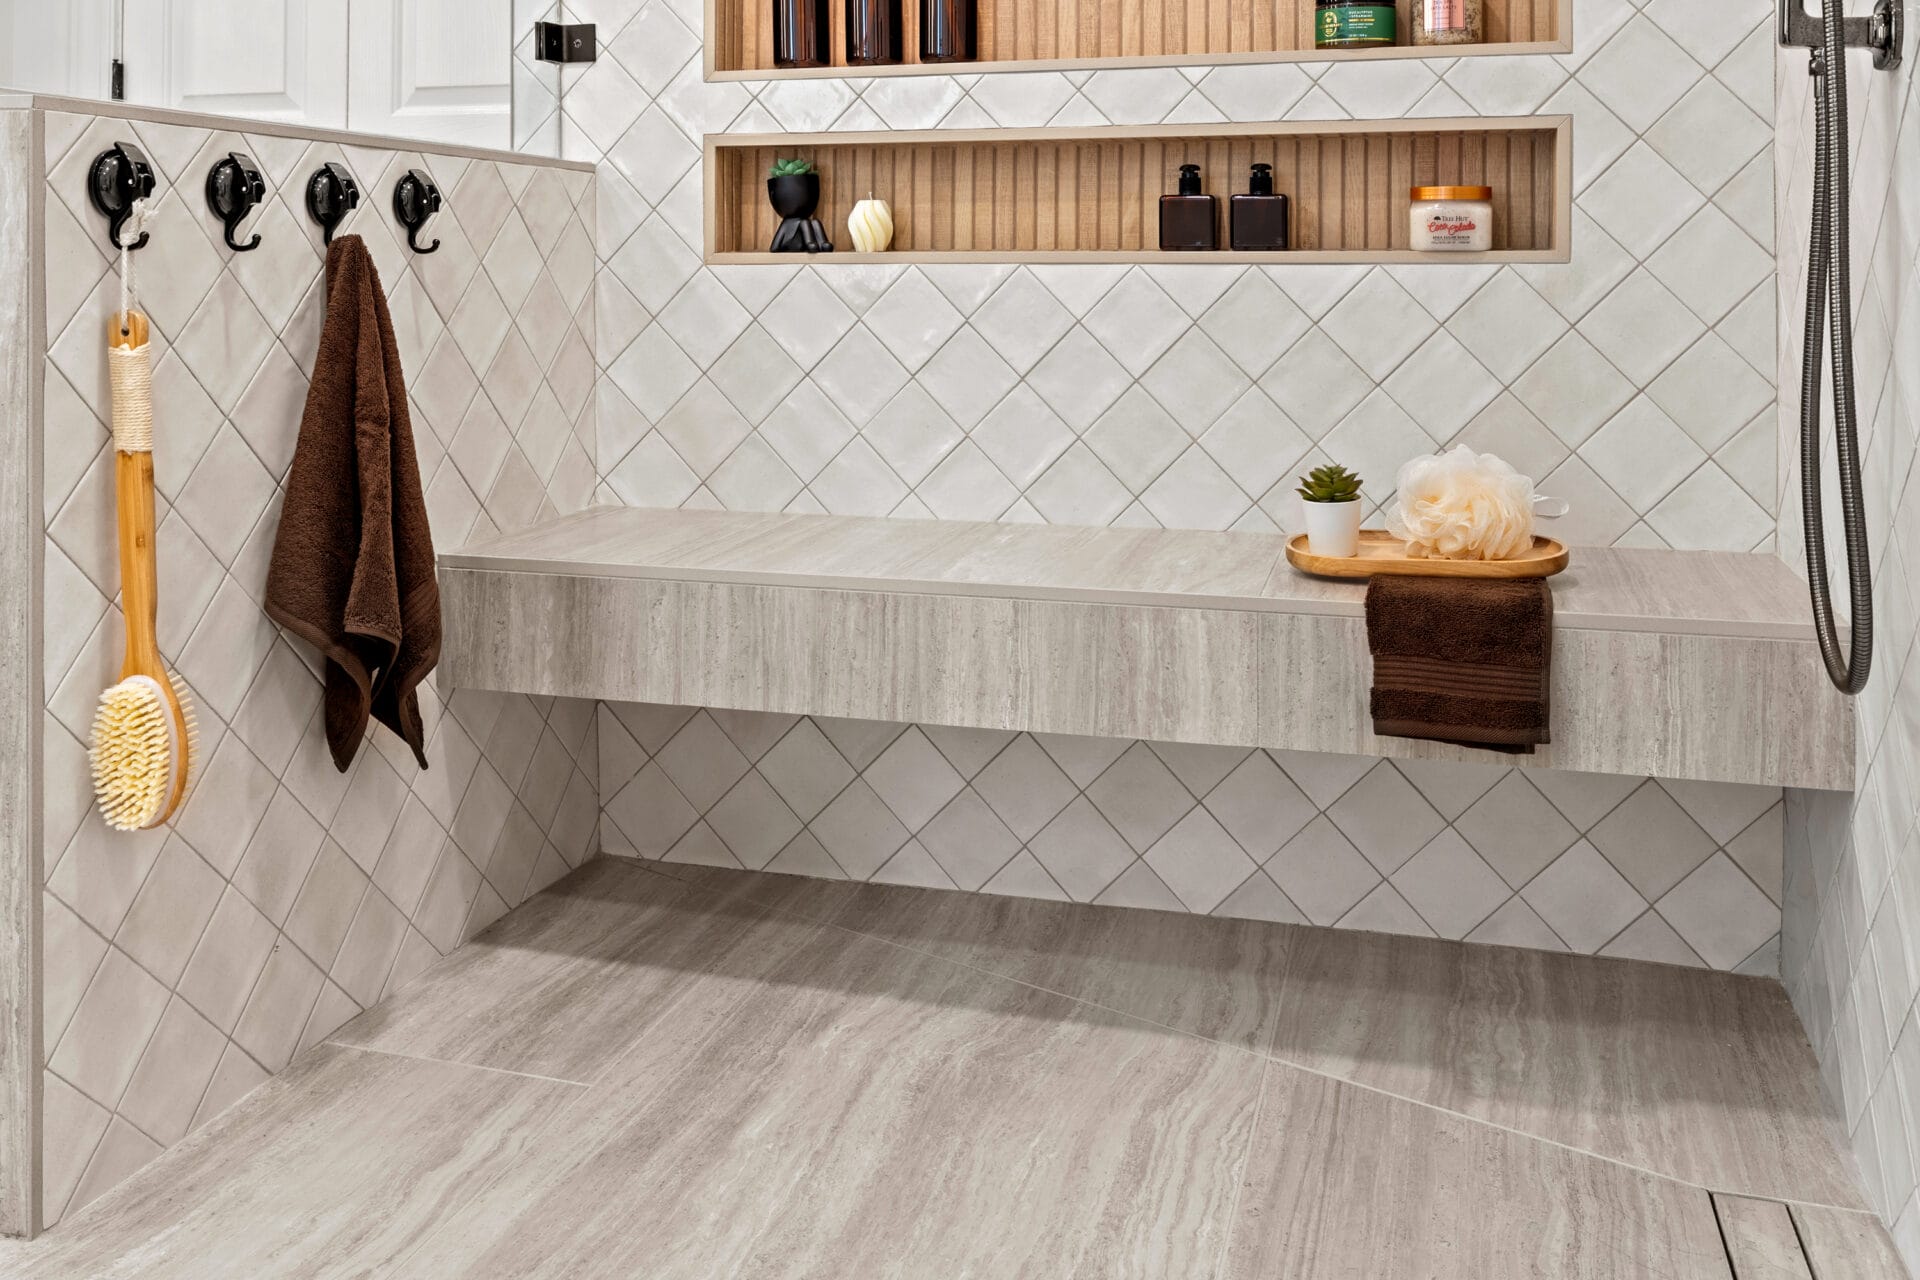
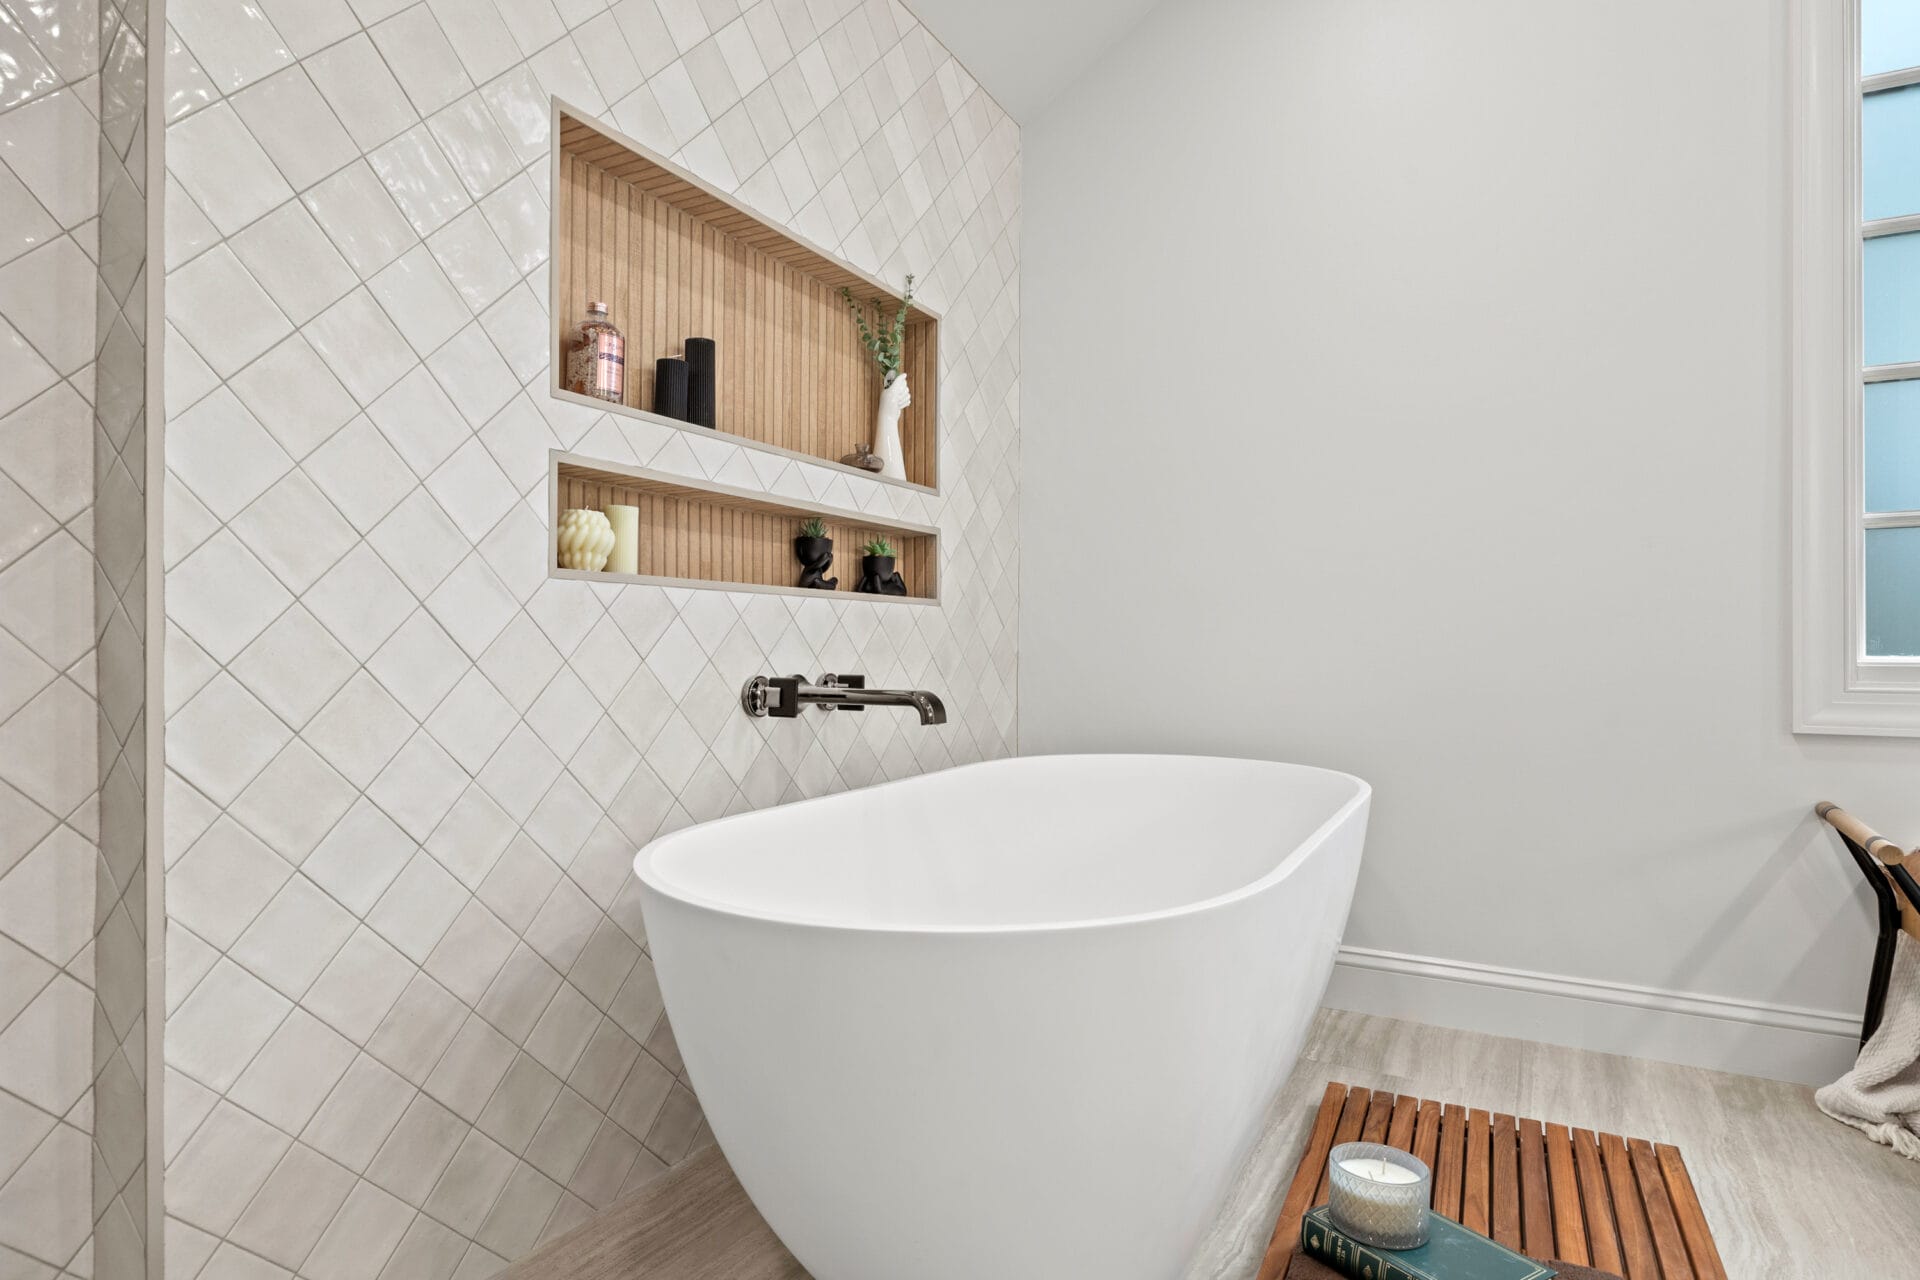
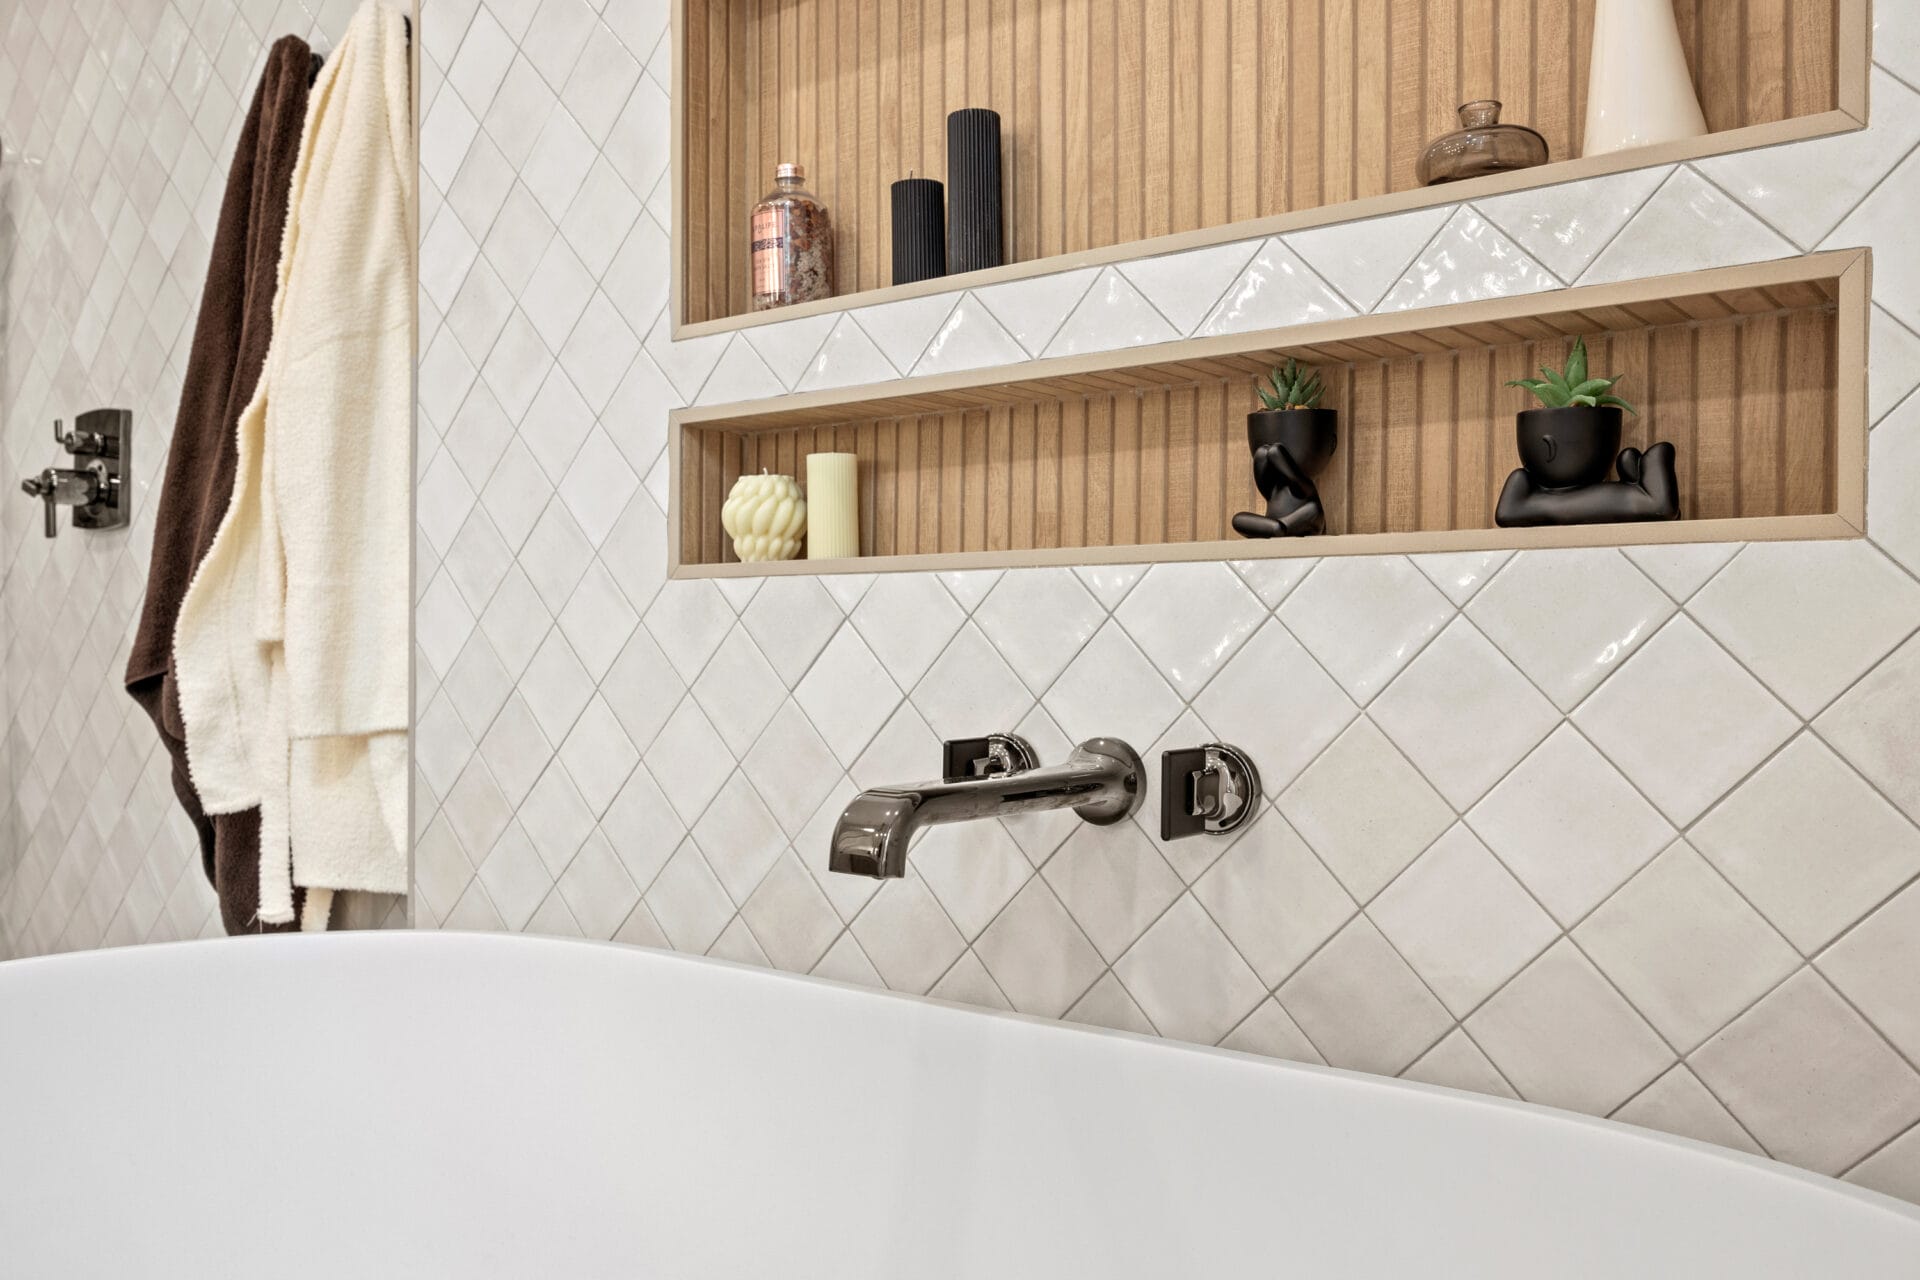
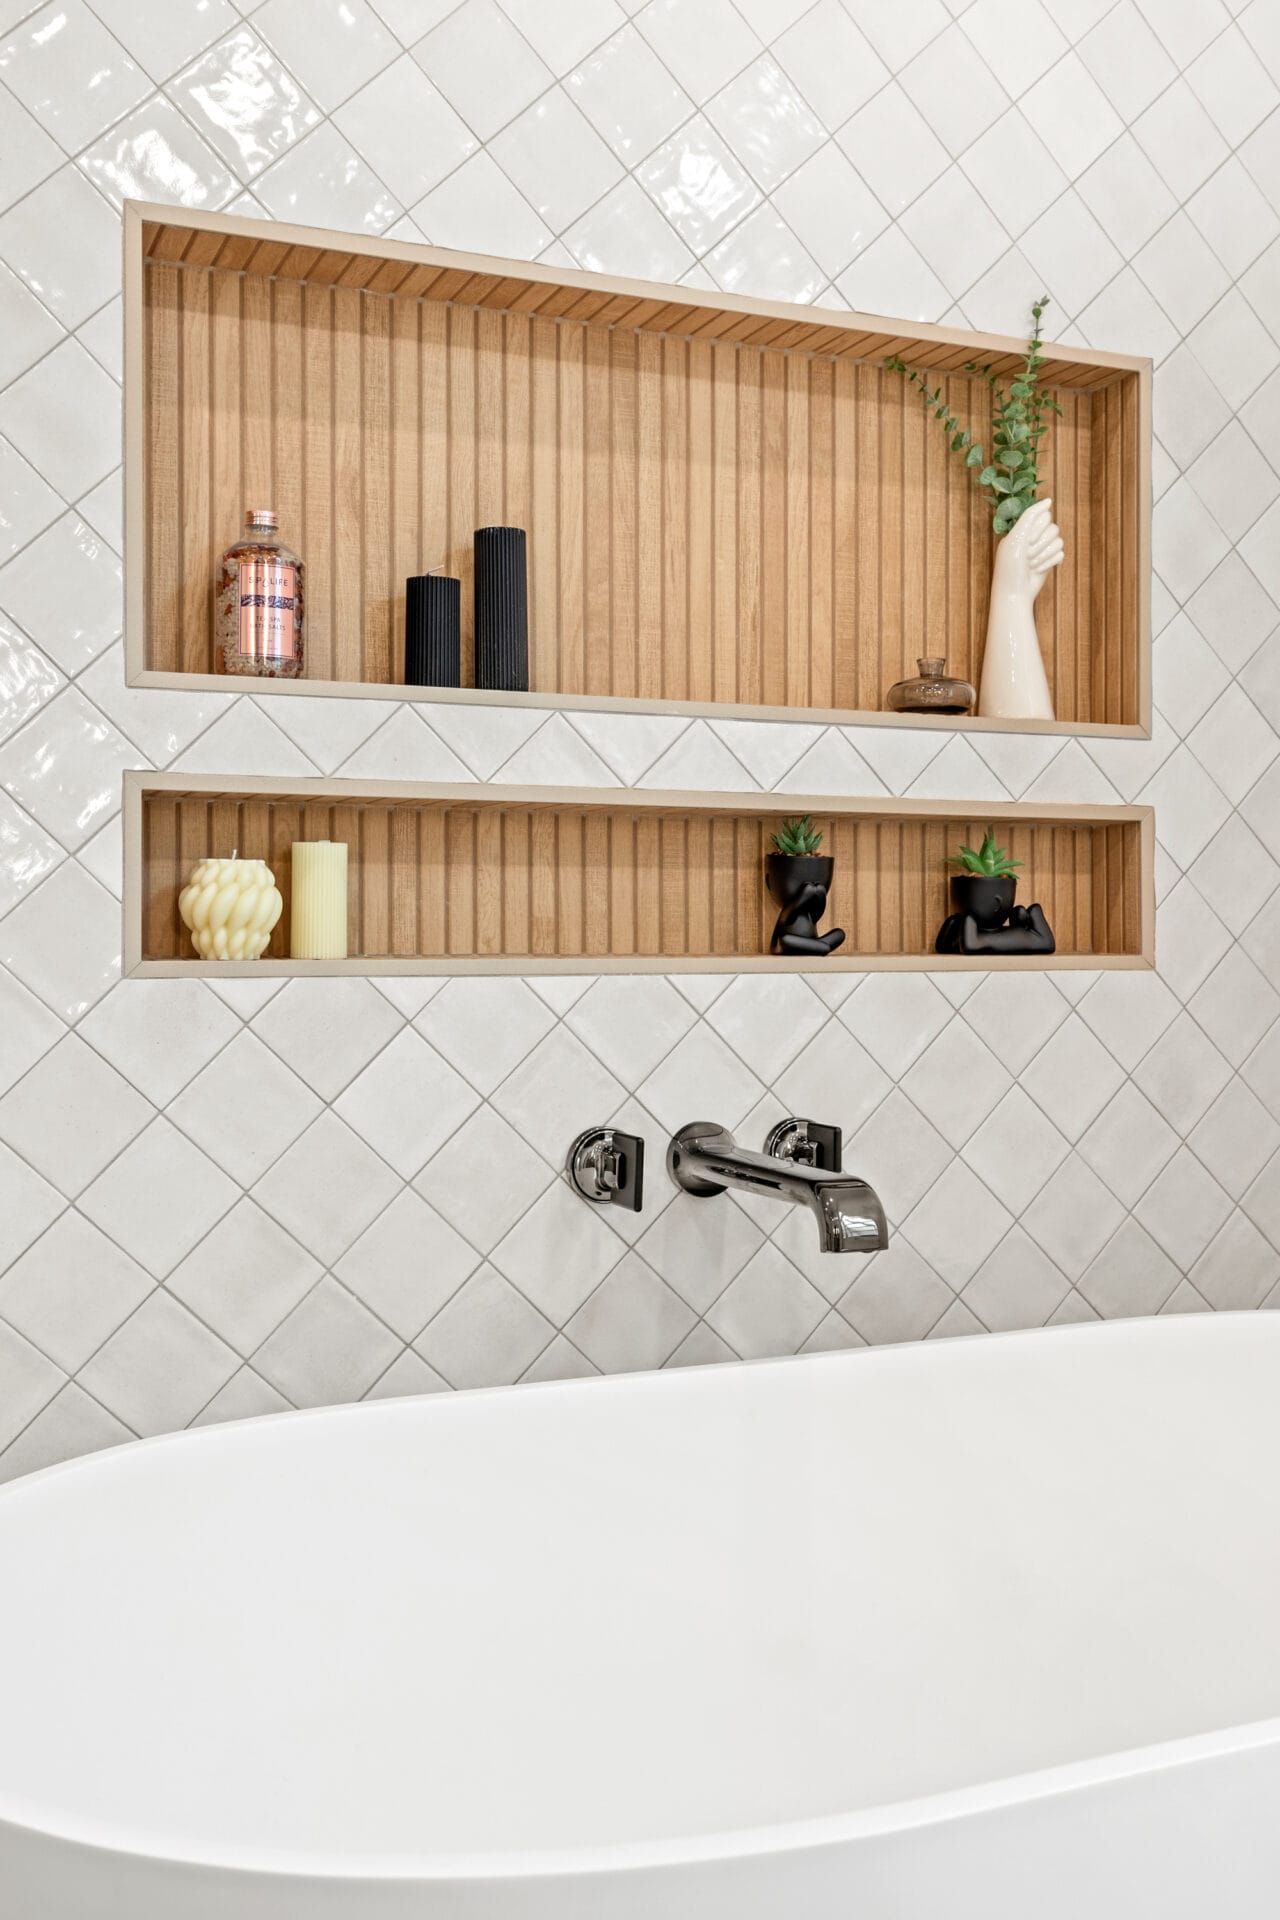
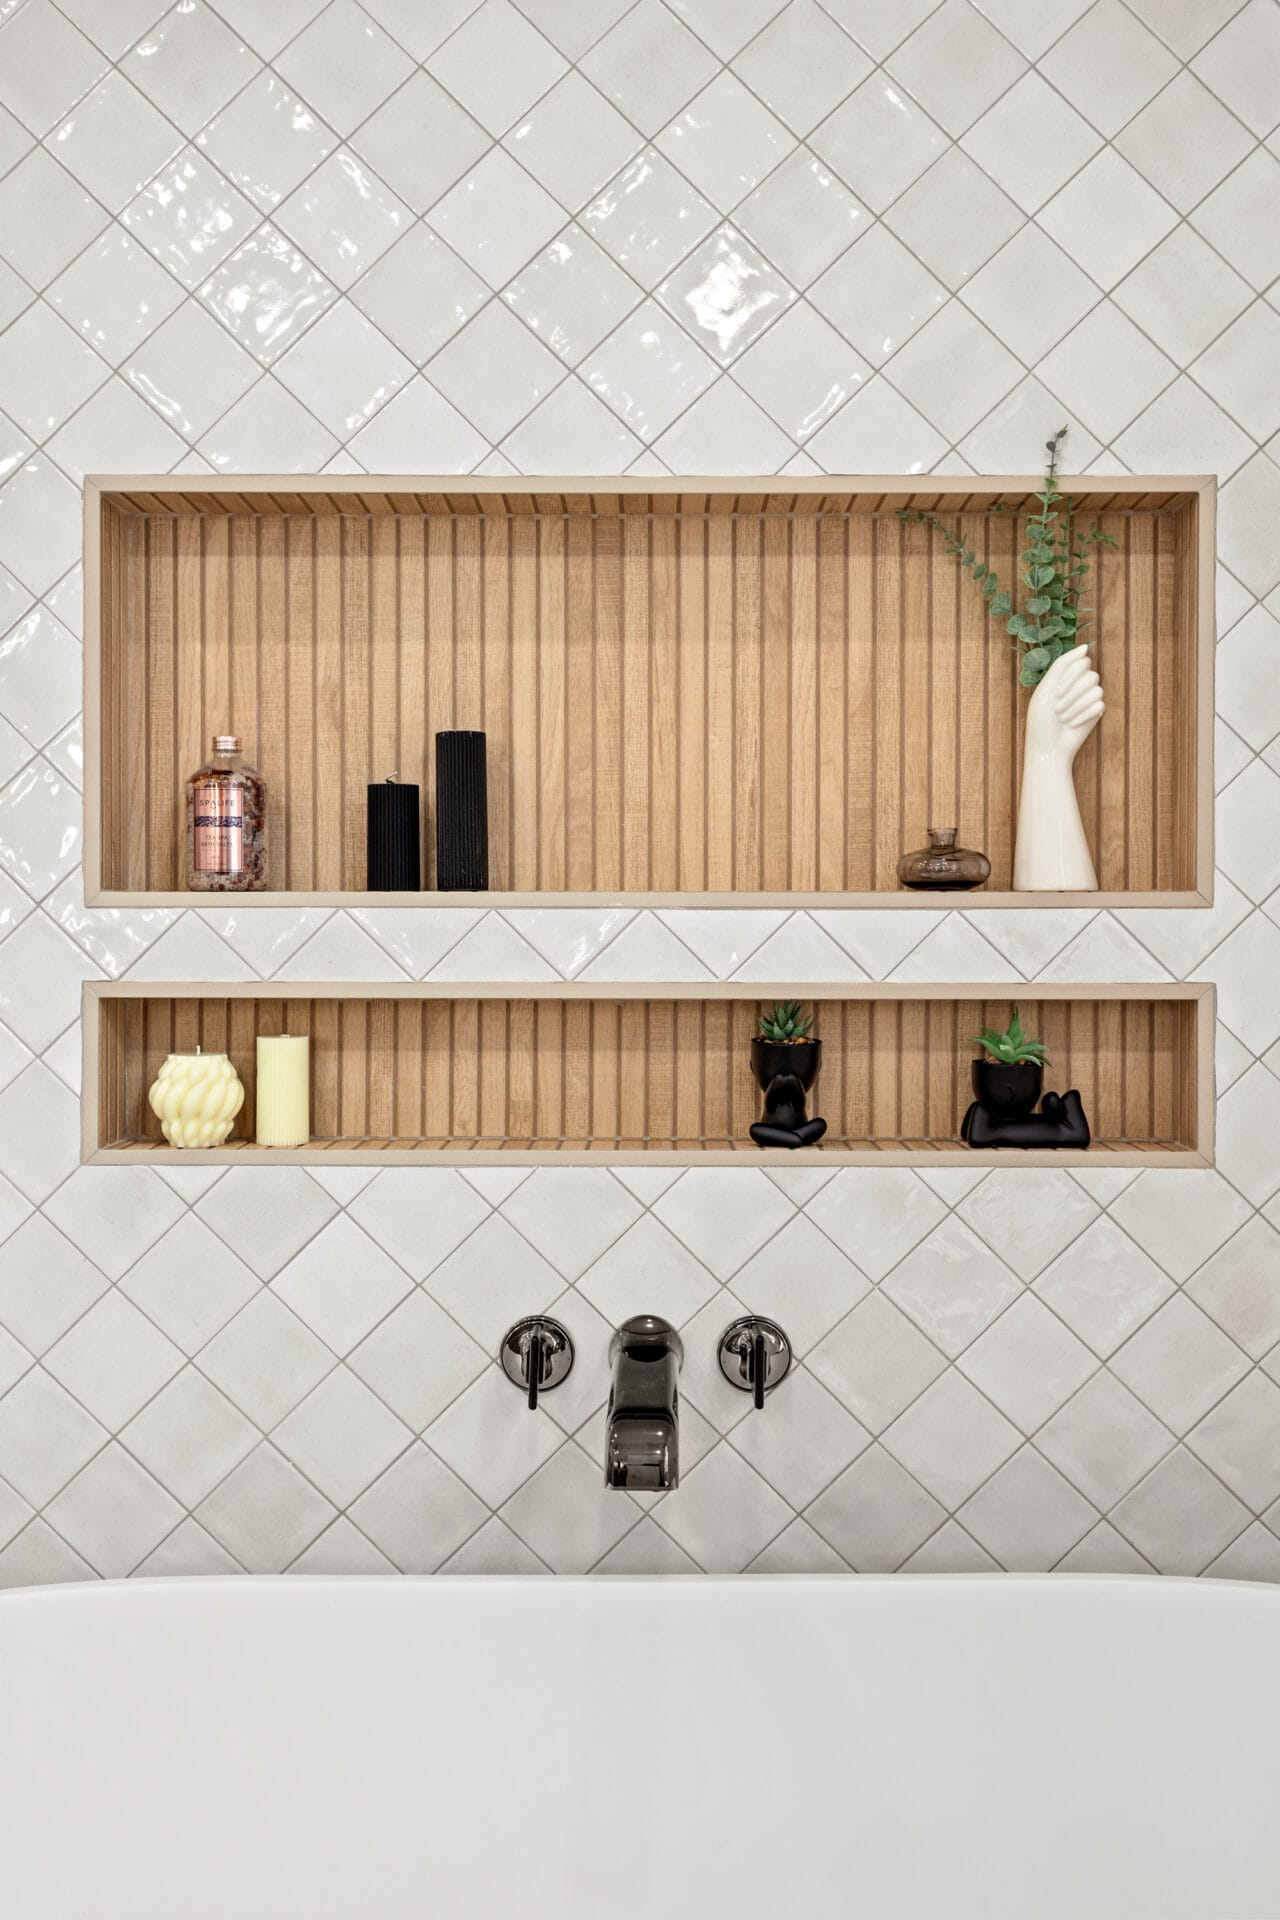
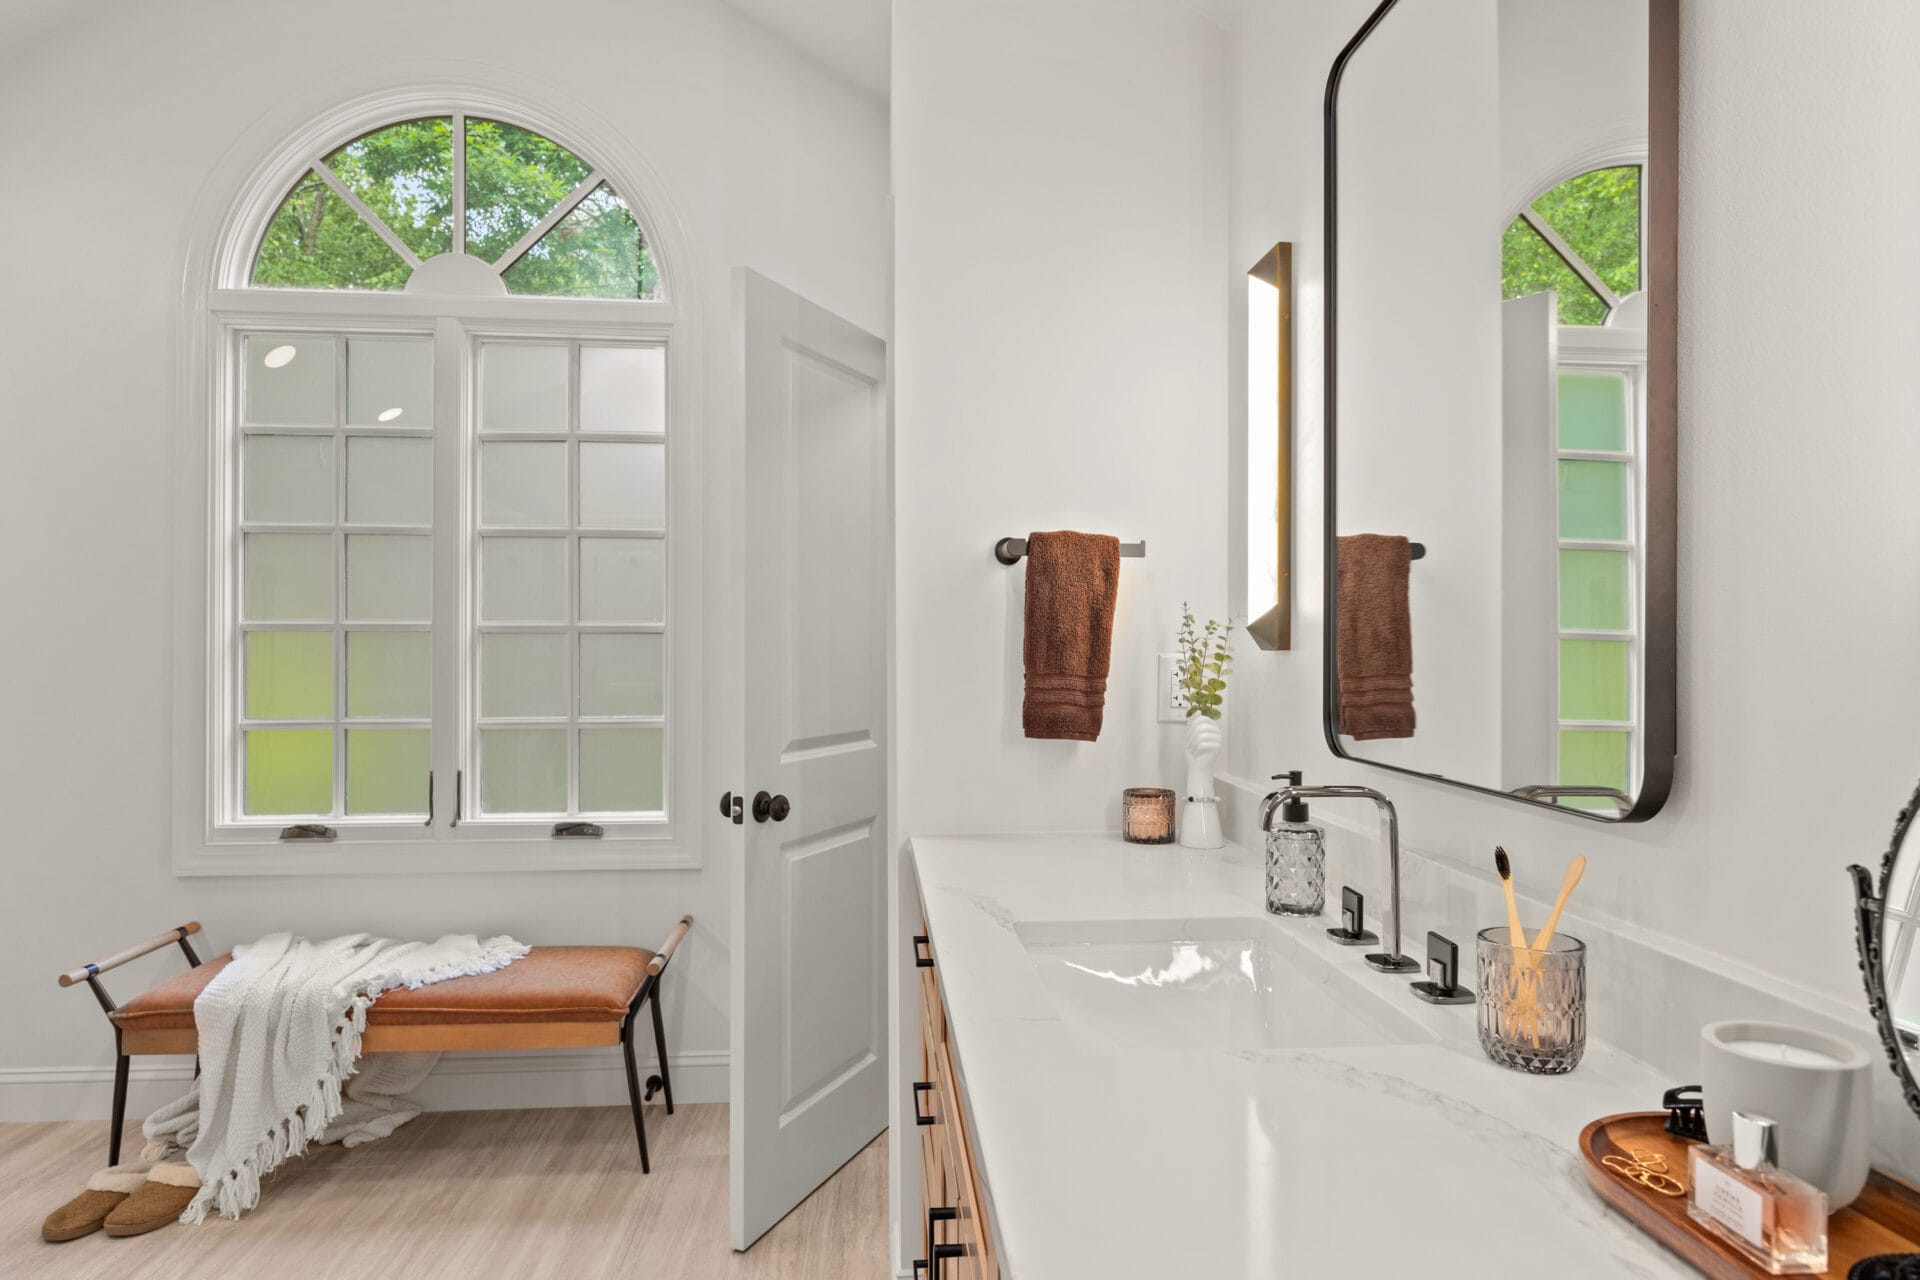
- When we first visited this bathroom, the homeowners expressed their desire for a space that felt Relaxing, Zen, and Clean every time they walked in. We brought this vision to life by carefully selecting a sleek vanity, thoughtfully chosen tile options, and a calming paint pattern, all working together to create a serene and inviting atmosphere. We crafted a plan that features natural-looking niche tile, soft shower wall tile, and uses the same heated shower and bathroom floor tile for a clean and cohesive design throughout the space.
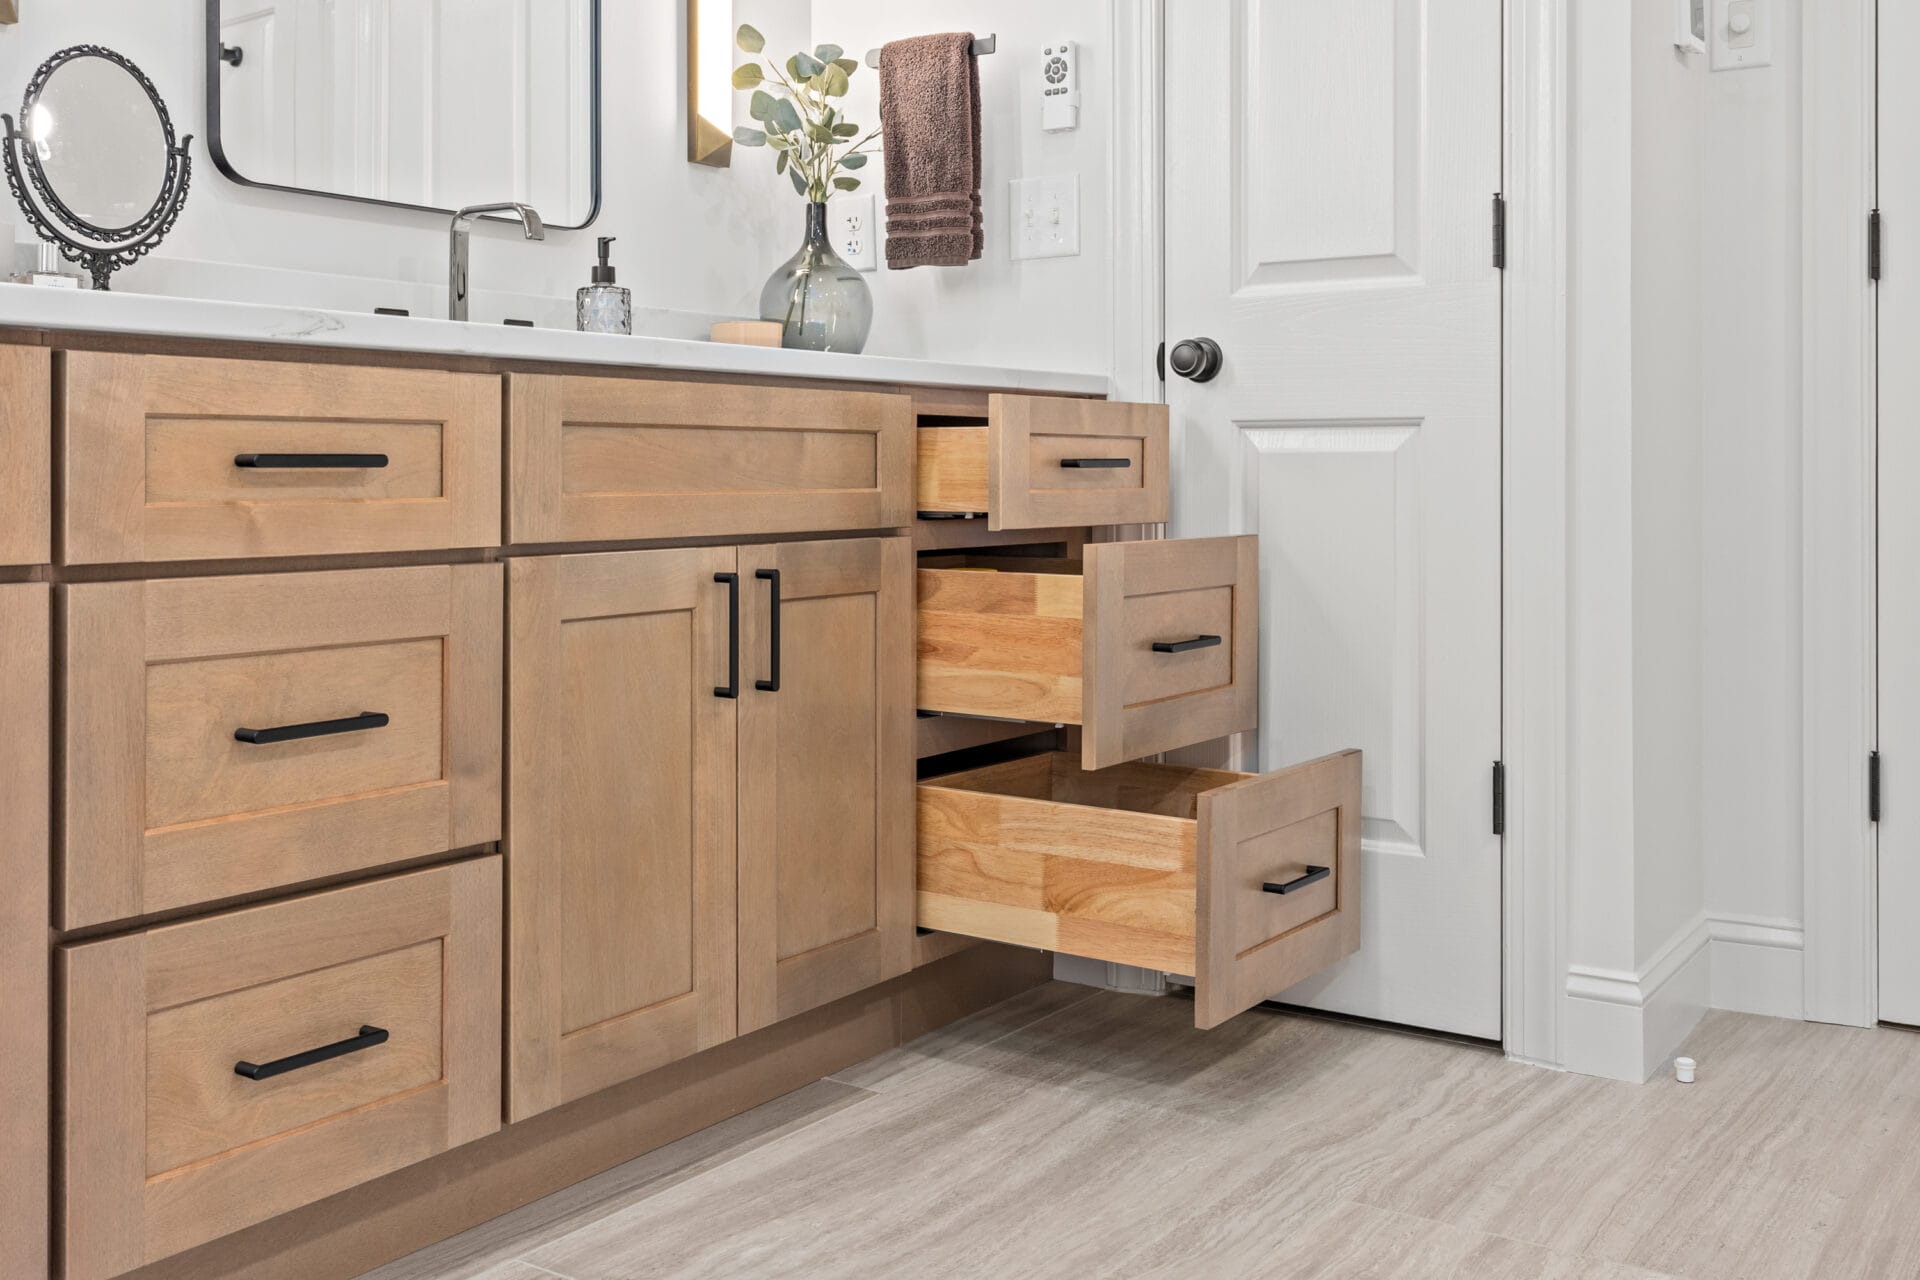
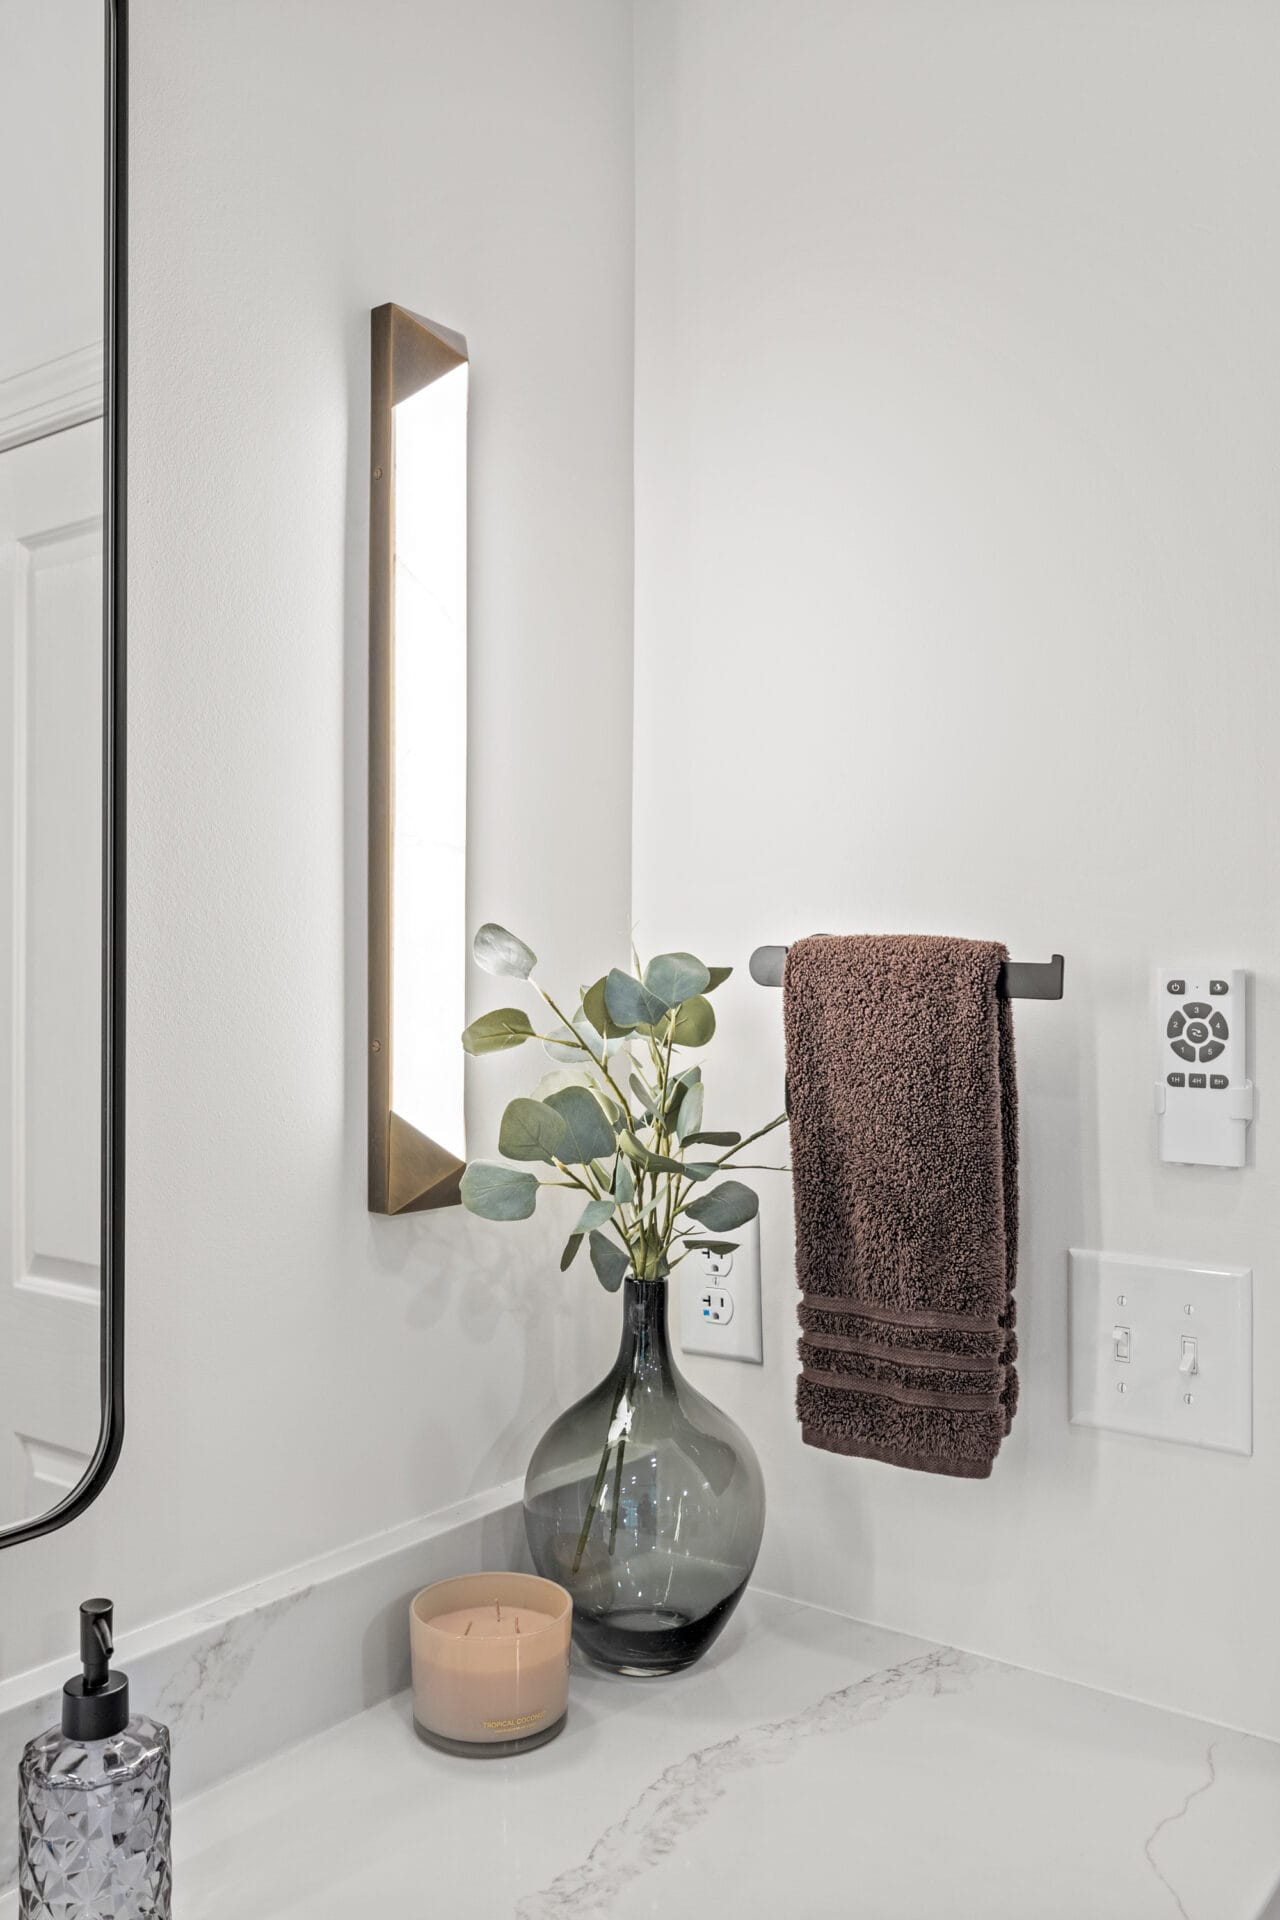
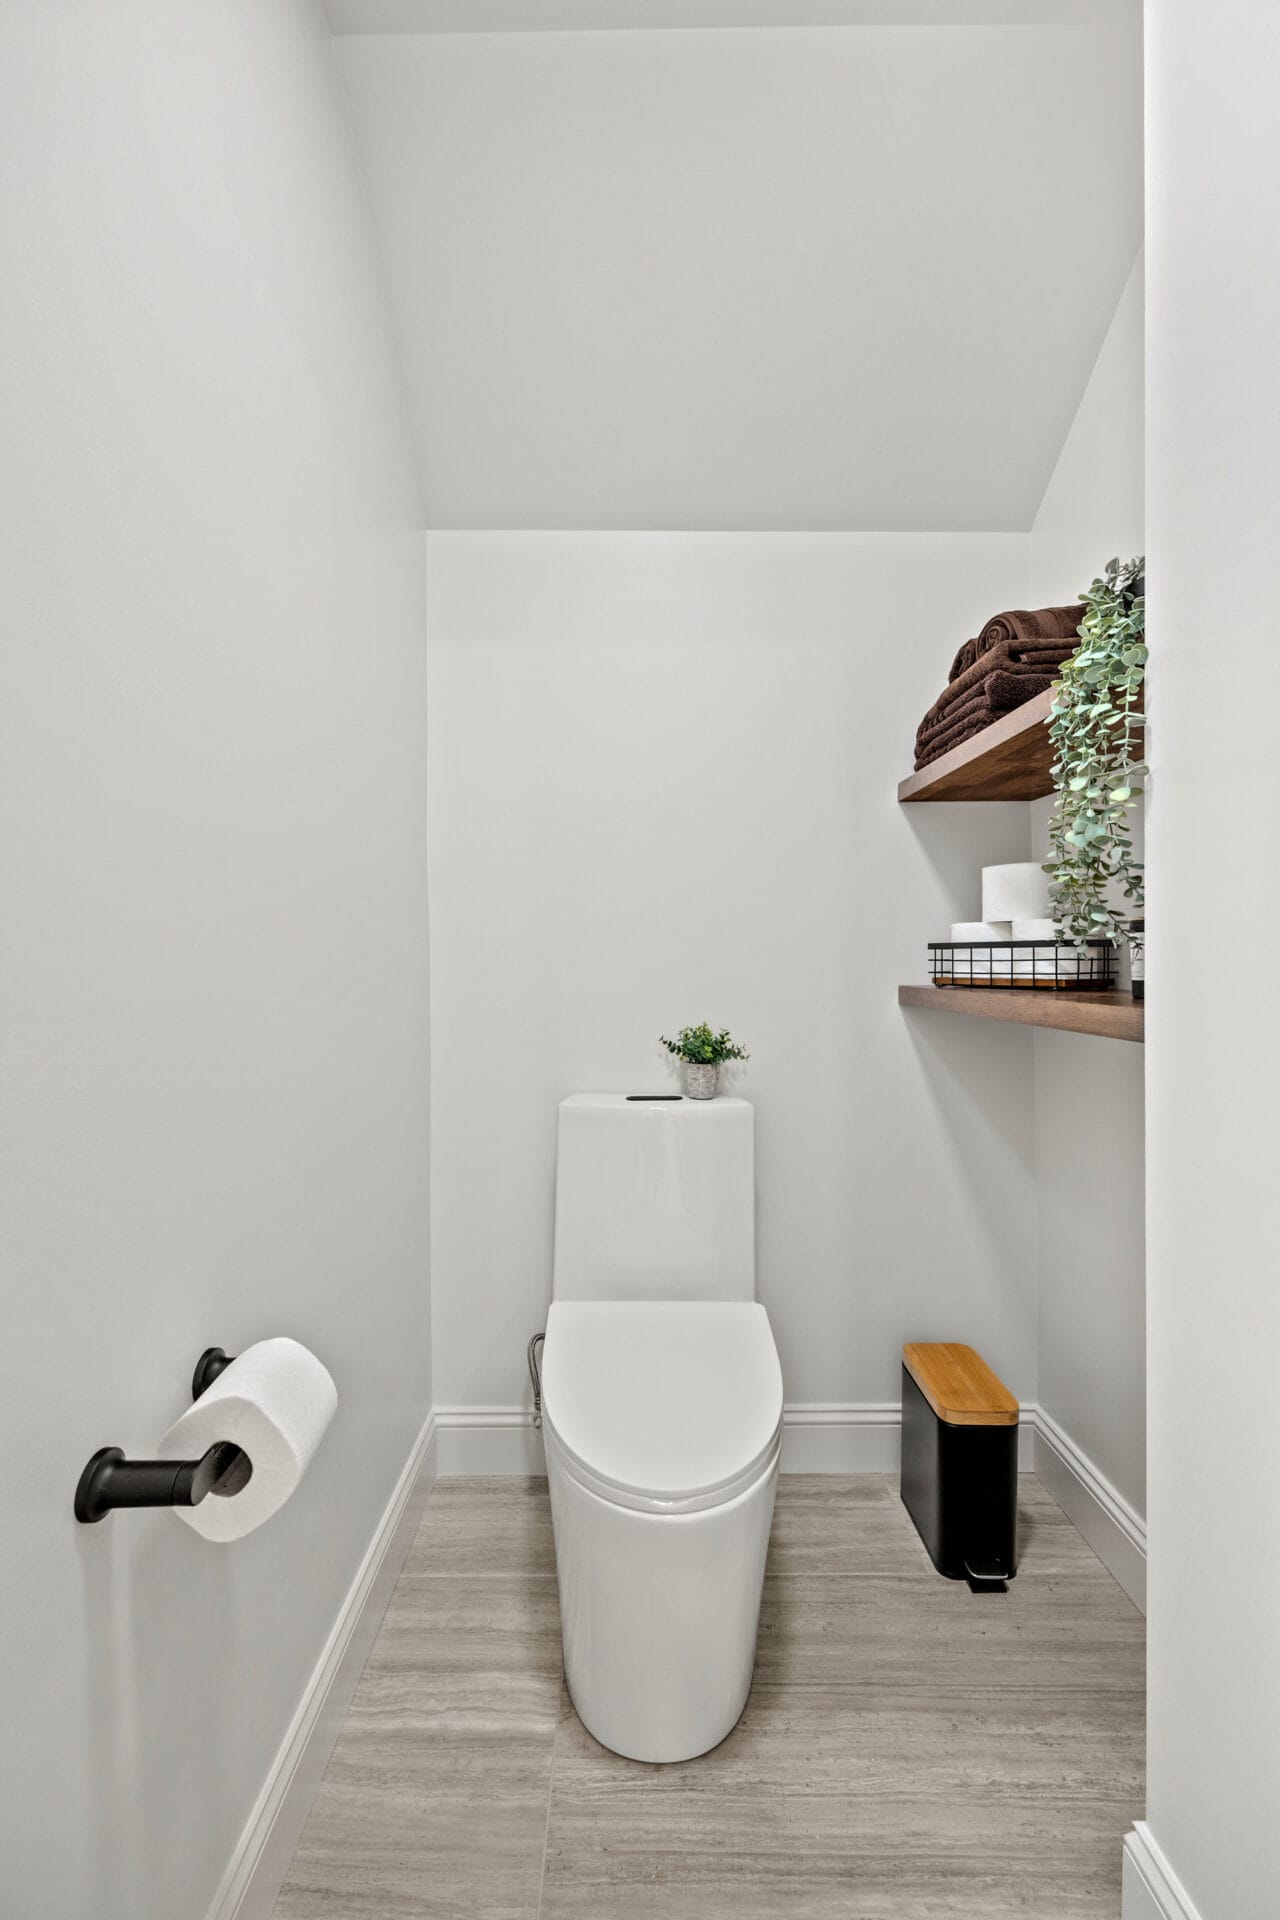
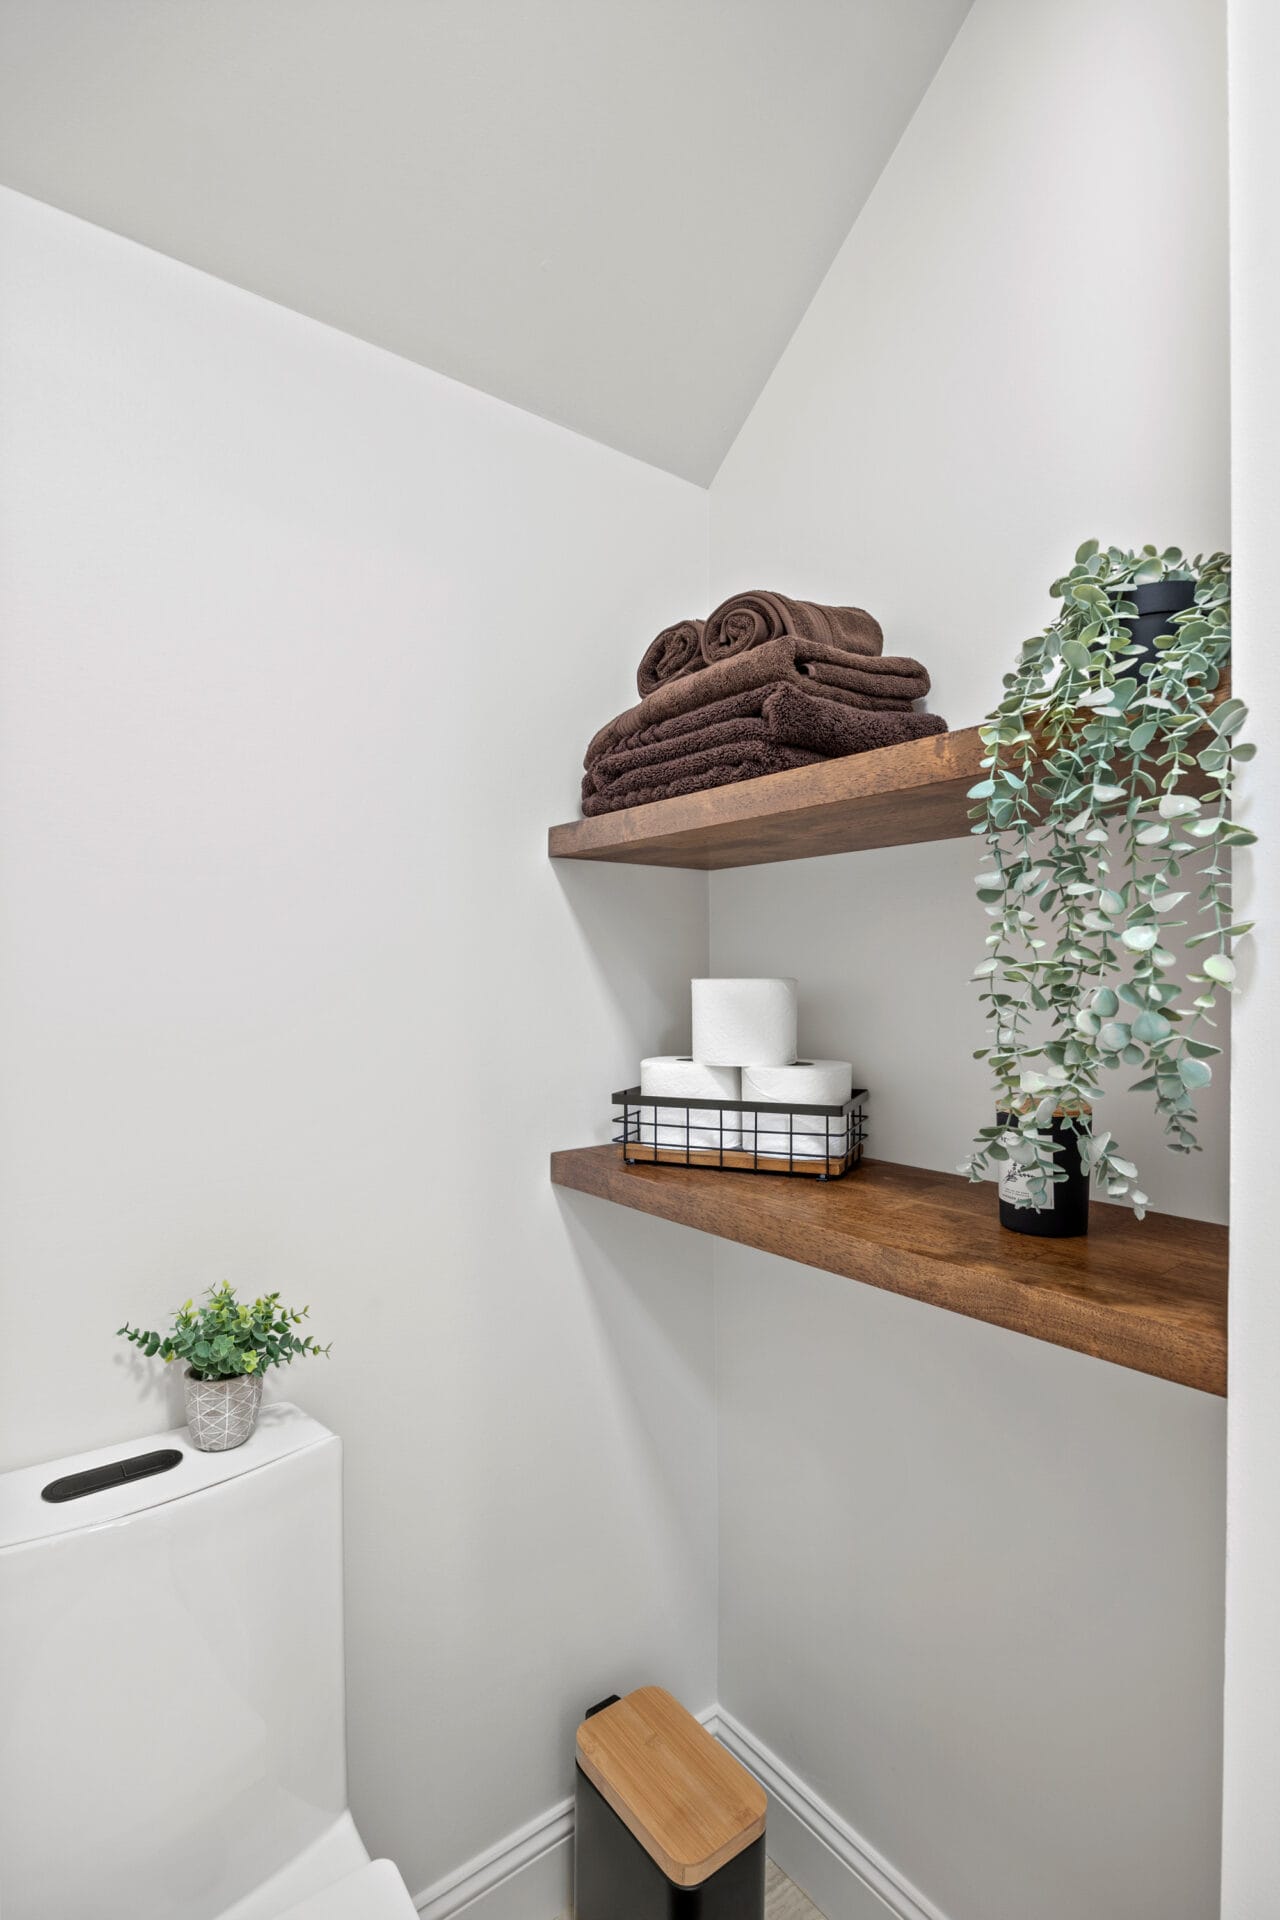
- Increase storage options to meet their needs
- When designing this bathroom, we were very intentional about adding storage in every corner possible without making it seem very packed out. We did this with the hidden storage behind the mirrors, toilet room storage, additional niches, etc.
This master bathroom renovation was actually the third project we had the privilege of doing for these homeowners. We first started with their powder room, then designed and built a covered pavilion, and later came back to create this spa-like retreat. Nothing makes us happier than clients calling us back again and again.
(See "Quail Hollow Powder Room with Baby Blue Chair Rail")
(See "Quail Hollow Covered Patio with Metal Roof")
“The team maintains superior craftsmanship and flexibility and design knowledge throughout all steps of the process.”
Beverley
Material Specs:
Cabinetry
Countertop
Shower Tile
Plumbing Fixtures
Electrical Fixtures
Hardware
Paint Colors
Flooring
Miscellaneous


Challenges & Solutions
Challenge:
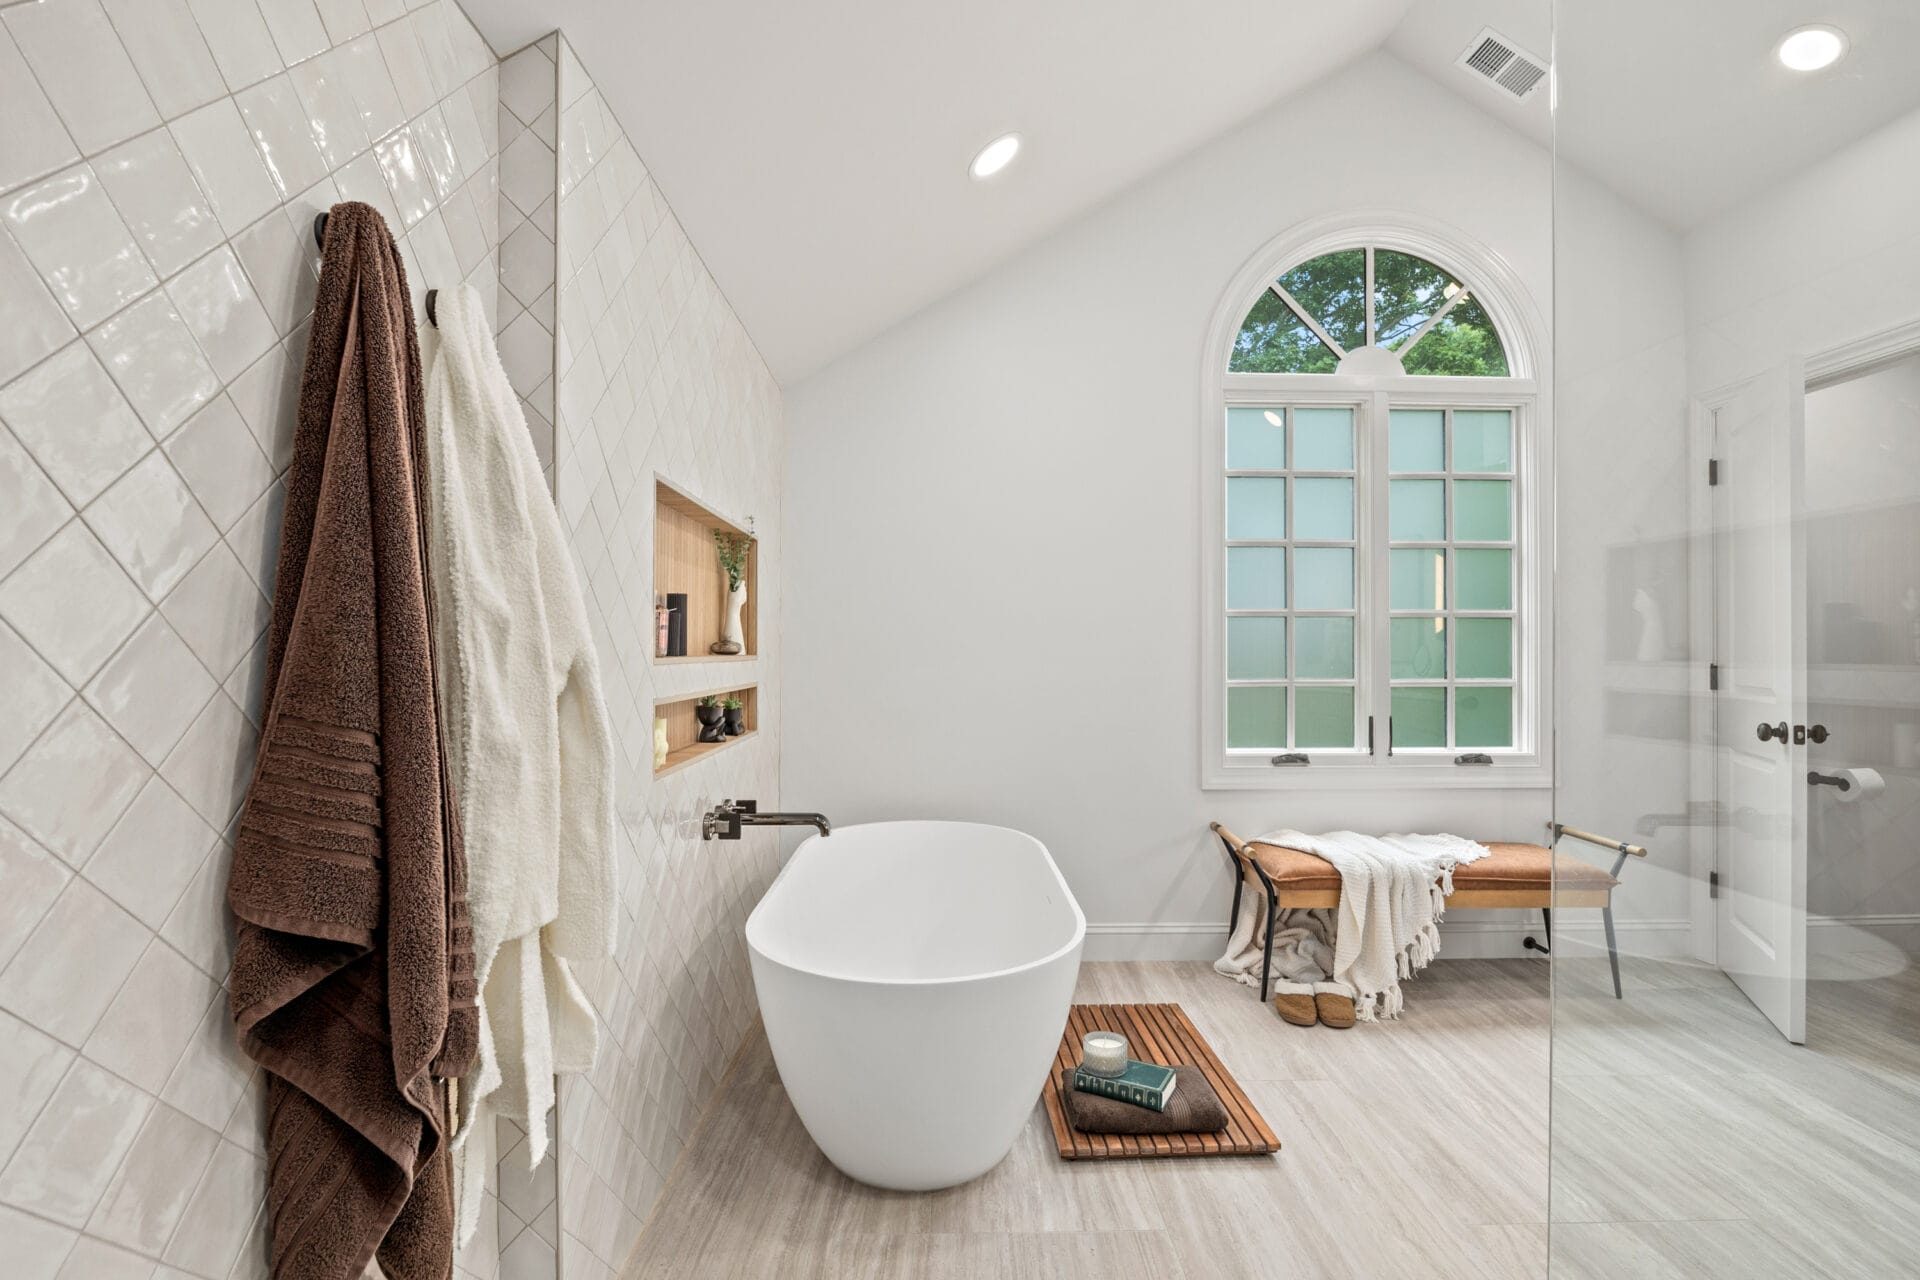
After we removed the existing tub that was platformed, and before starting the tile installation, we discovered a 1.5" slope on one end of the floor, which was not accounted for in the original plan.
Solution:
To correct this, we raised the lower side using cement board and leveled the floor with a mortar bed. This provided a solid, even foundation, ensuring proper installation of the large-format tiles and long-term stability.
Challenge:
Before we began the project, we had all the design details approved by the homeowners, including paint colors. Once the painting in the master bathroom was completed, the homeowners noticed that the finished wall color appeared cooler than anticipated, lacking the warm tone they had envisioned after the bathroom was color drenched.
Solution:
Instead of repainting the entire bathroom, we adjusted the recessed lighting to a warmer setting, which softened the overall tone of the paint and reduced the perceived brightness, giving the homeowners their desired warmth without extensive rework.